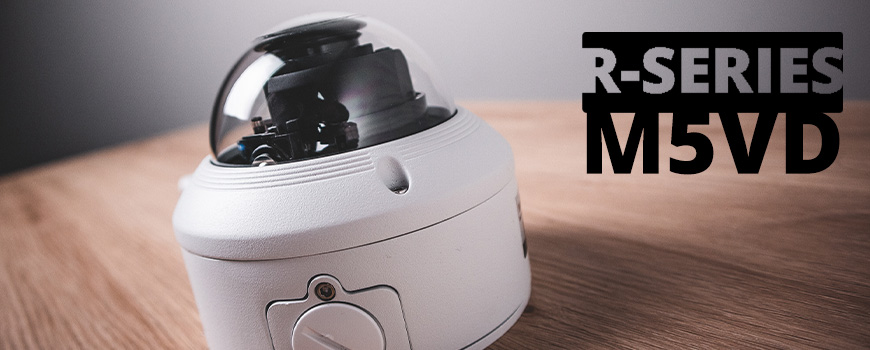
The R-Series 5MP Vandal Dome: Full Unboxing and Product Review
Introducing Your New Go-To Security Camera
Are you looking for a capable security camera without all the bells and whistles of a higher-end model? Maybe you’re looking to set up your very first security camera, or maybe you’re looking to piece together a large surveillance system on a budget. At Nelly’s Security, we have the perfect solution for you. Meet our new R-series surveillance line.
We’re bringing on more cameras and recorders geared toward lower costs and easier operation. And today I’m excited to introduce you to our R-Series 5MP vandal dome, your new go-to security camera! You'll be amazed by its crisp resolution of five beautiful megapixels. A nice and wide 2.8mm fixed lens. An IR range of up to 100 feet. H.265 video compression. Built-in junction box. IP 66 weatherproof. And so much more.
Click here to check out the product page and purchase yours today
Unboxing the M5VD
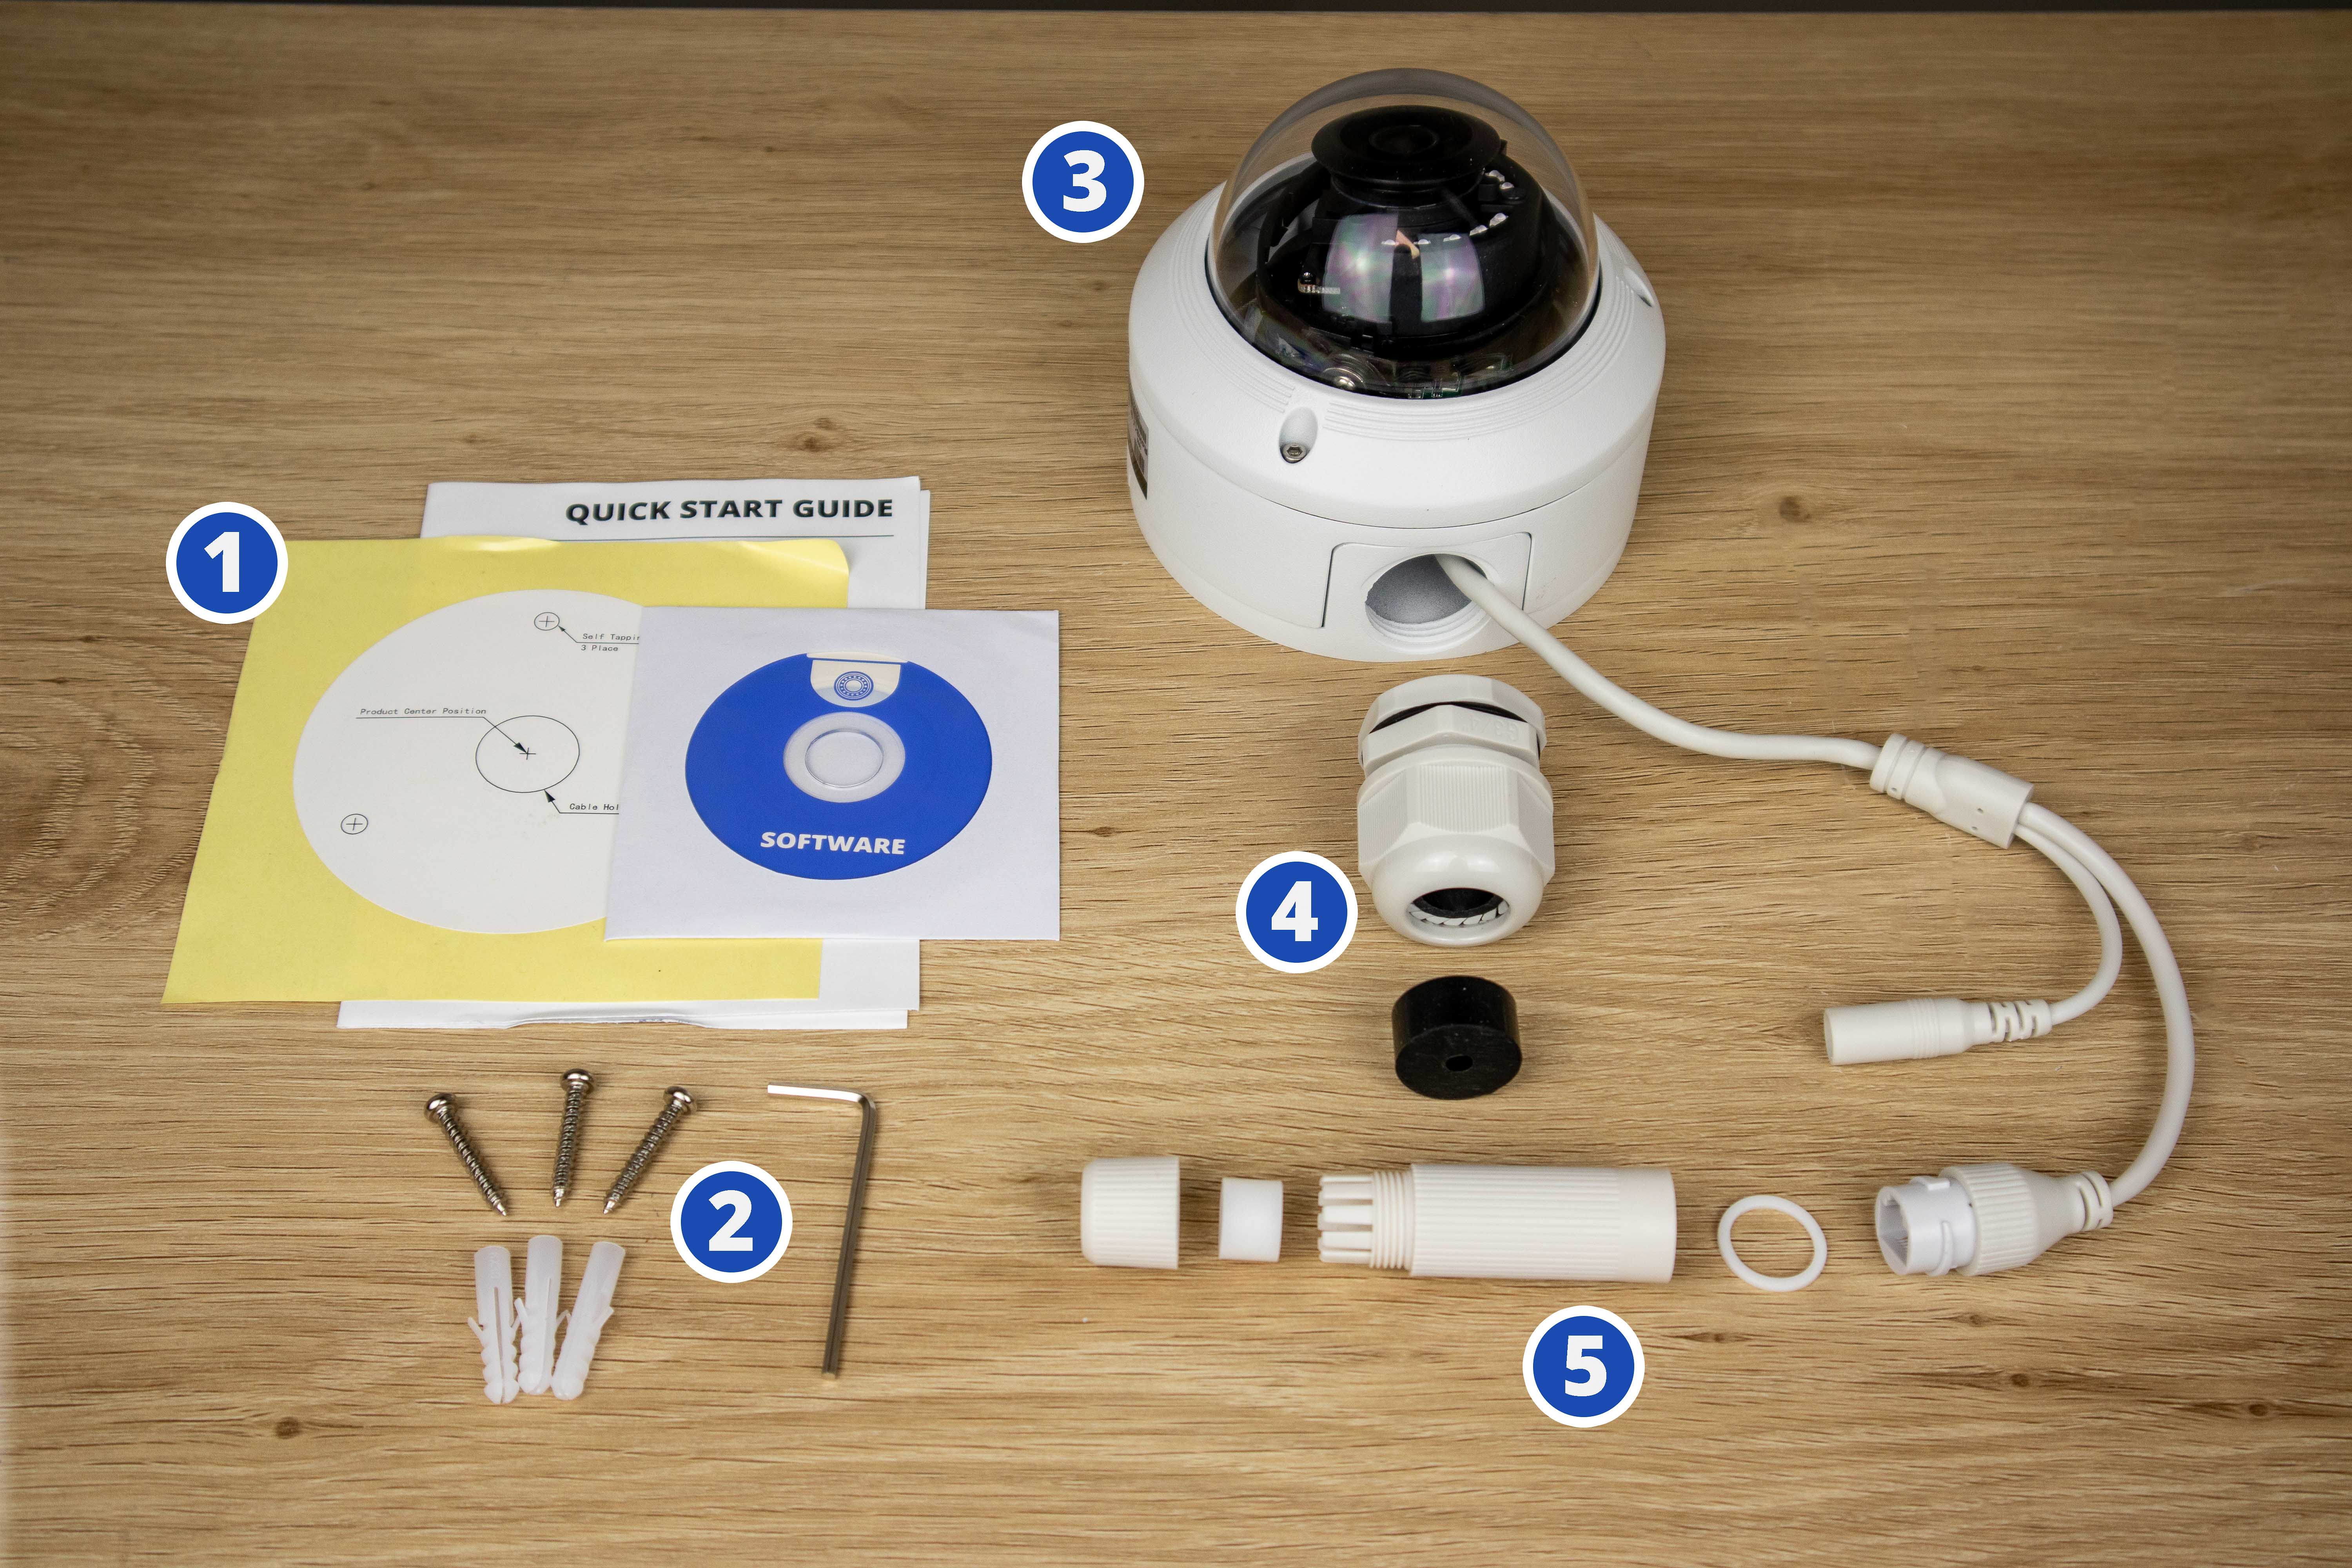
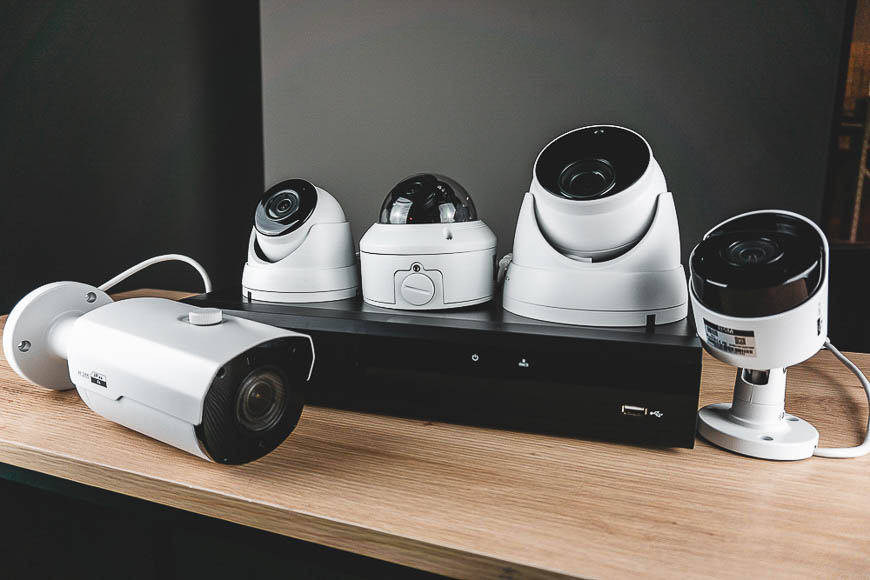
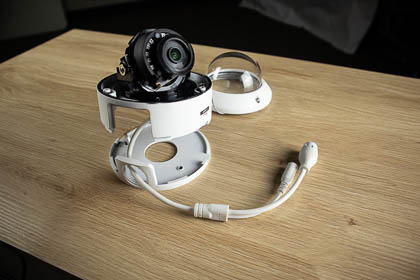
In the picture above, you'll see the camera and all of its accessories straight out of the box. It comes with...
- A quick-start guide, a software CD, and a mounting template;
- Mounting hardware
- The camera
- A weatherproofing grommet and seal for the junction box
- A weatherproofing grommet for the cat5 Ethernet connection.
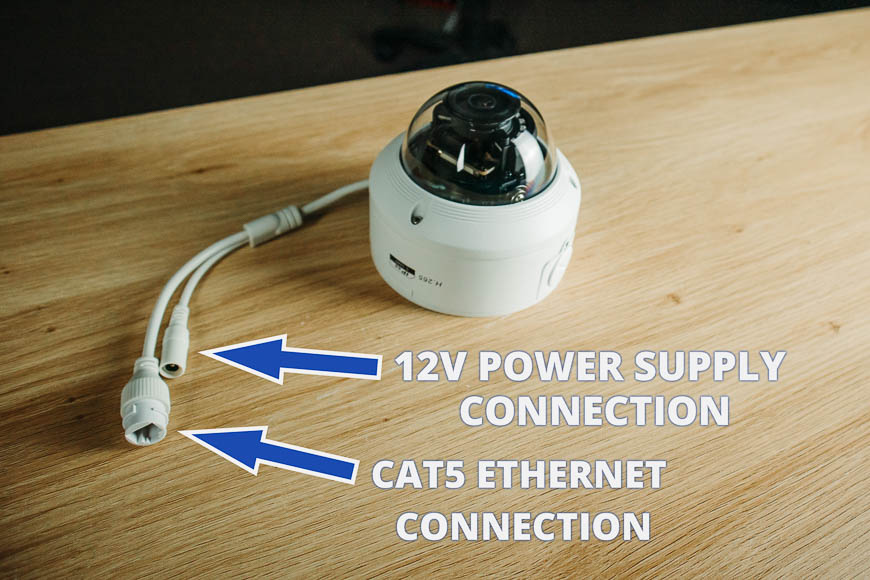
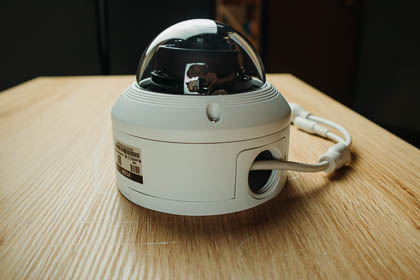
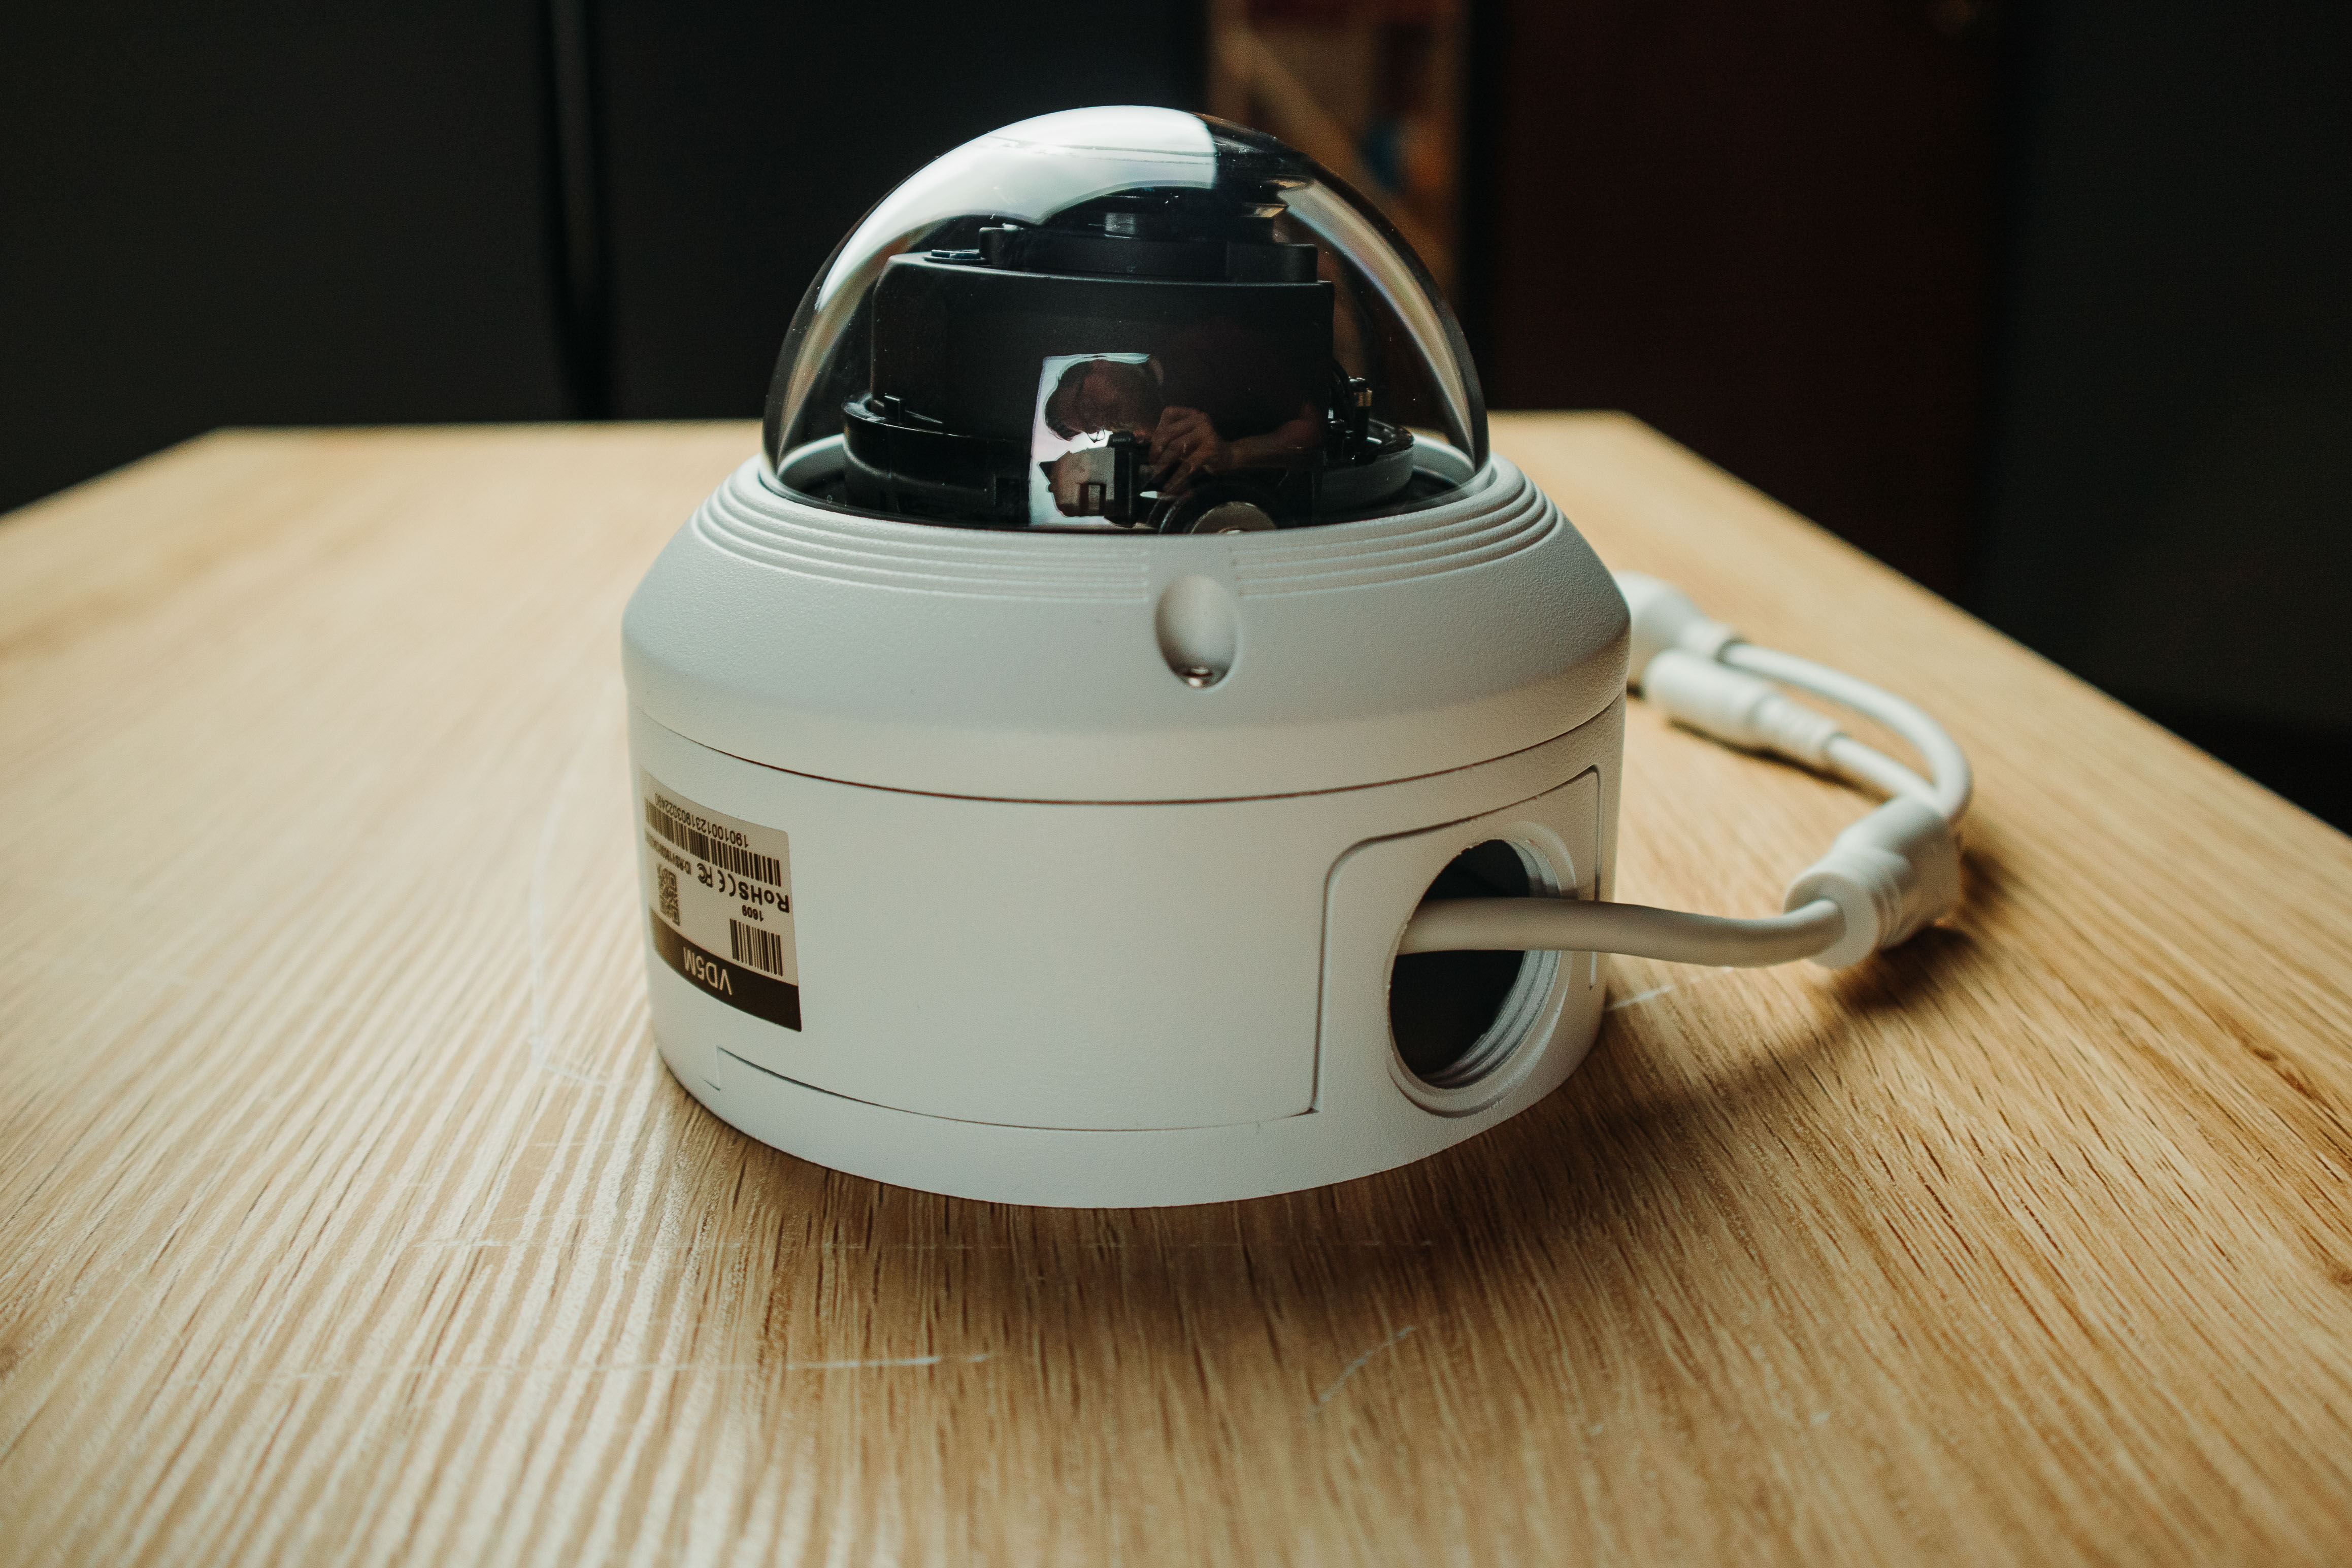
Let's take a closer look at the camera and junction box. As you can below, the camera has two cable connections: one for a 12v power supply and one for an Ethernet cable. Throughout the rest of this blog post, we won't refer to the 12v power supply connection anymore, because we'll be powering our camera through PoE, or Power of Ethernet.
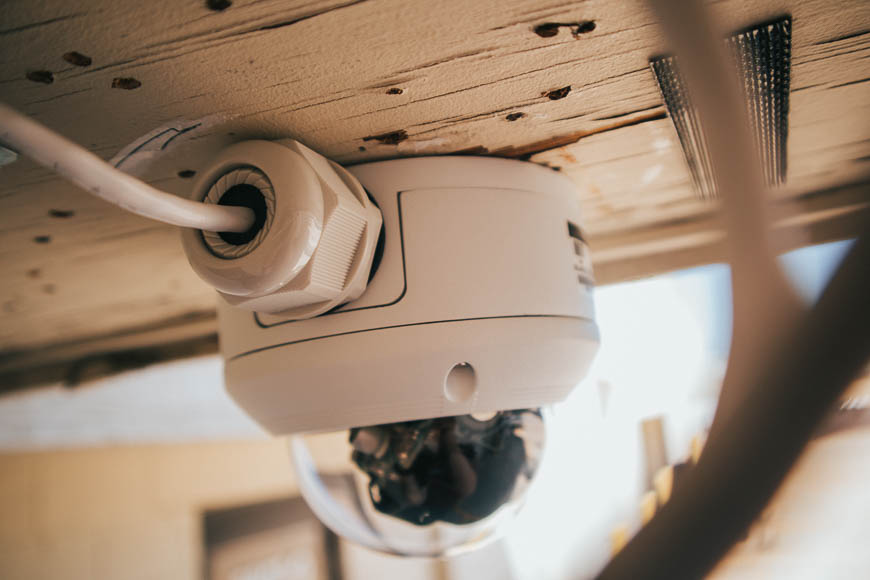
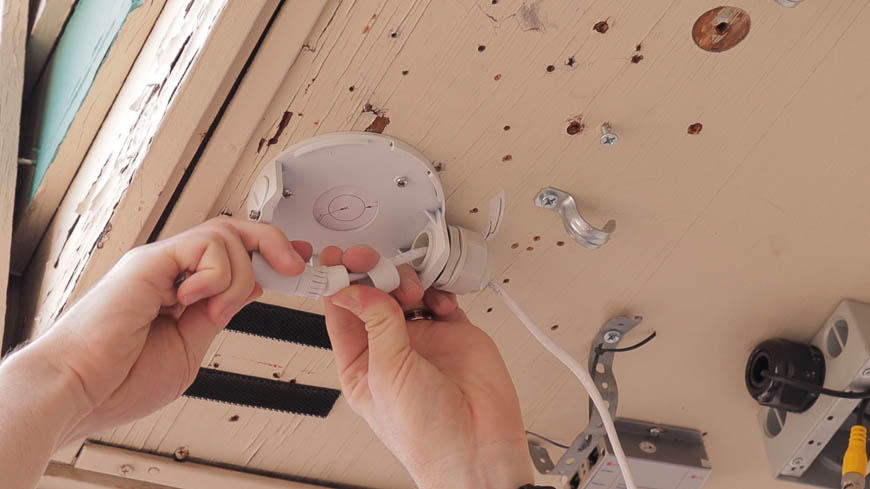
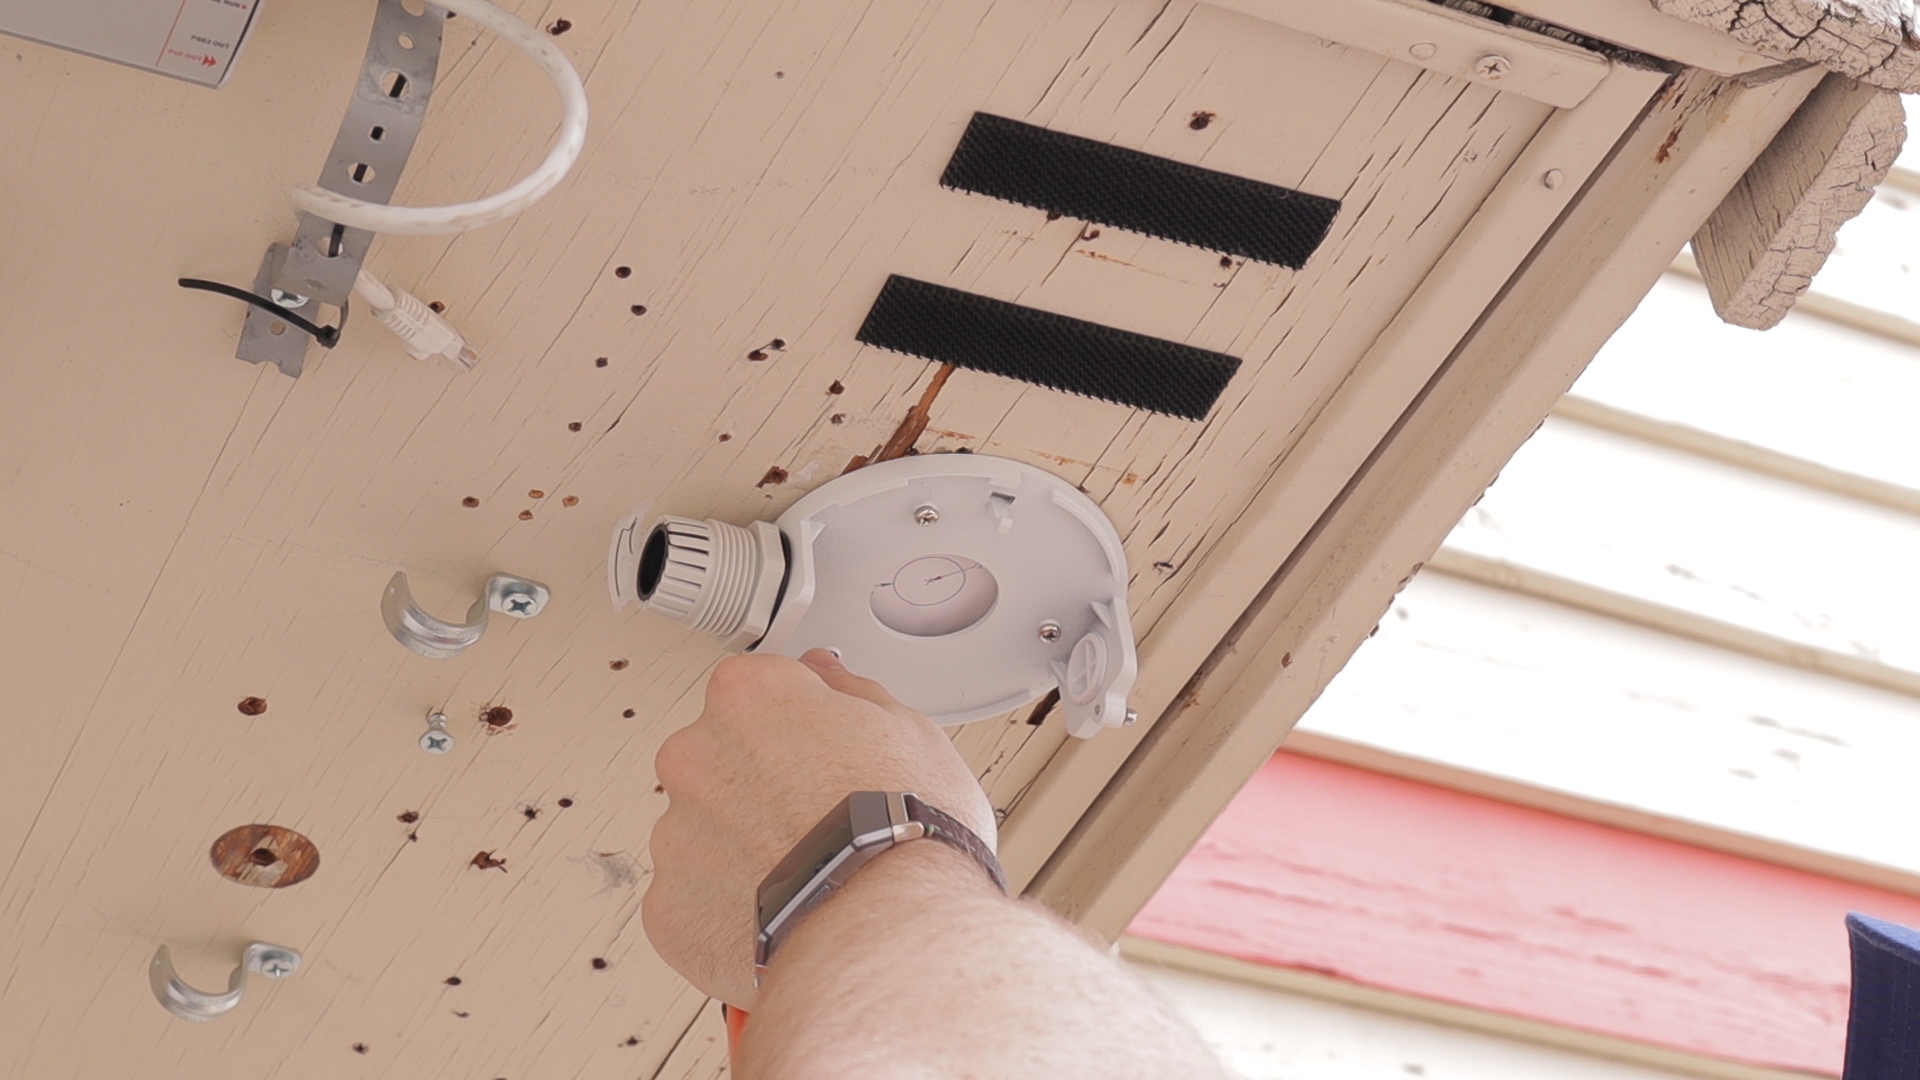
As for the junction box, it's attached to the camera using that one hex screw. If you loosen that screw, the junction box slides right off of the camera. This junction box is really nice for protecting your cables from the elements. It also makes everything look much nicer, because no one wants to look up at their ceiling and see a wholel bunch of cables hanging down. Since the junction box is built into the camera, installation is a breeze. All you have to do is screw the junction box base into the ceiling and then slide the camera back into place.

Installation

Once again, this camera is super easy to install and set up. Even if you've never installed a security camera before, if you follow these simple steps, your camera will be up and running in no time.
Network Connection
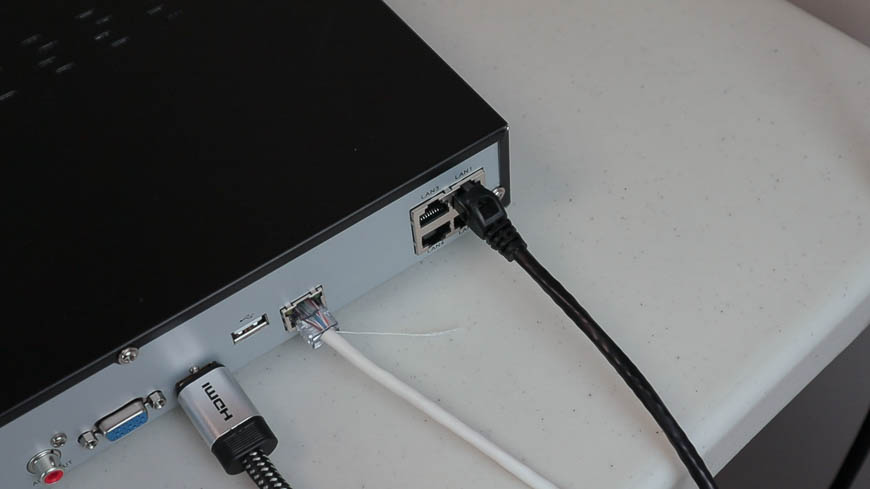
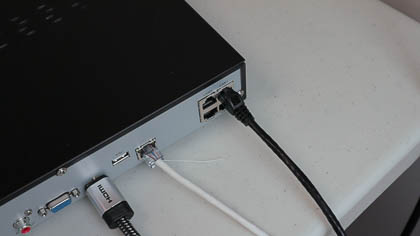
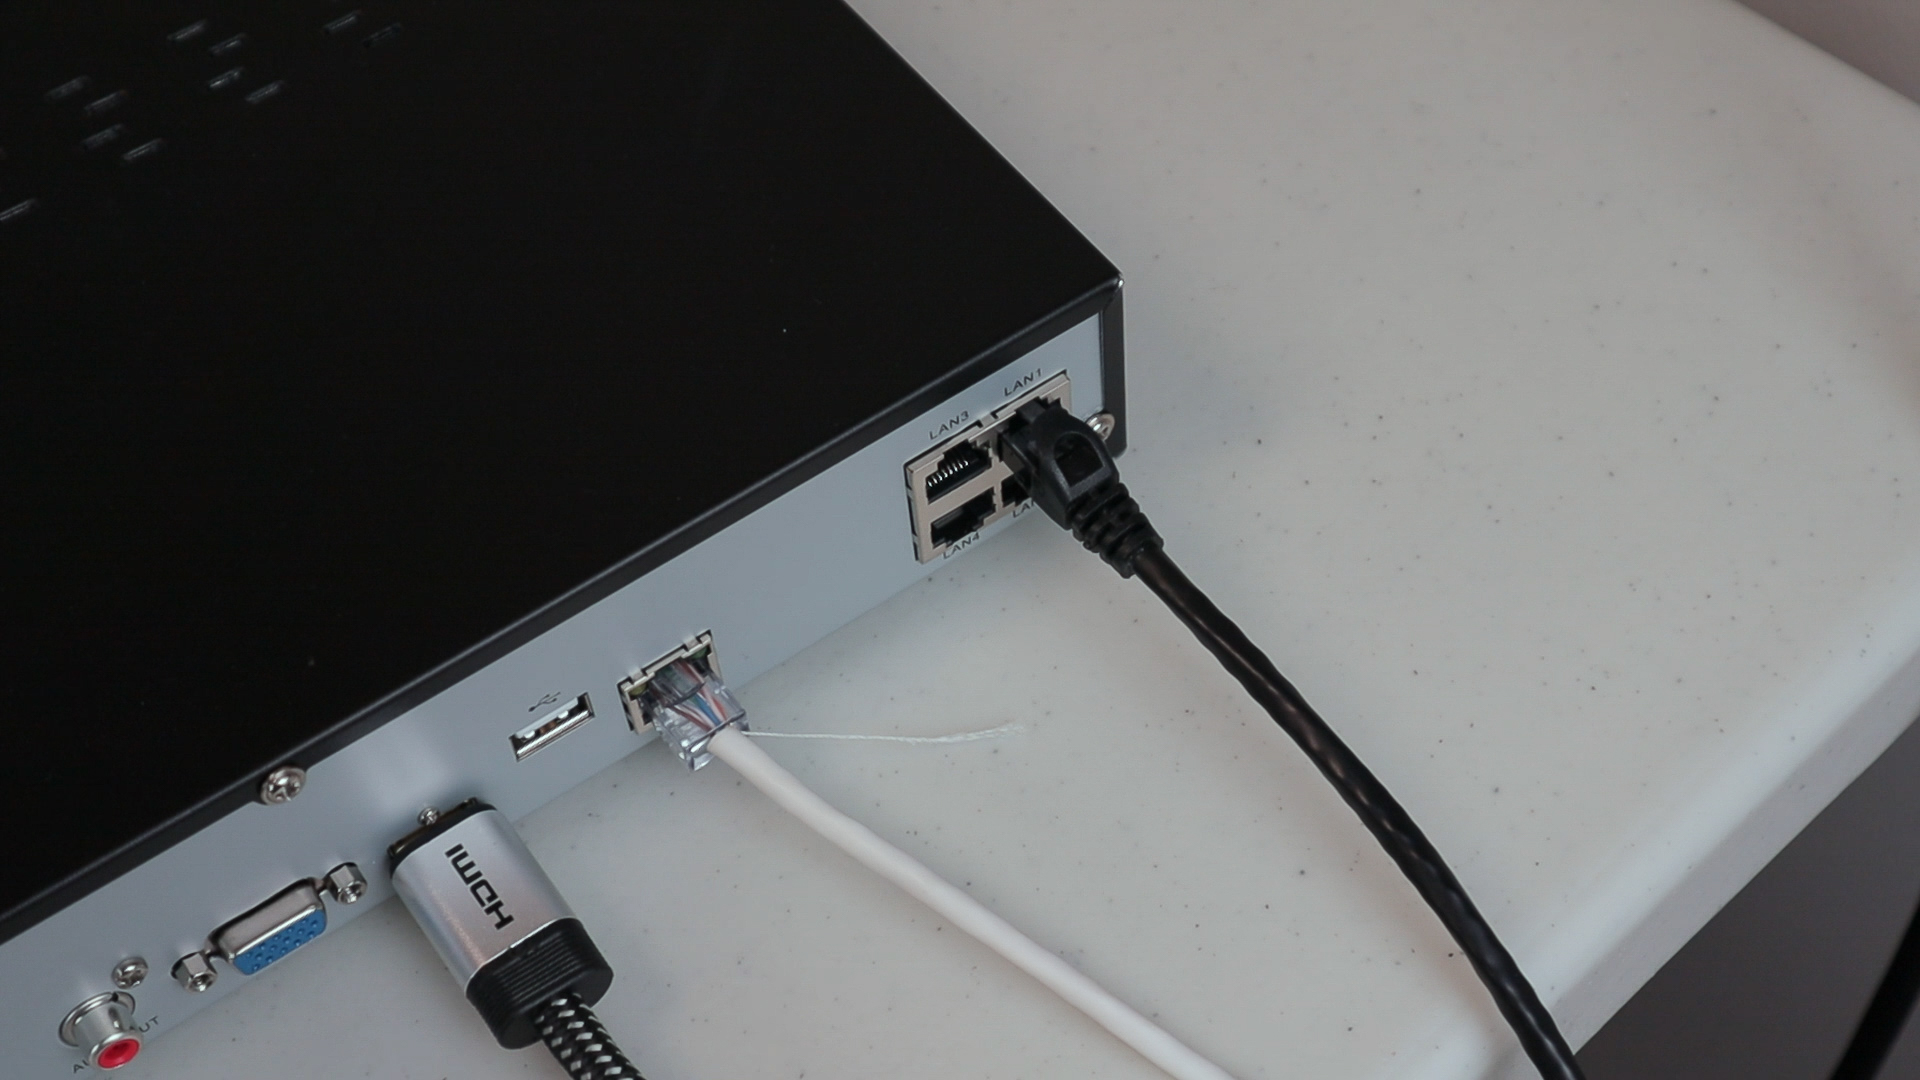
The first thing you'll want to do is get your network connection set up and ready to go. As I stated earlier, for this example we'll be setting up our camera using Power of Ethernet. This means that our Ethernet cable will carry both power and network data to the camera. To make this work, we'll need a PoE switch. If you're using an R-Series NVR, then you'll find a PoE switch built into the back of your NVR. Simply power up your NVR and connect it to your router. If you're not planning to connect this camera to an NVR, you can pick up a simple PoE power supply like this one.

Mounting the Camera
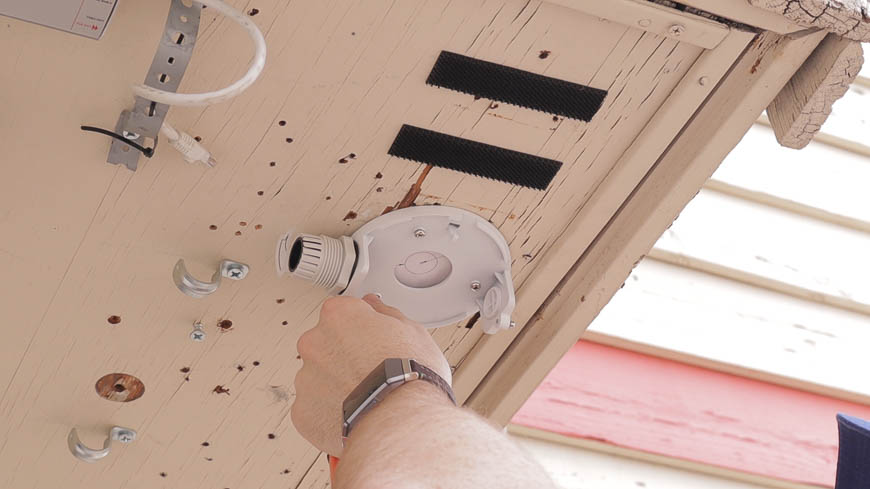
To mount the camera, use the included mounting template to drill your holes in the ceiling. Then screw the junction box base into place. Note: If you don't have any place to install your camera on the ceiling, you can always use one of these wall mounts designed specifically for this camera.
Once the junction box is screwed into place, it's time to mount the camera into the base. But before you secure your camera into place, be sure to properly seal your junction box and cable connections.
Weatherproofing
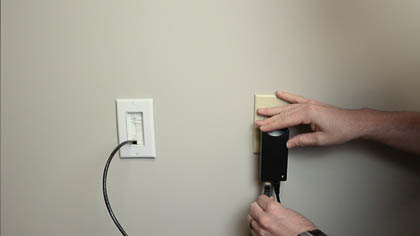
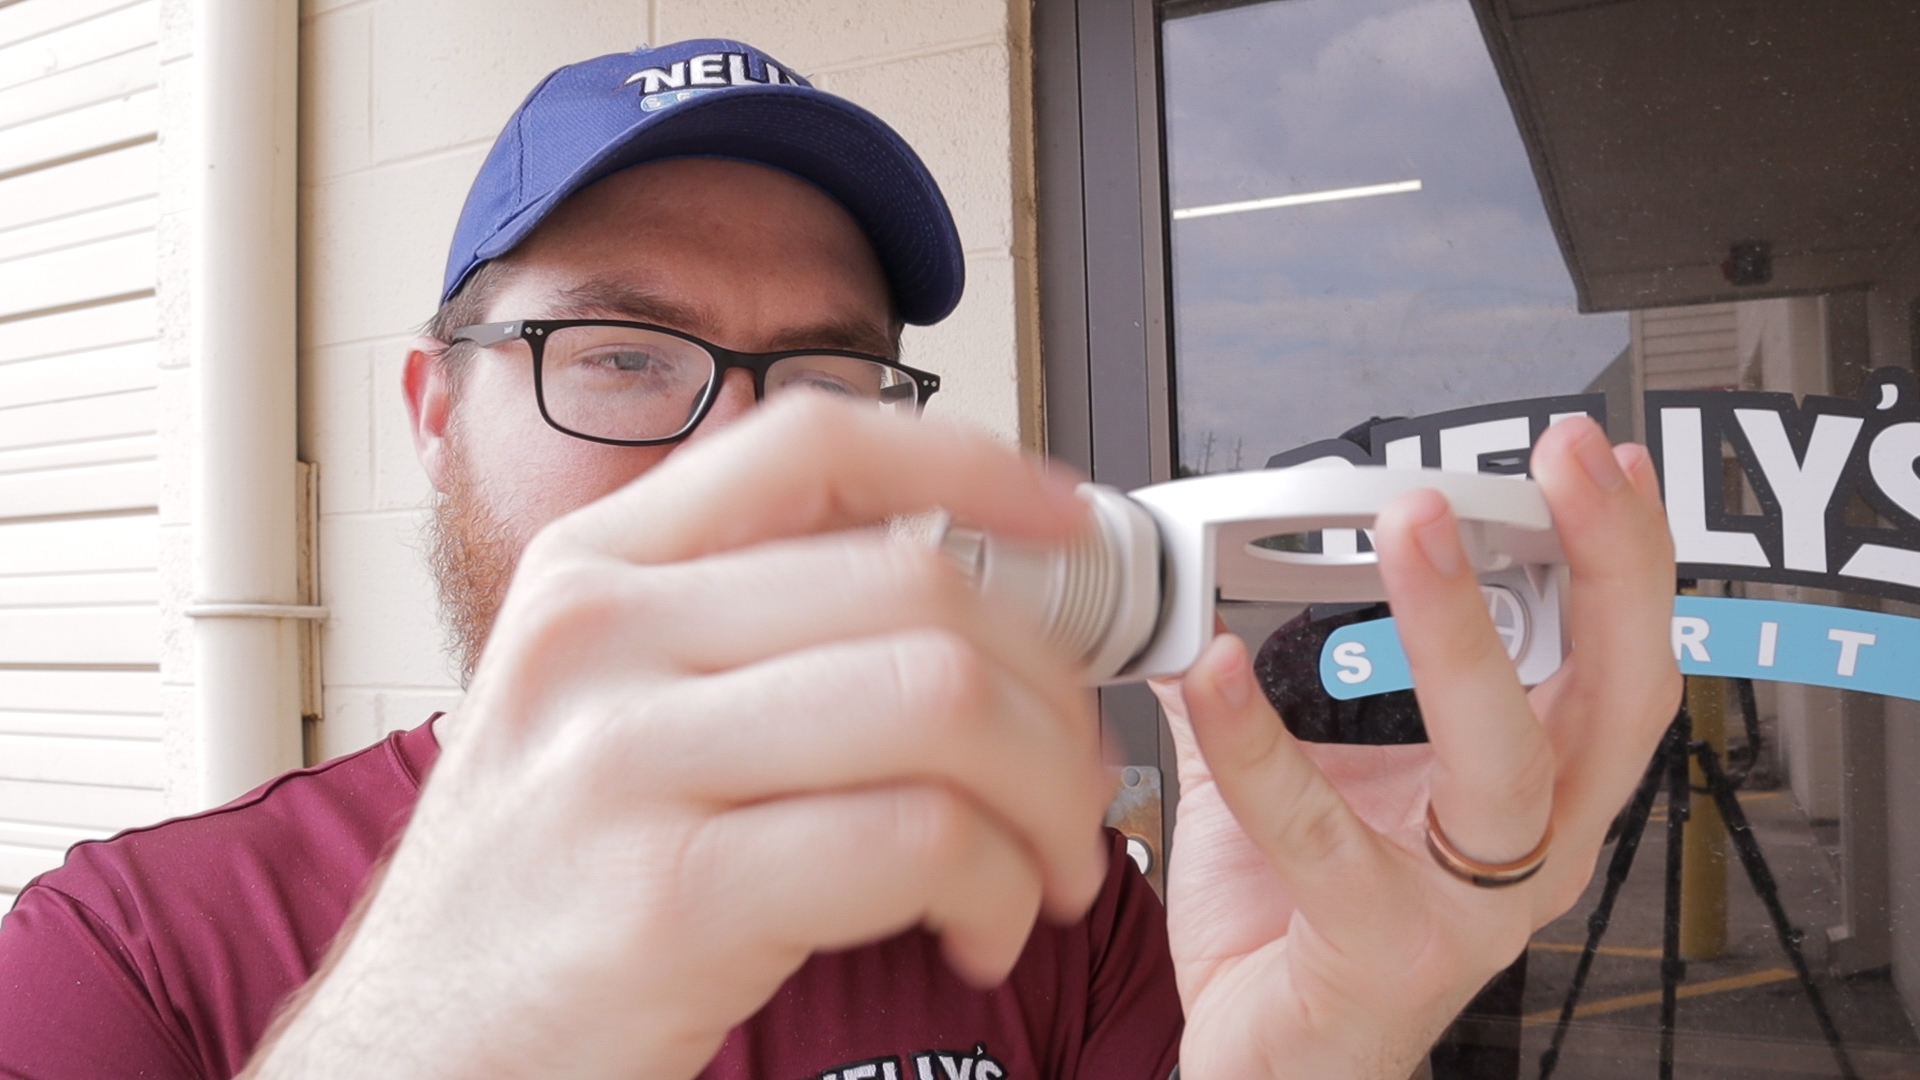
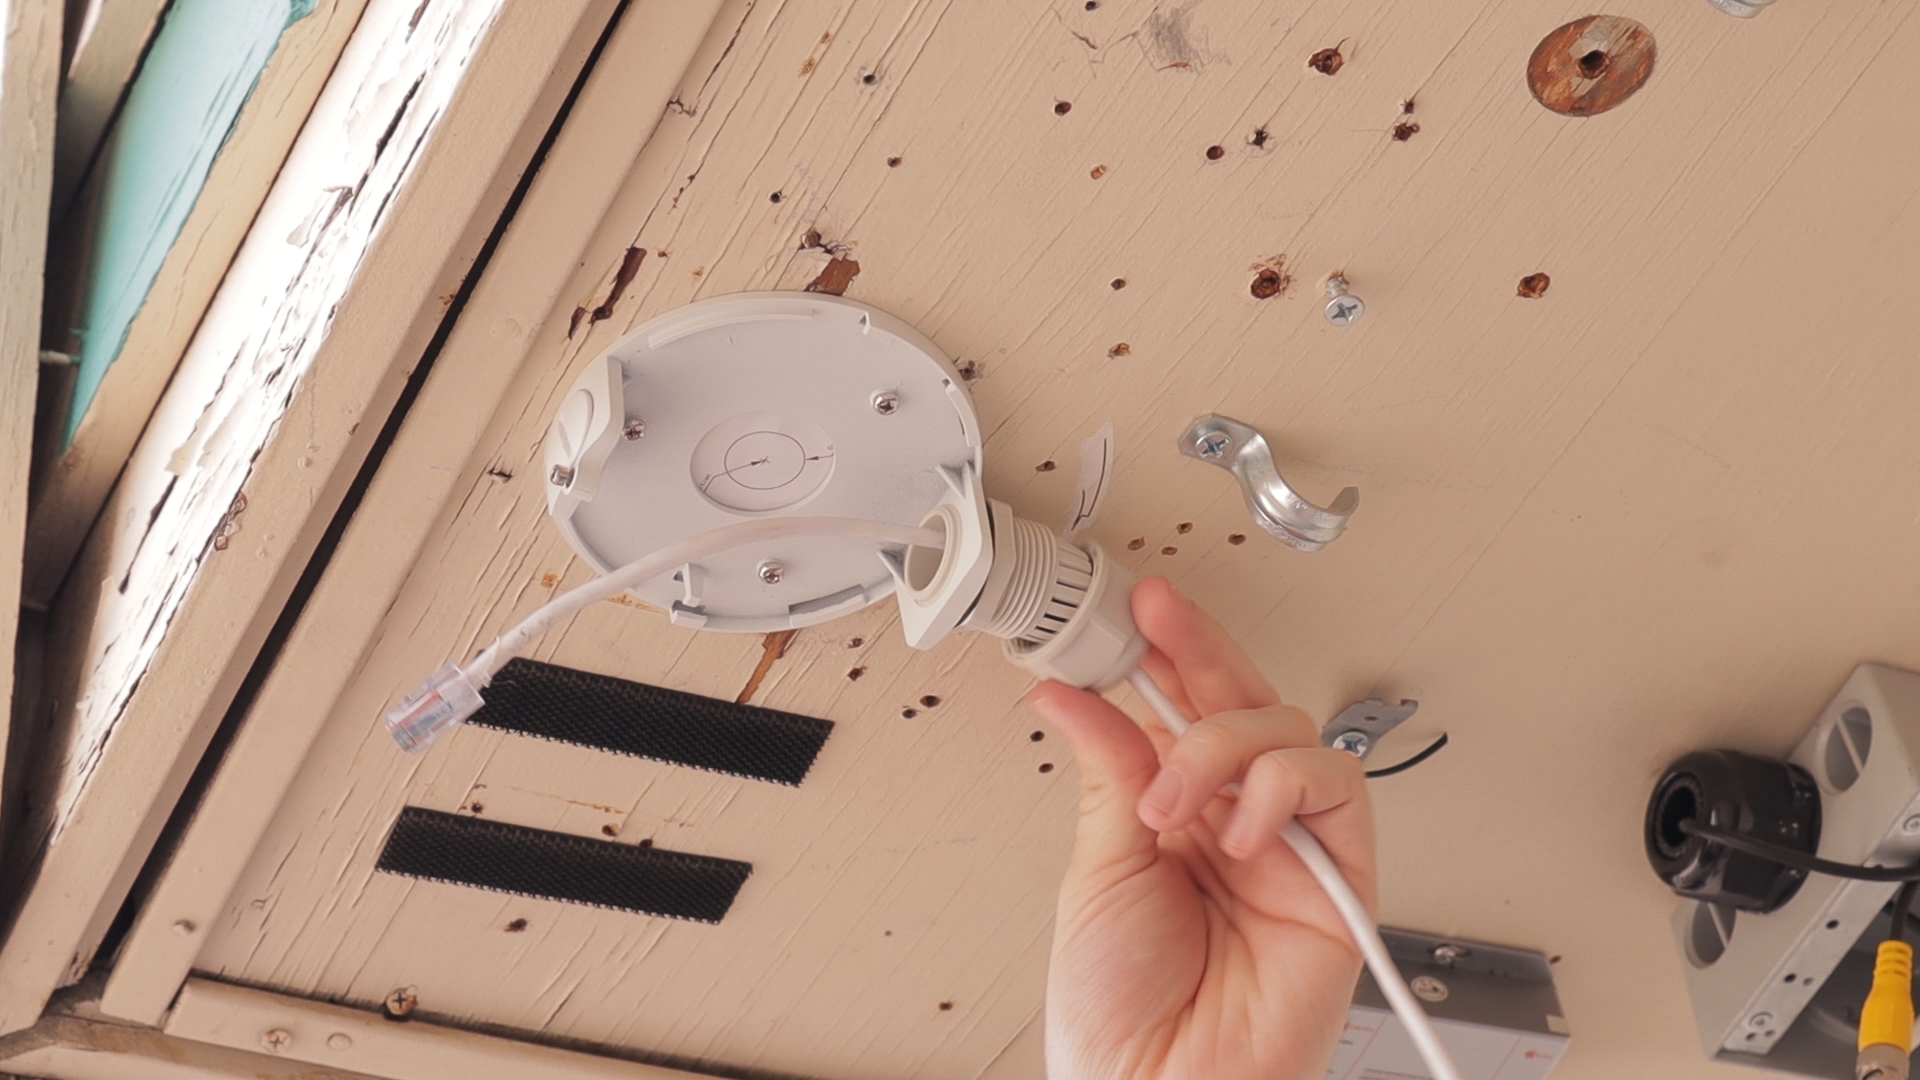
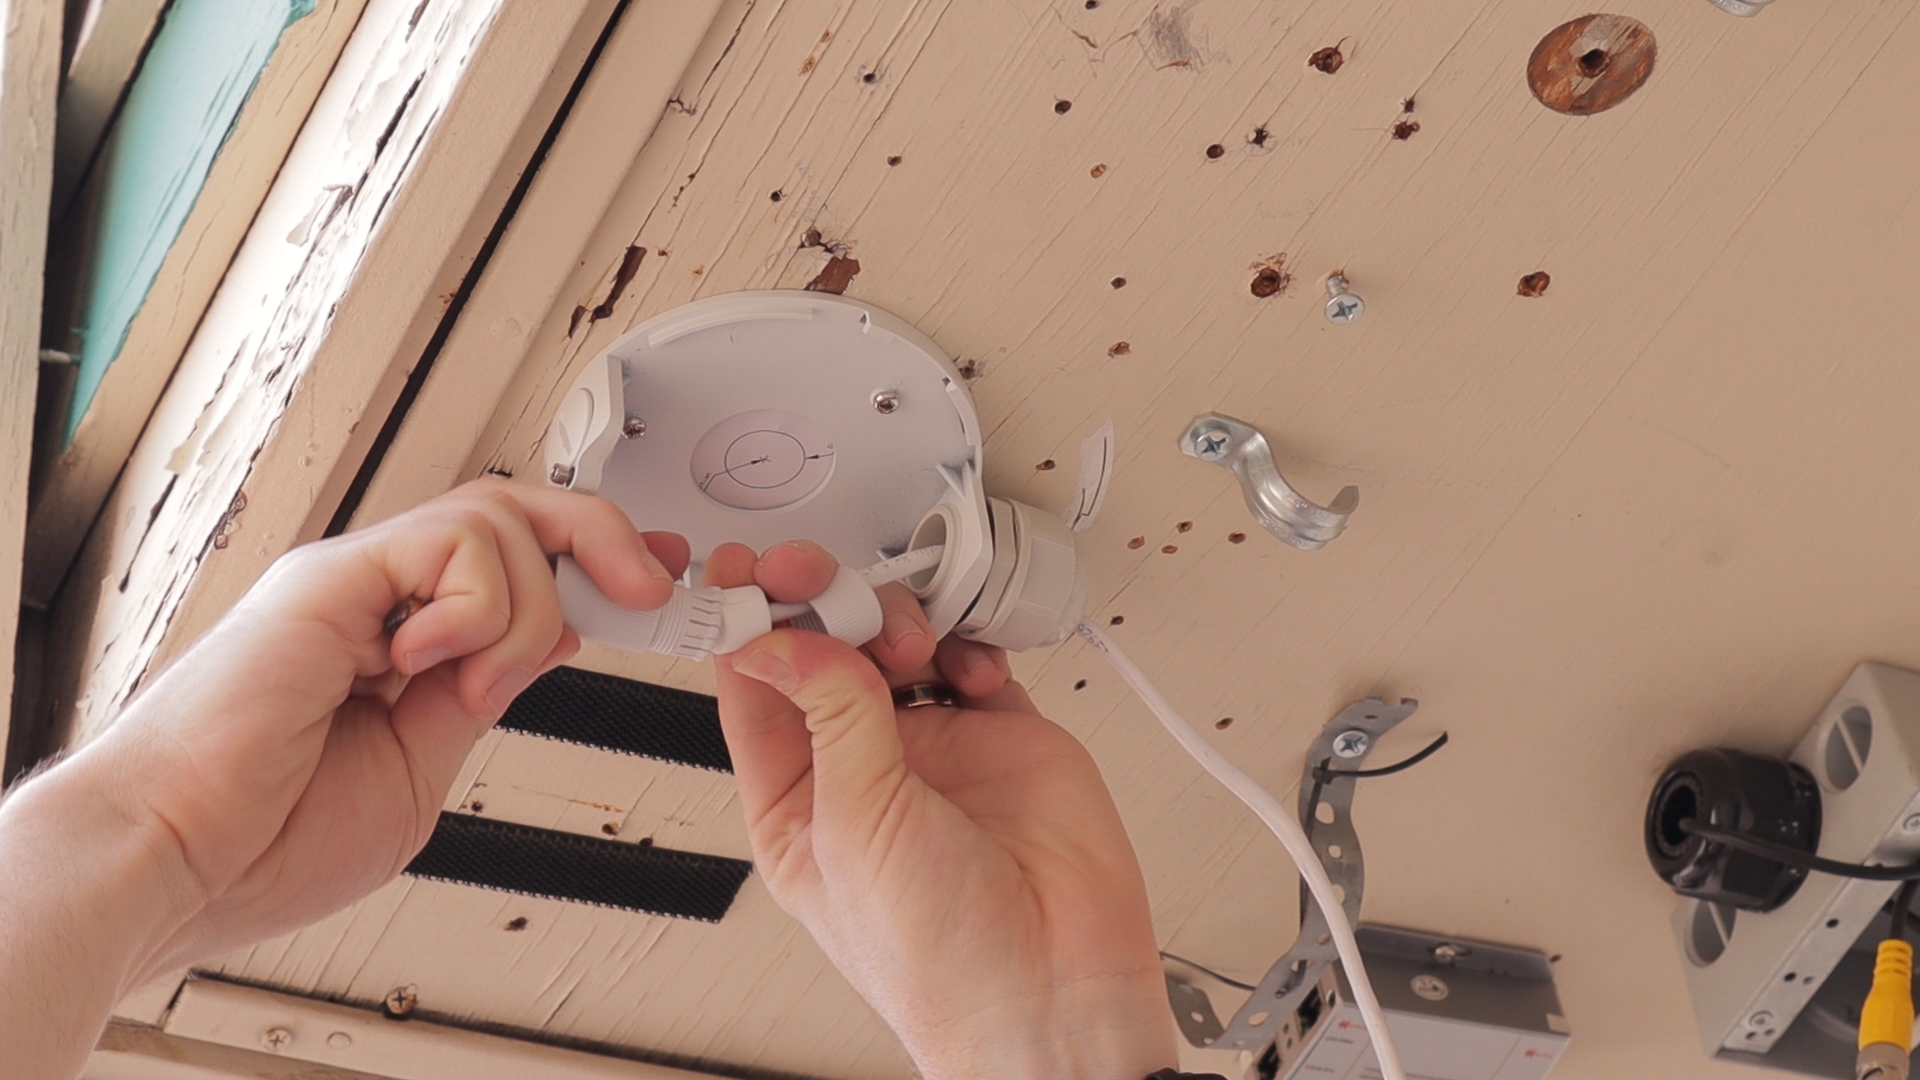
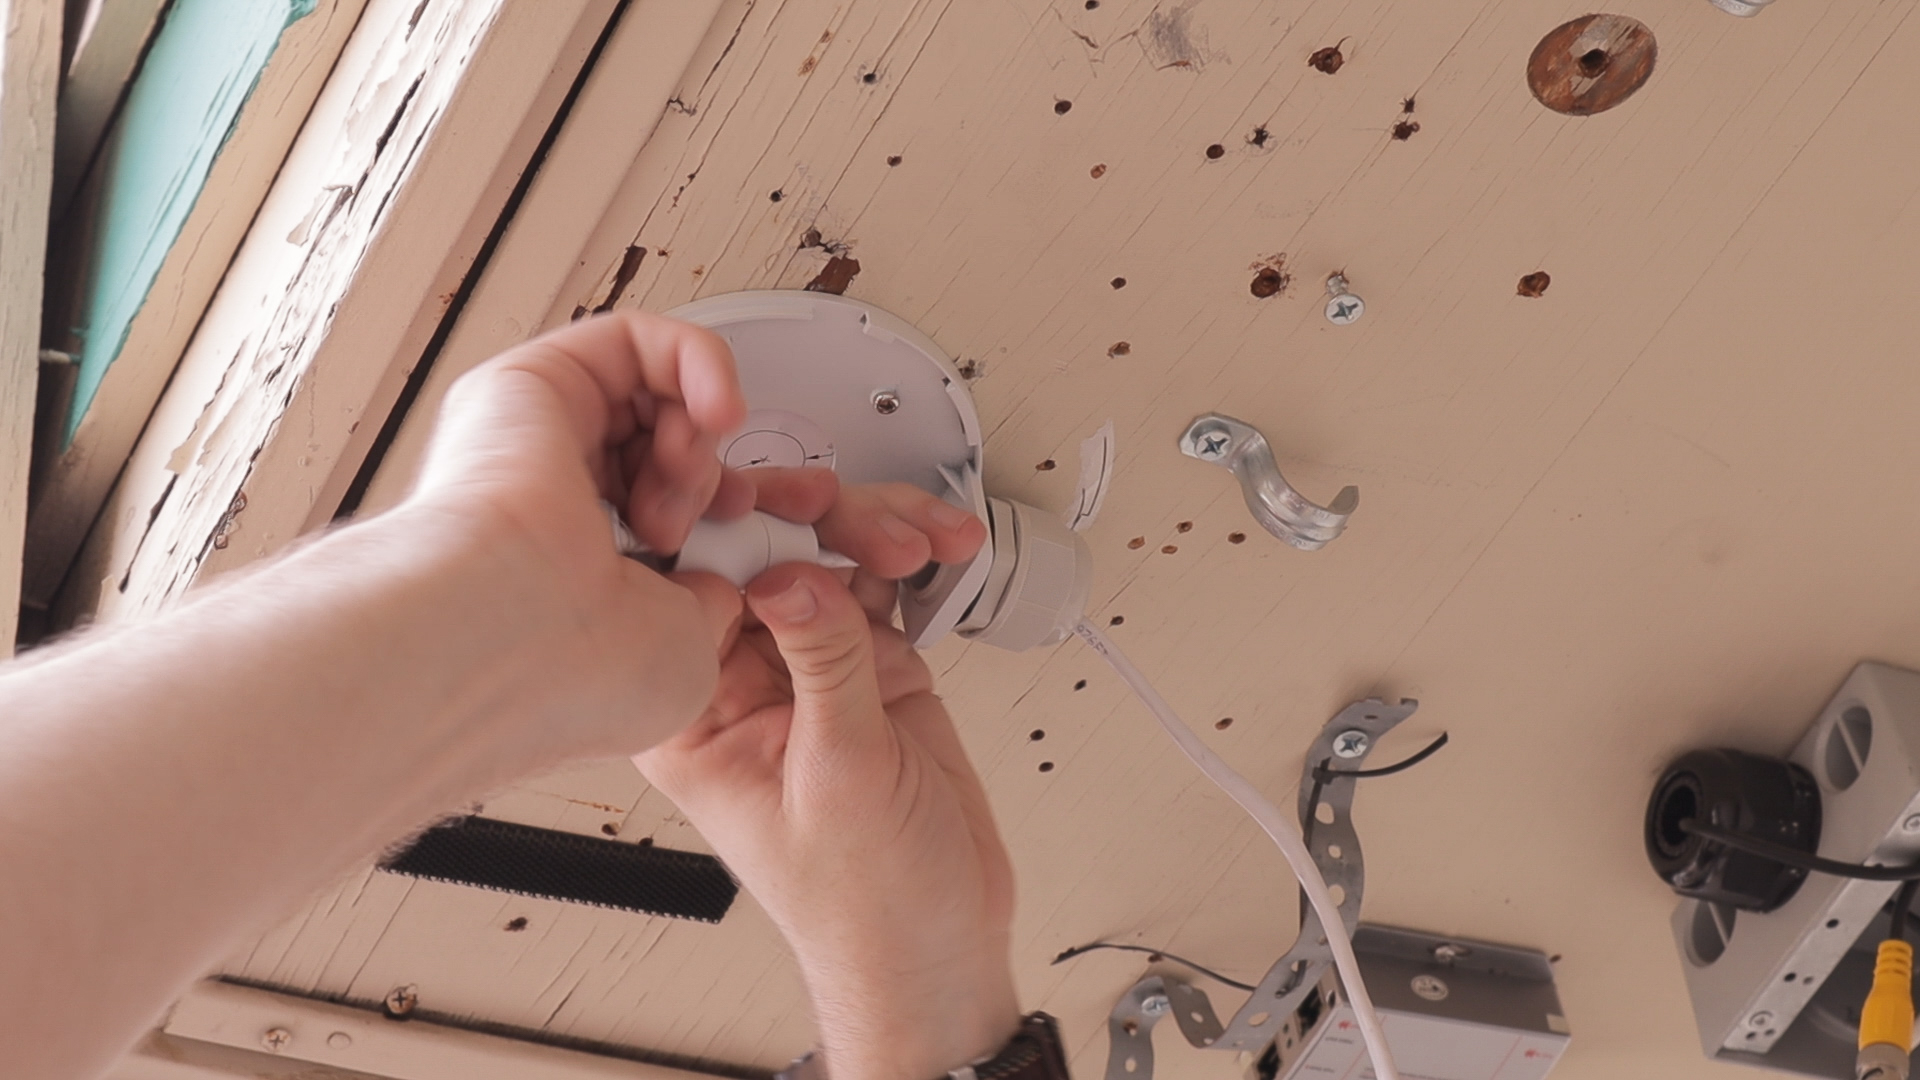
Even though the M5VD is rated 1P66 weatherproof, you have to make sure to properly seal your junction box and cable connections. Taking the time to do this up front will save you from a lot of headaches later down the road. It may look confusing at first, but it's simple to do. Remember the two weatherproofing grommets from earlier? Take the larger grommet and screw it into your junction box. Once you feed the cable through the junction box, seal the grommet with the black rubber seal.
For the Ethernet connection on the camera, you'll use the smaller grommet. Attach the pieces to the Ethernet cable in the order shown below. Be sure to seal the grommet with the white rubber seal. Wrap the rubber band around the cable connection on the camera. Connect the Ethernet cable to the camera and twist the grommet until it's nice and tight.
Weatherproofing the Junction Box
Weatherproofing the Ethernet Connection
If these directions are confusing, check out the tutorial below.
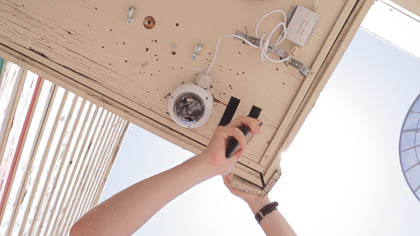
Adjusting the Camera
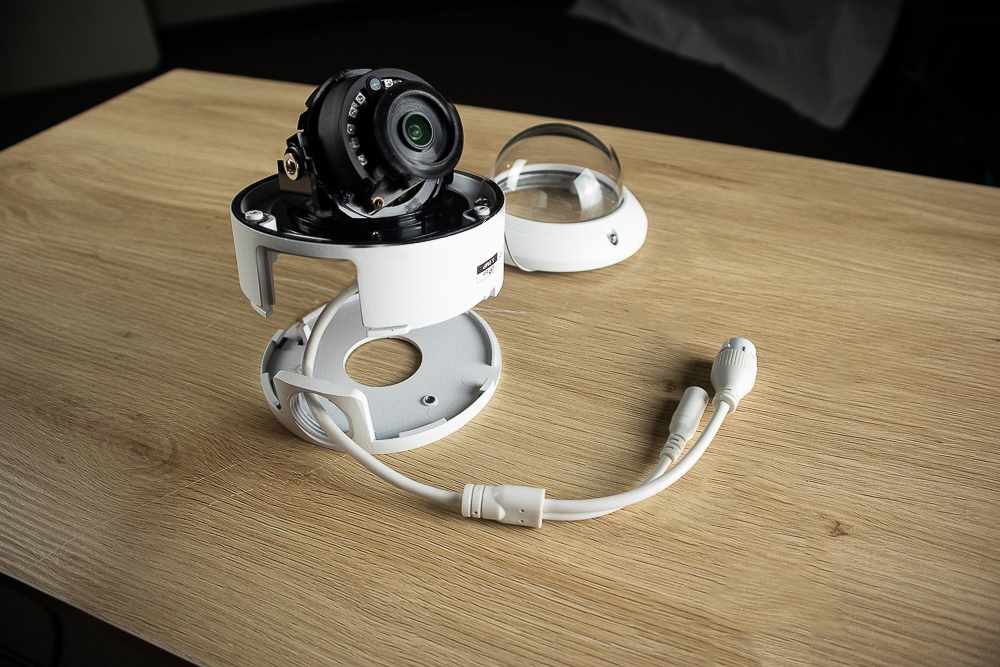
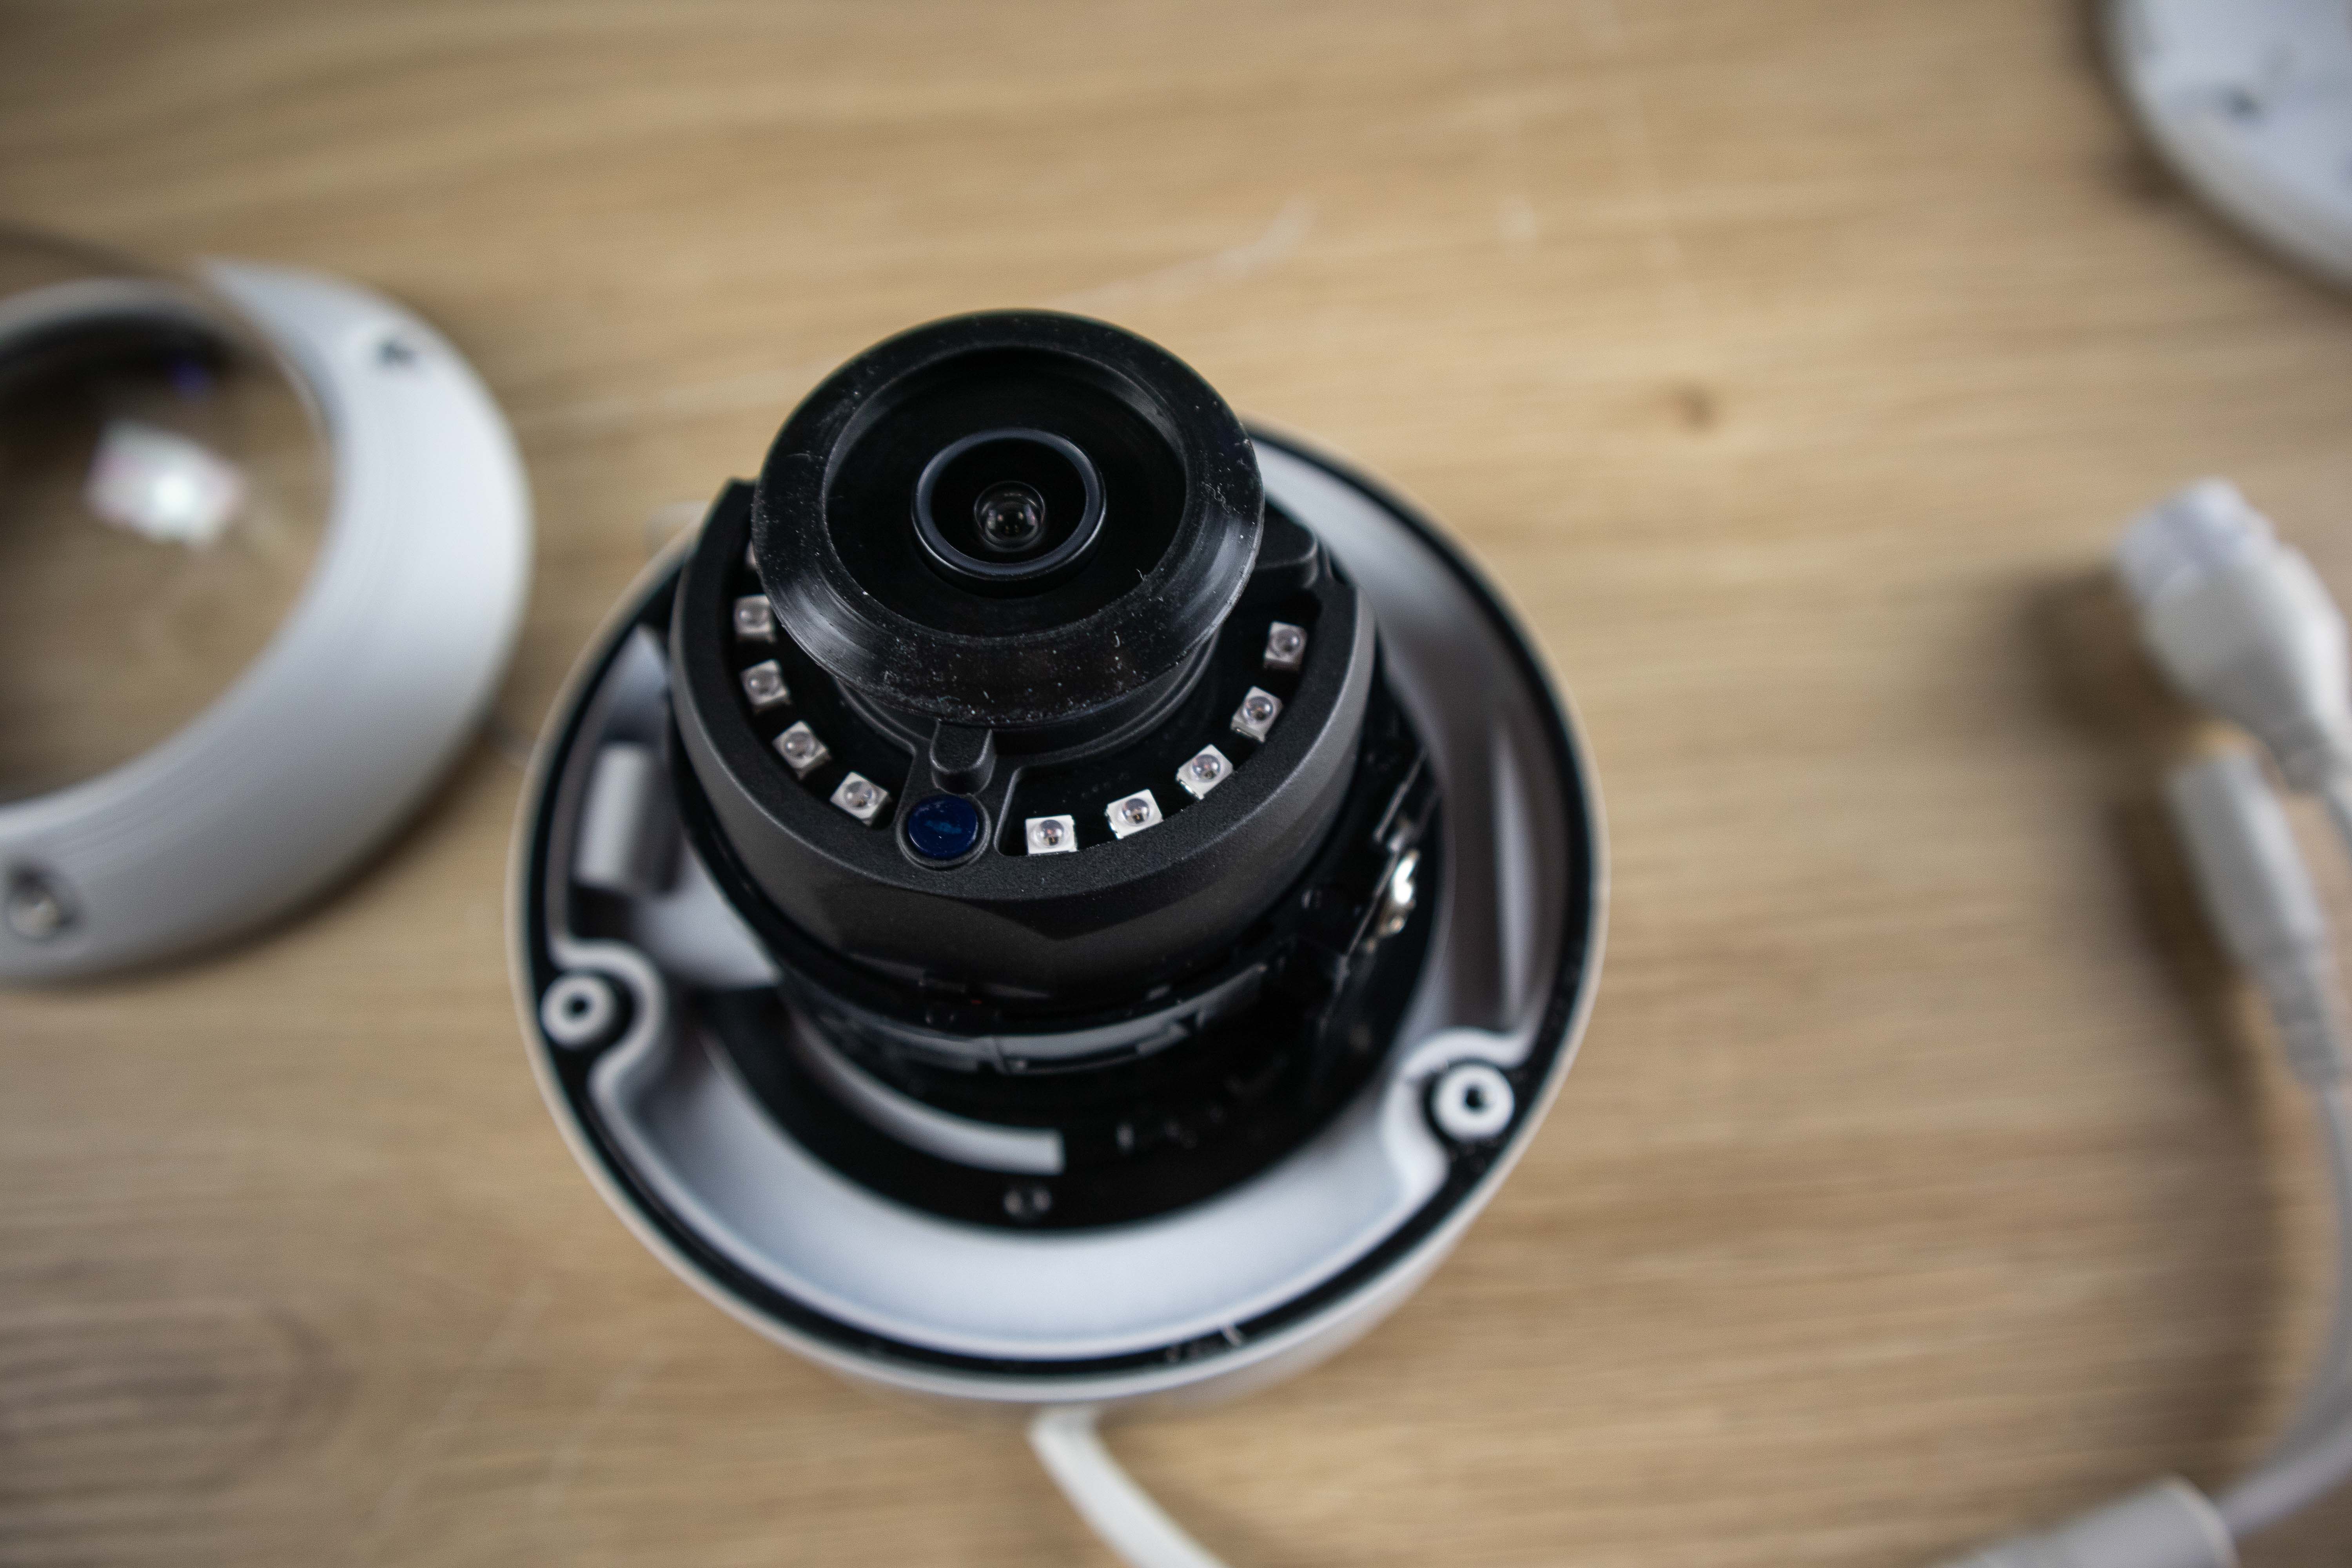
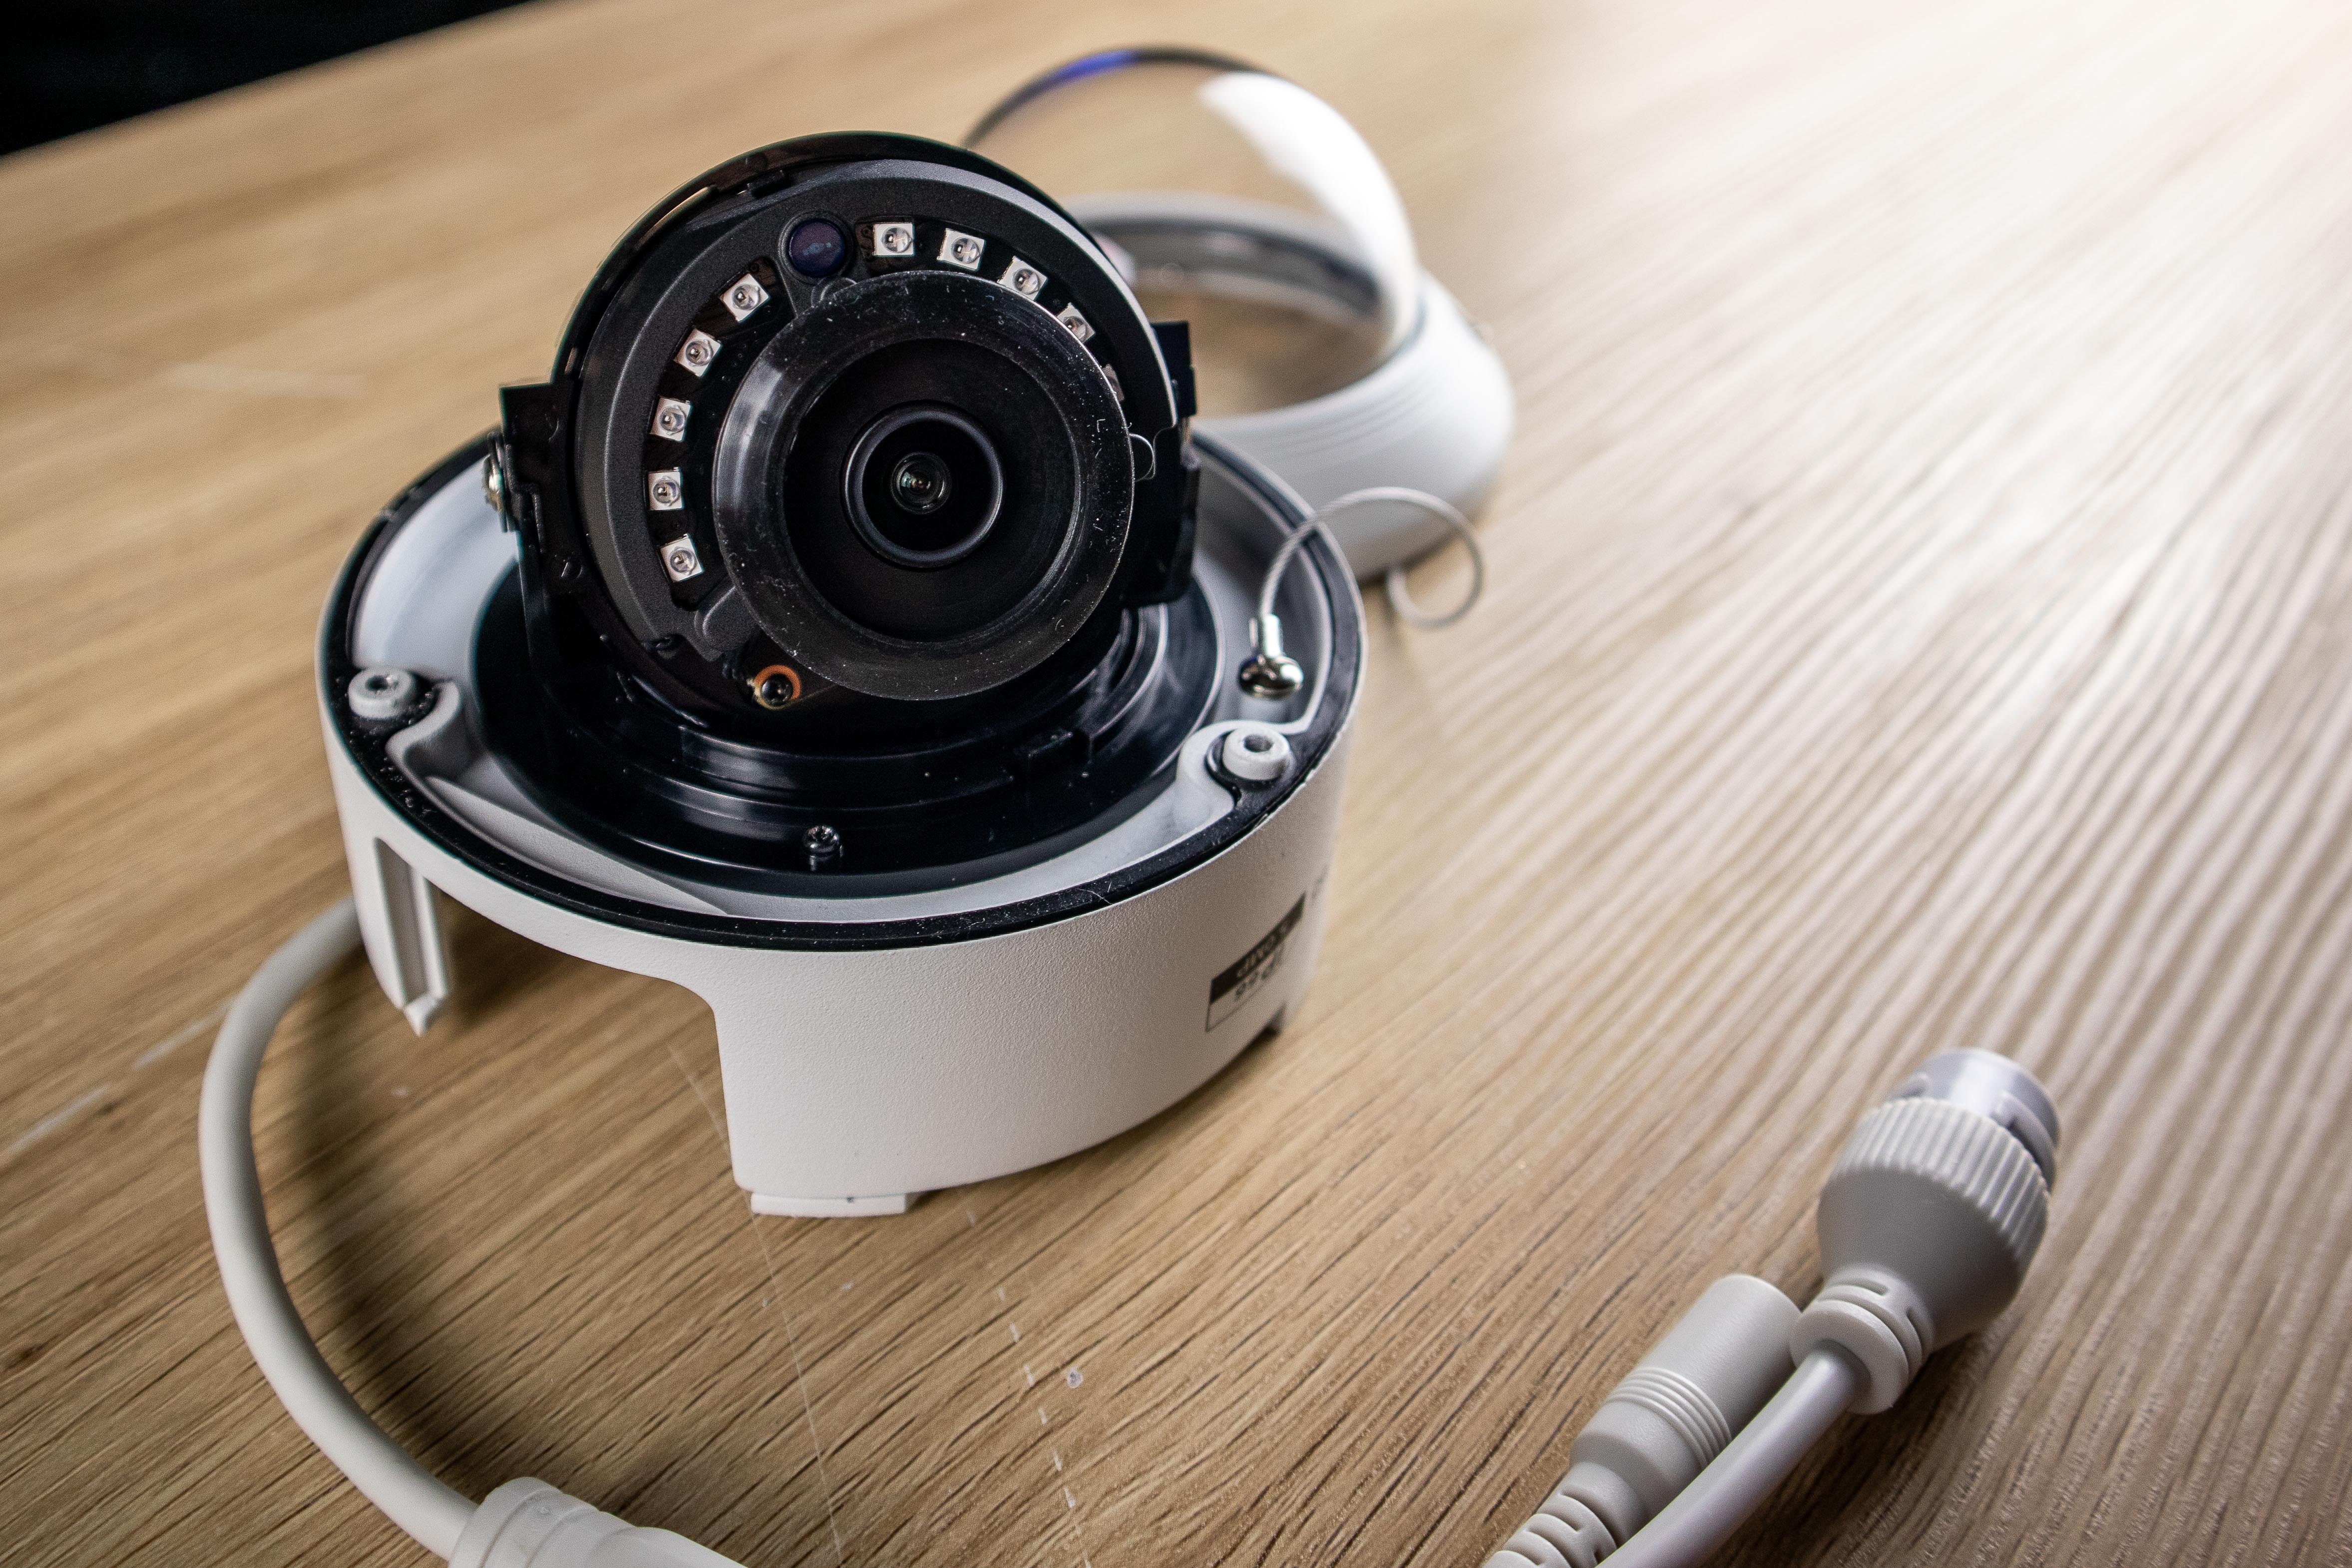
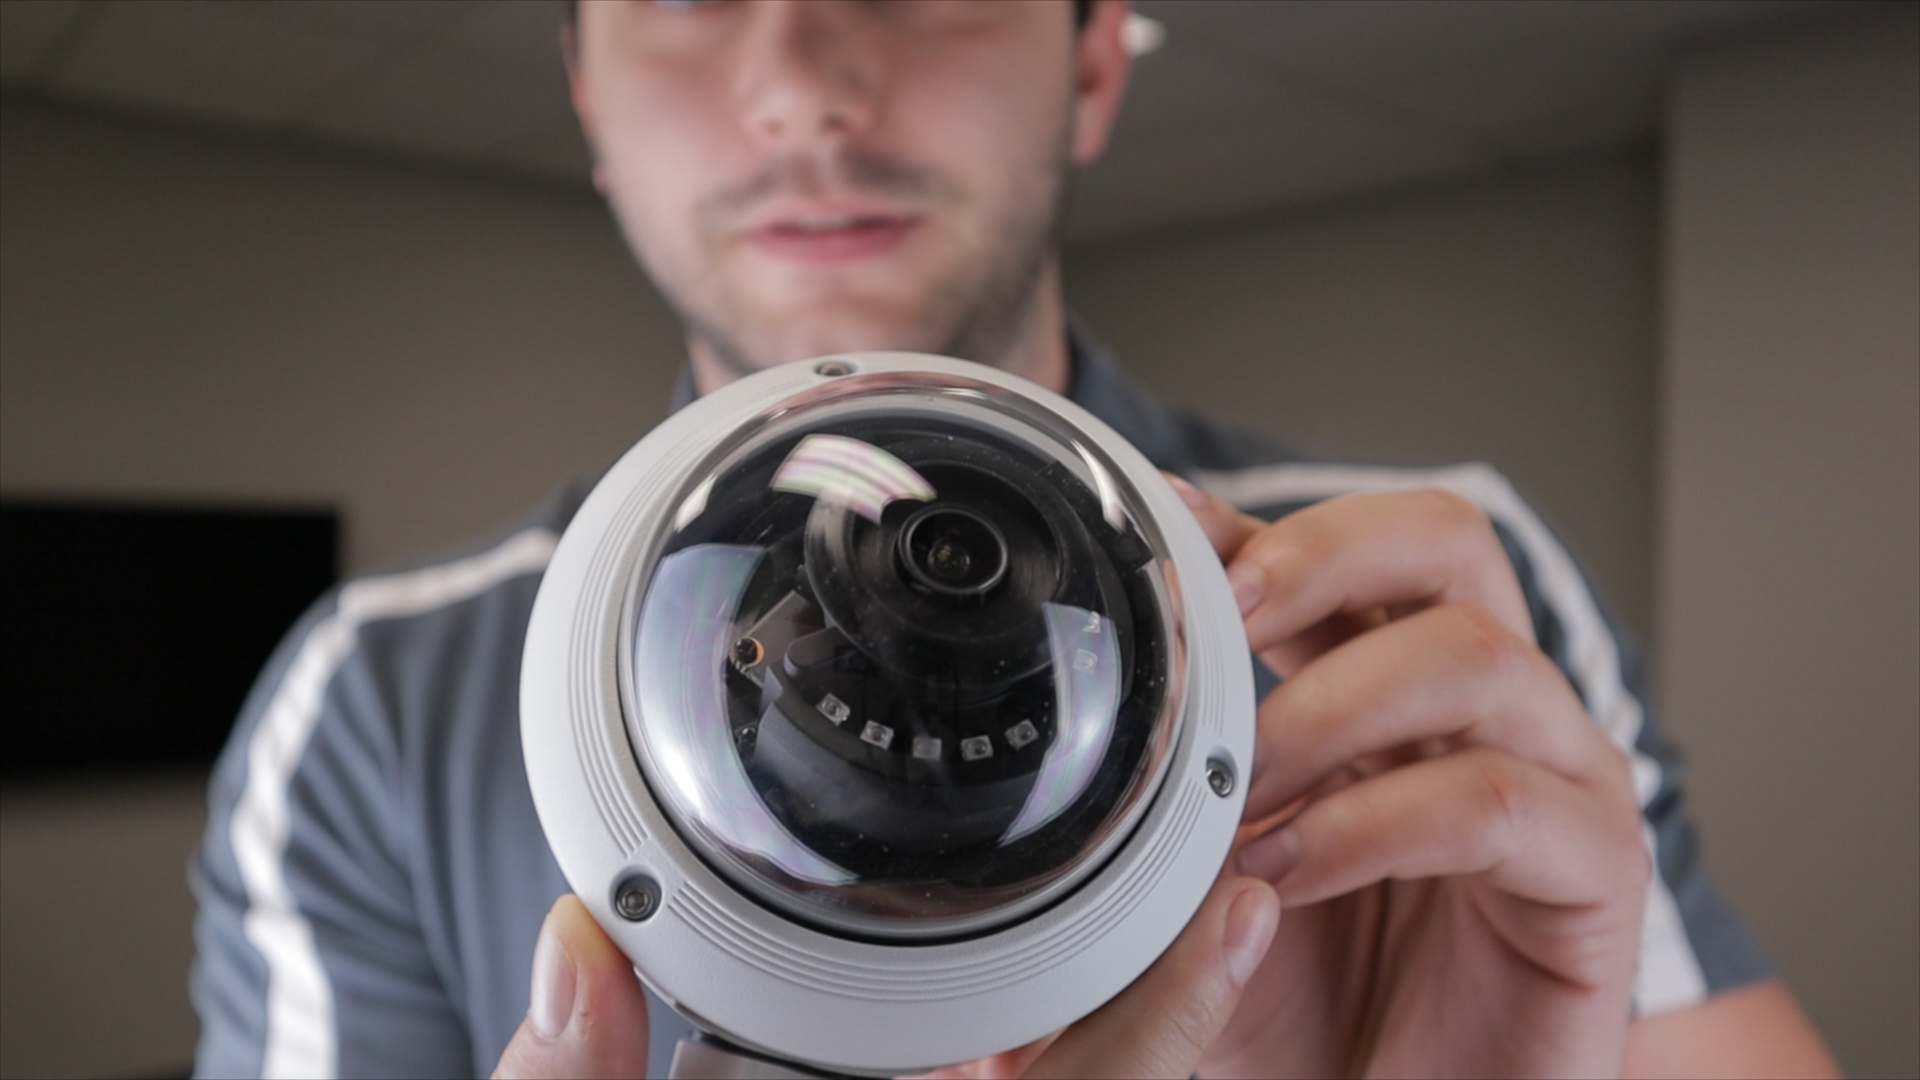
Now you can secure your camera into the junction box base by tightening the hex screw. Since this is a fixed lens camera, you'll have to make all your lens adjustments manually. To do this, unscrew the dome with the included hex wrench. Carefully remove the dome and adjust the lens side to side as needed. You'll need to loosen the screws in the side of the lens with a screwdriver in order to adjust the lens up and down.
Live Install
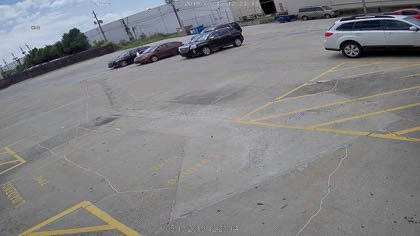
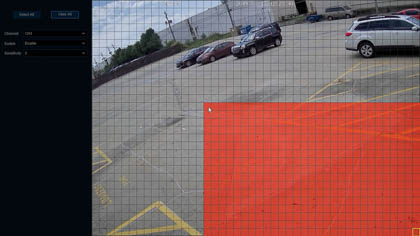
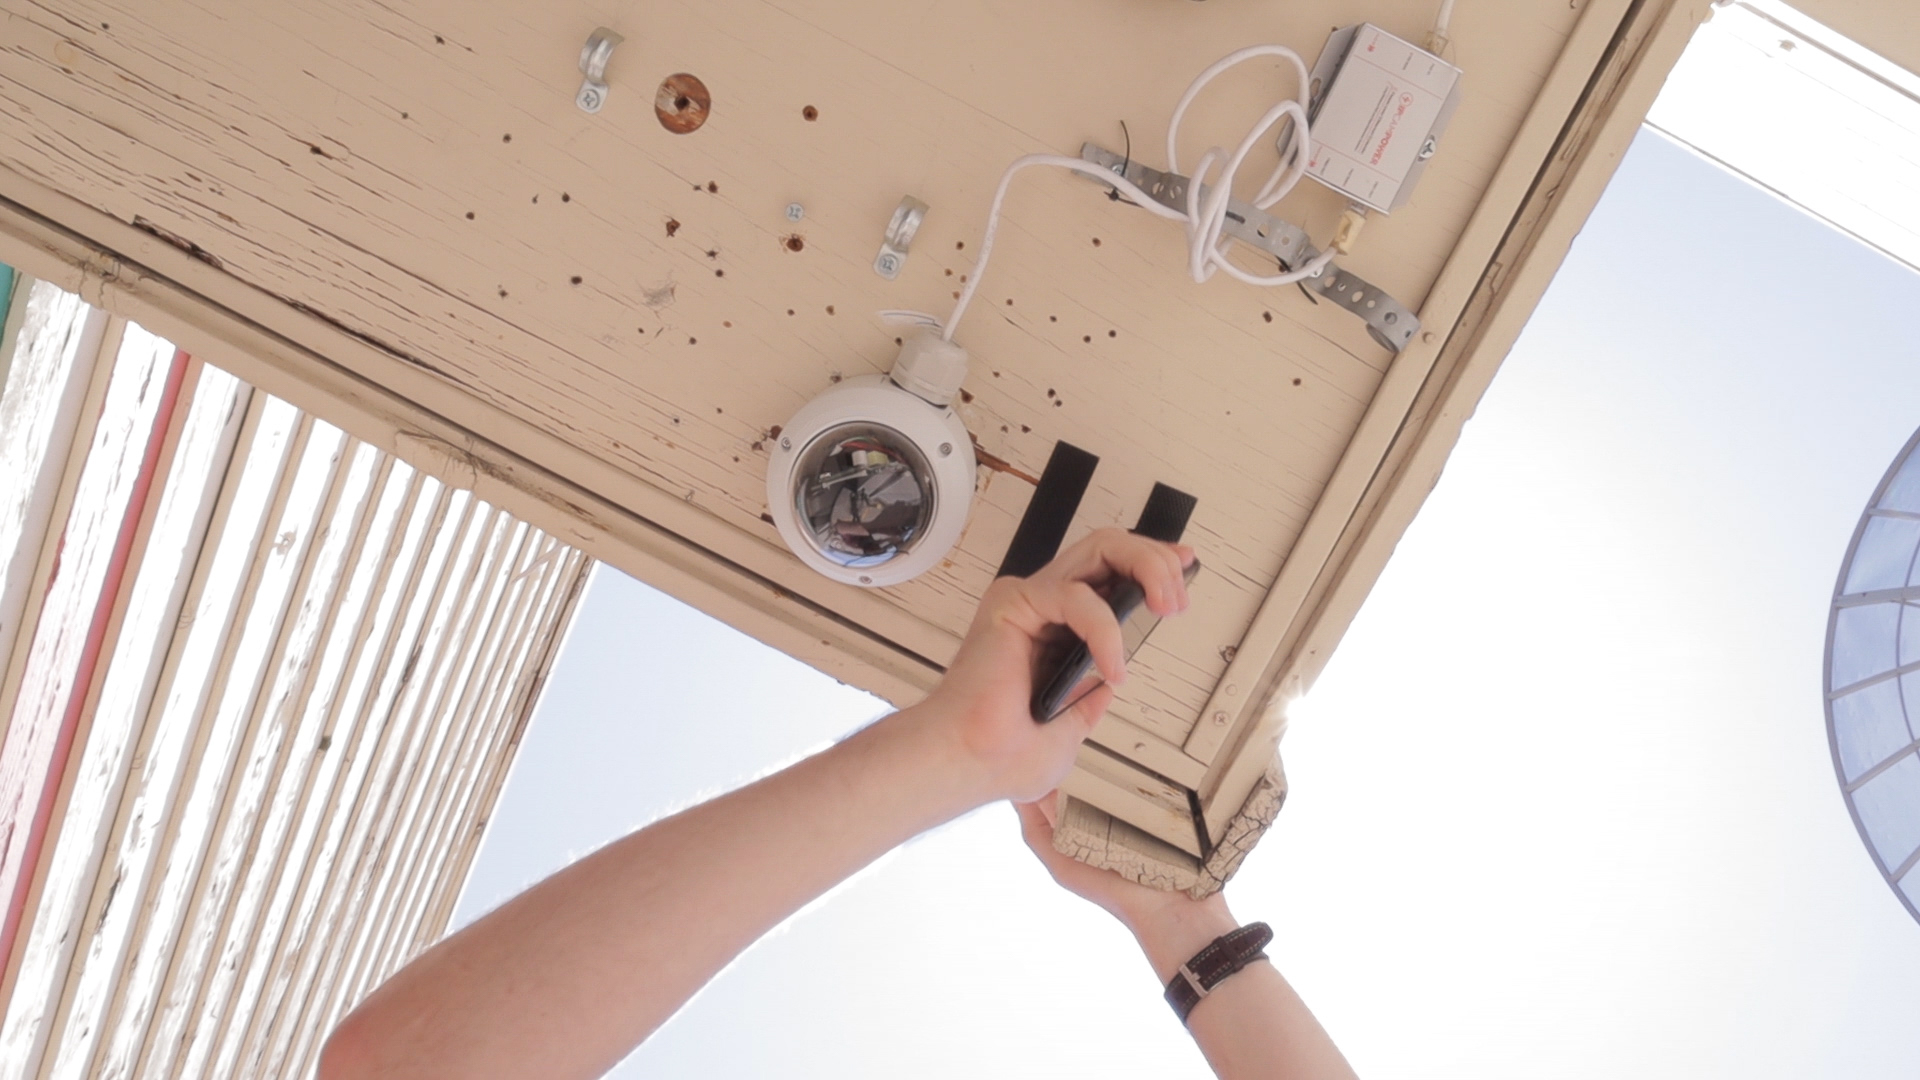
Check out the video below to see a real life installation of this camera. You'll notice a couple of things. First, you'll see that the camera was painted a dark color to better match its environment (if you're interested in learning more, click here to check out our blog post about how to paint your security cameras). Also, you'll see that there was a tree standing pretty close to the camera in the middle of its field of view. During the night, this blocked a lot of the infrared light emitted by the camera, causing the picture to appear darker past the tree.
In this video, you'll find some helpful tips for adjusting your camera in these kinds of scenarios. If you're not completely happy with the way your image looks at night, consider playing around with the BLC and WDR setttings. We found that for this situation, it took a combination of both settings to produce the perfect night-time image. But it may take a bit of experimenting before you find the perfect balance for your camera.
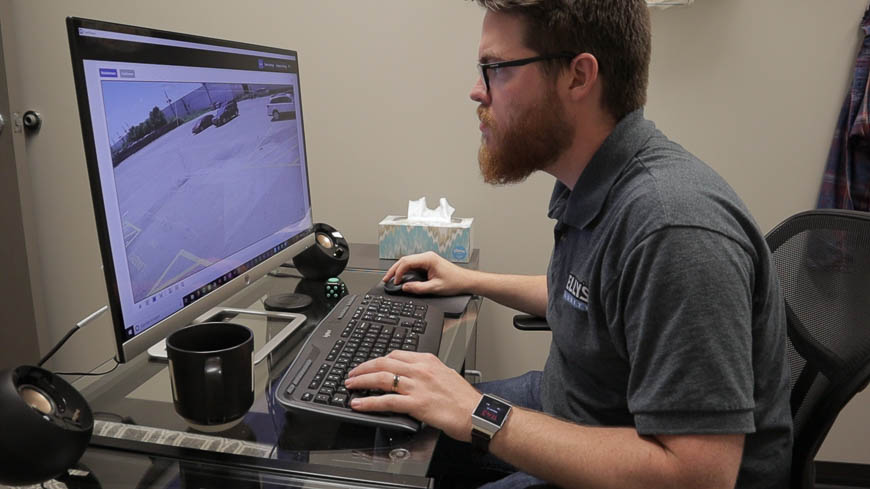
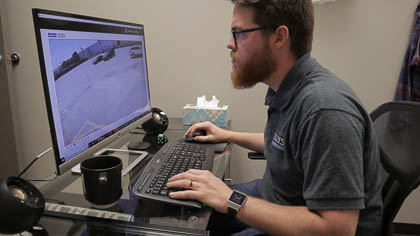
Interface
Now that the camera is installed outside, it's time to activate it on our network. If you're used to activating security cameras, this process is going to blow your mind. It's so much simpler and faster than other cameras. All you need is your cell phone, a computer, or an NVR.
Activating Your Camera with a Mobile Device
This is the easiest way to activate your camera and view your live feeds. To get started, download and open the Eyecam application (available for free on Google Play or the App Store).
When you launch the app for the first time, click on the plus icon in the top right-hand corner of the app. Follow the on-screen prompts to add your camera to your list of devices, which is as simple as scanning the QR code on the camera or on the box.
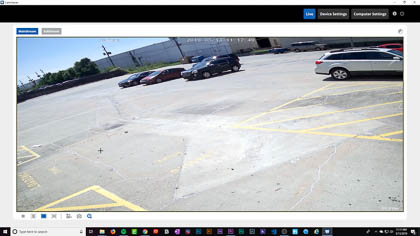
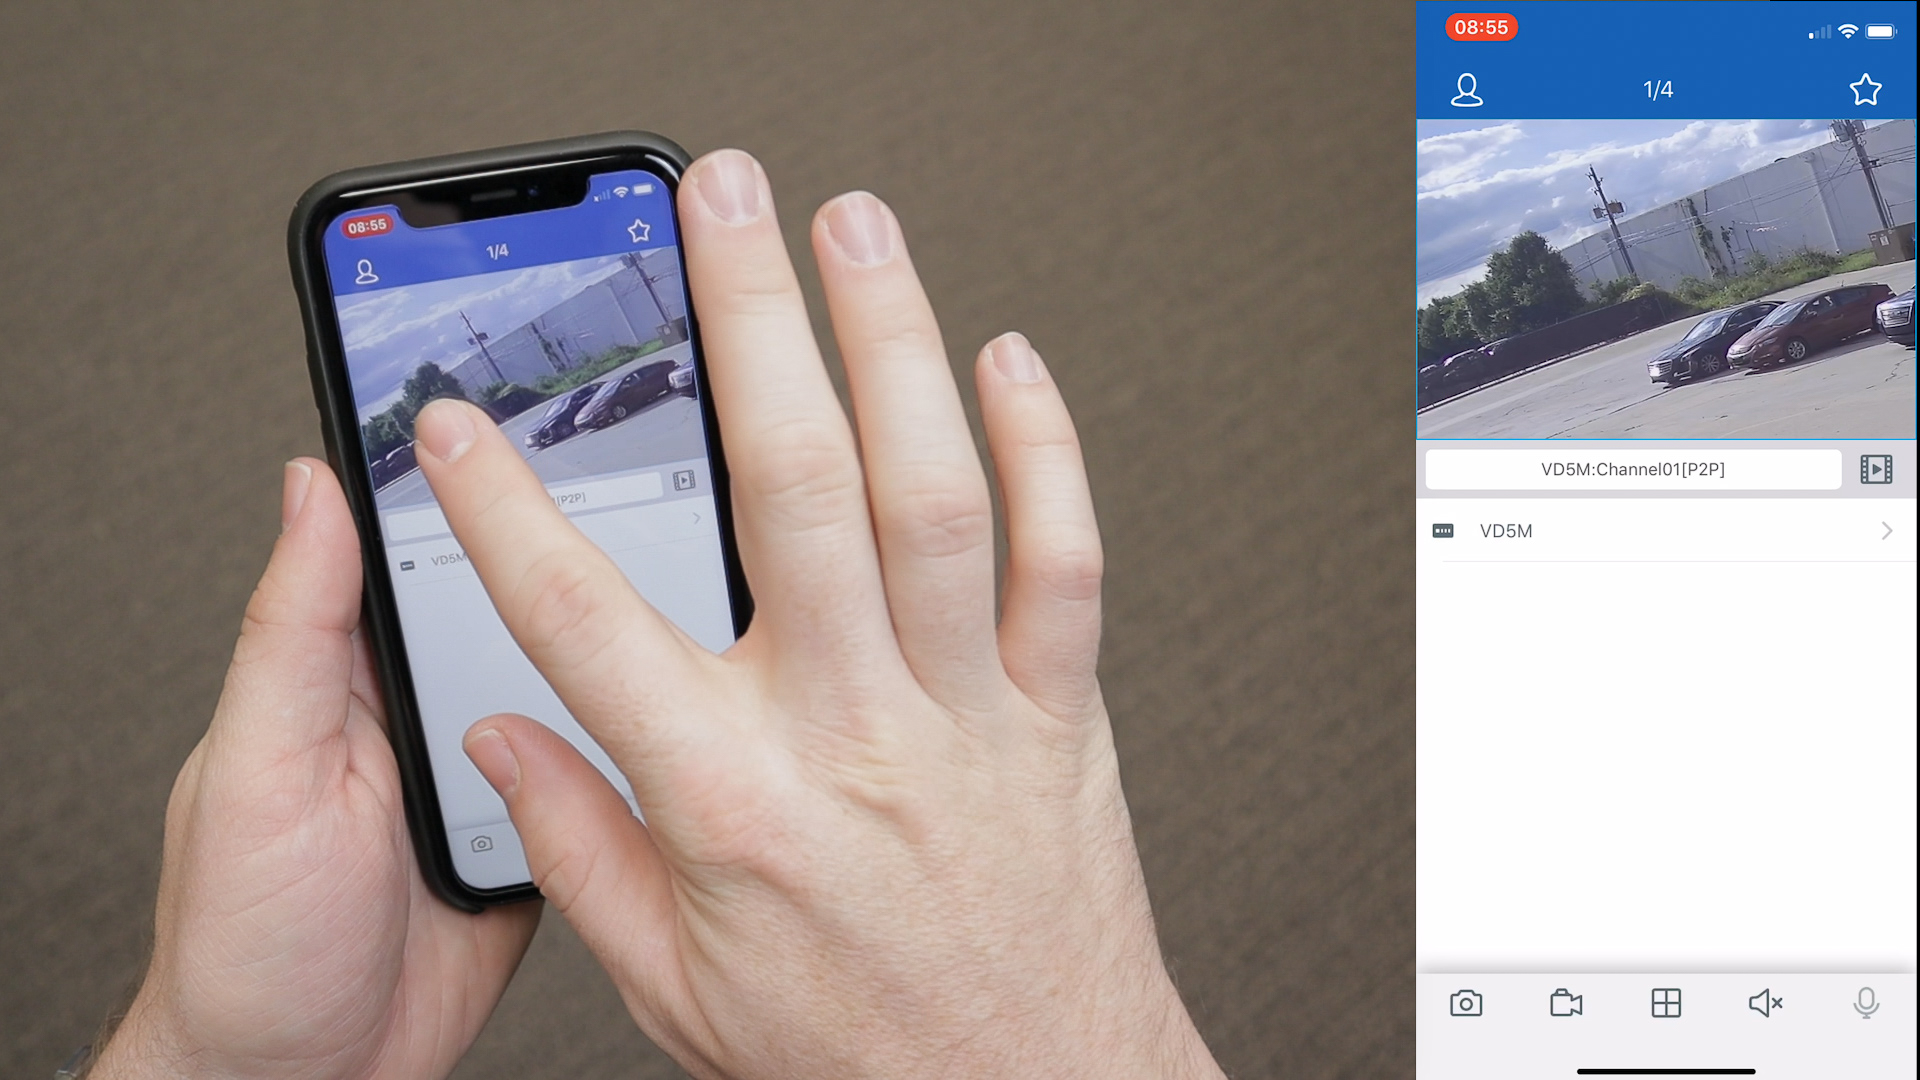
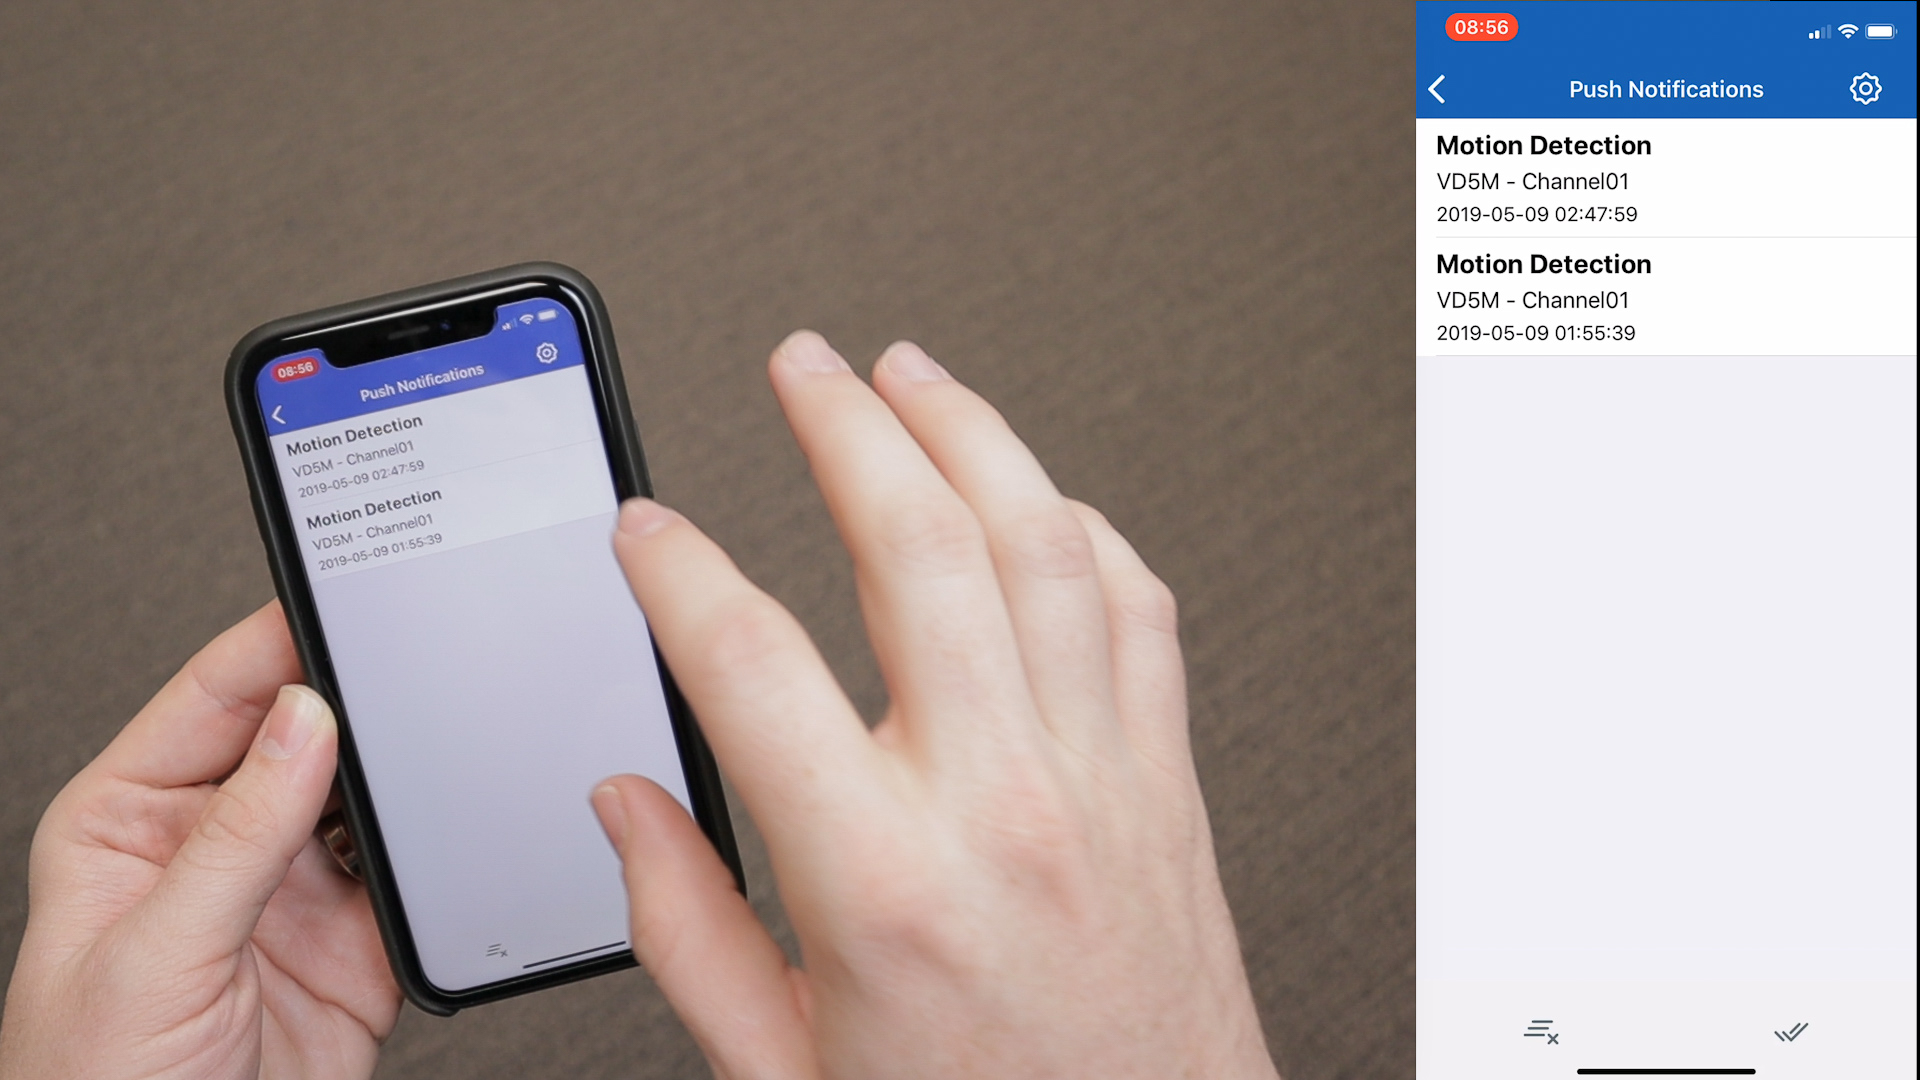
From your mobile device, you'll be able to check your camera's live feeds anytime and anywhere. Zoom in and out, pan around the screen, and make simple image adjustments. You can also manage your notification settings in order to receive push notifications anytime the camera detects motion.
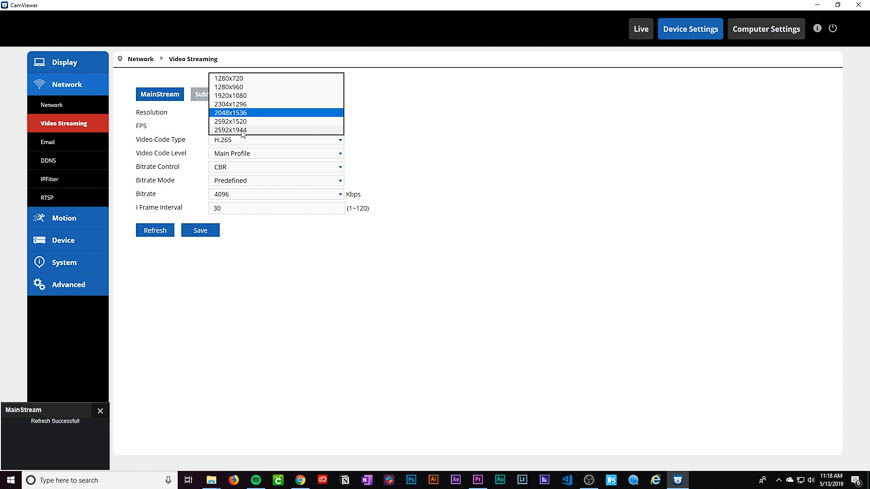
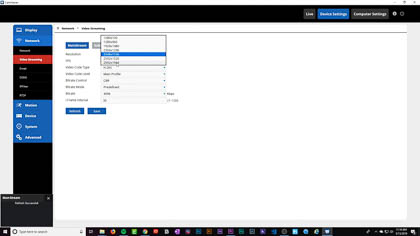
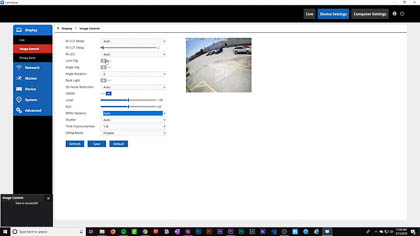
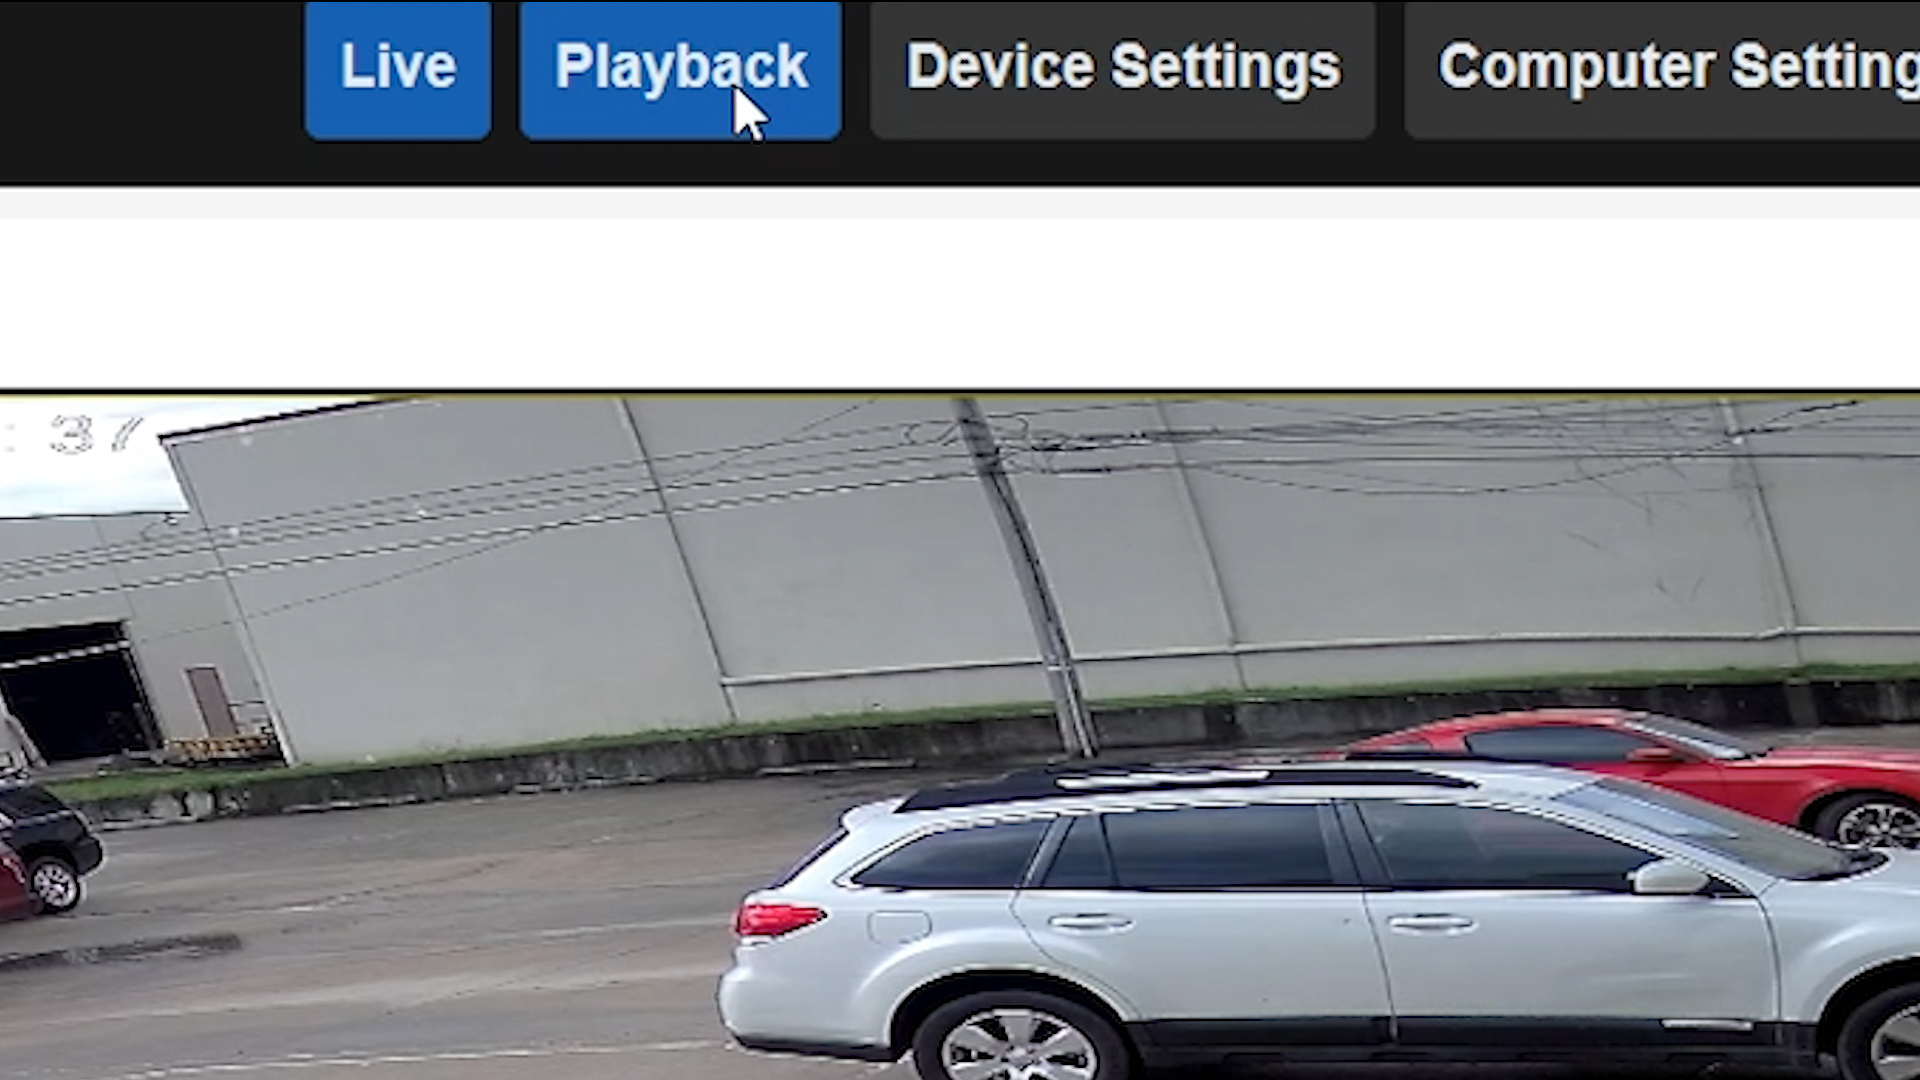
Activating Your Camera with a Computer

To activate your camera from your computer, download and install the Camviewer desktop application. You can install this program using the software CD that came with your camera, or you can download it from the product page by clicking "downloads" toward the bottom of the screen.
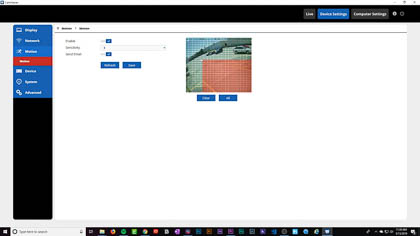
Simply enter your camera's information into the login screen and your camera will be activated and ready to go. As with the mobile application, you can view your camera feeds, digitally zoom and pan, and adjust the image. You also have access to basic settings, such as editing motion detection fields and privacy zones.


Activating Your Camera with an NVR
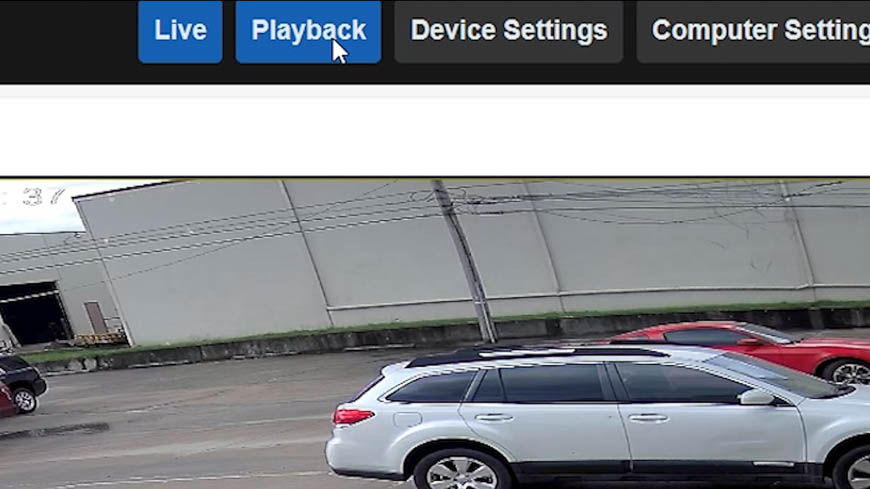
With both the mobile and desktop applications, you can take manual recordings and screenshots. However, since there is no port for an SD card, if you want your camera to record continuously or with a motion detection event, you'll need to add your camera to an NVR.

These cameras are ONVIF compliant. That means if you already have an NVR, you can add this camera to it without any compatibility issues. However, if this is your first system, we recommend sticking with the same brand. Our R-Series NVR's were designed from the ground up with these R-Series cameras in mind. With these NVR's, simply plug the camera into the PoE switch in the back and it will instantly be added to the recorder.
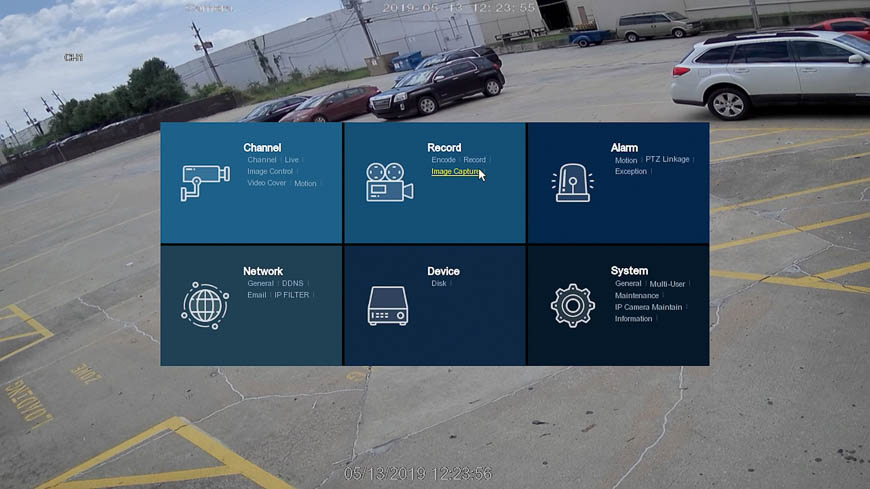
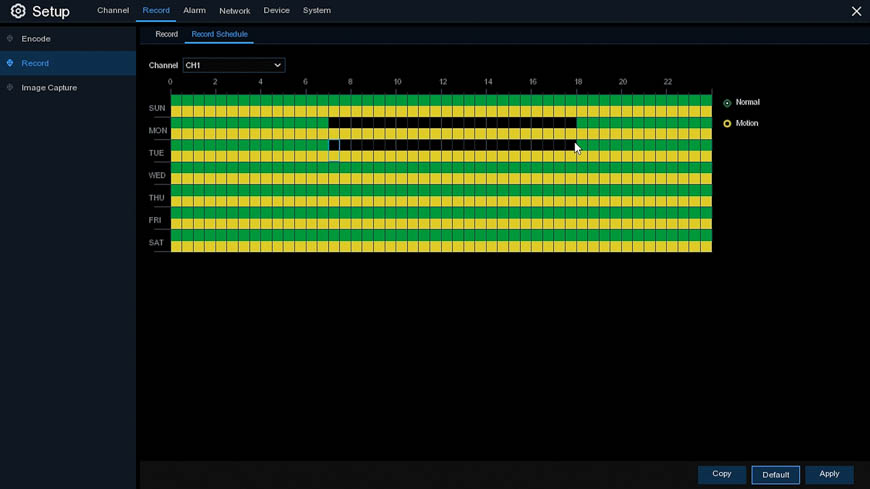
From the NVR, you'll have access to all the features and settings that you have on the mobile and desktop applications. But you'll also have access to additional features, such as setting up recording schedules.


Once you have recording schedules set up, your NVR will automatically store recordings to its hard drive. You can access these recordings directly from your NVR. But you can also remotely access your NVR using the mobile and desktop applications. From your mobile phone, scan the QR code on your NVR's box to add it to your device list. On your computer, log out of your camera's interface and log back in using your NVR's information. Now you will be able to access your saved recordings from your NVR remotely using your phone or computer.
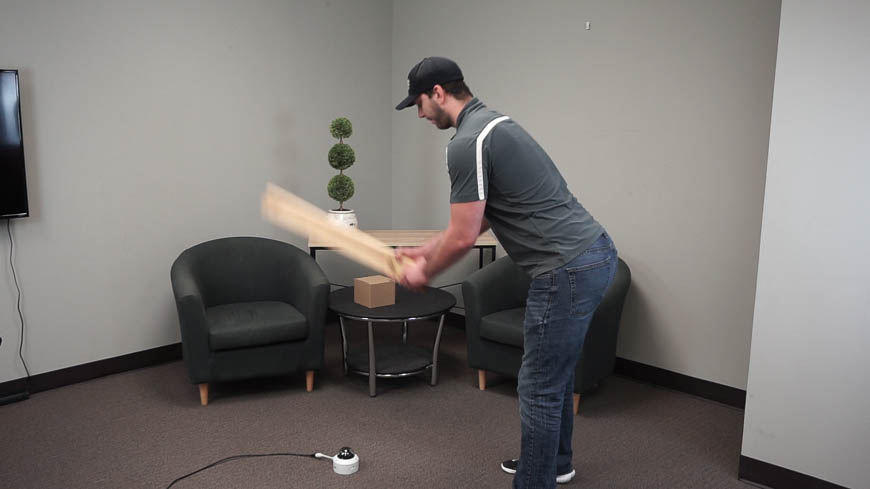
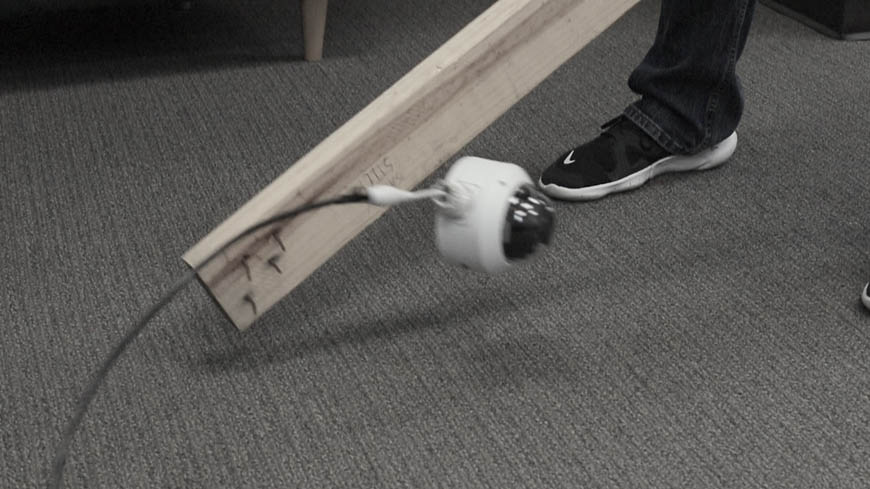
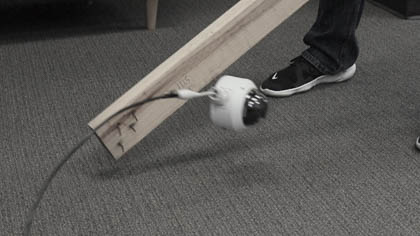
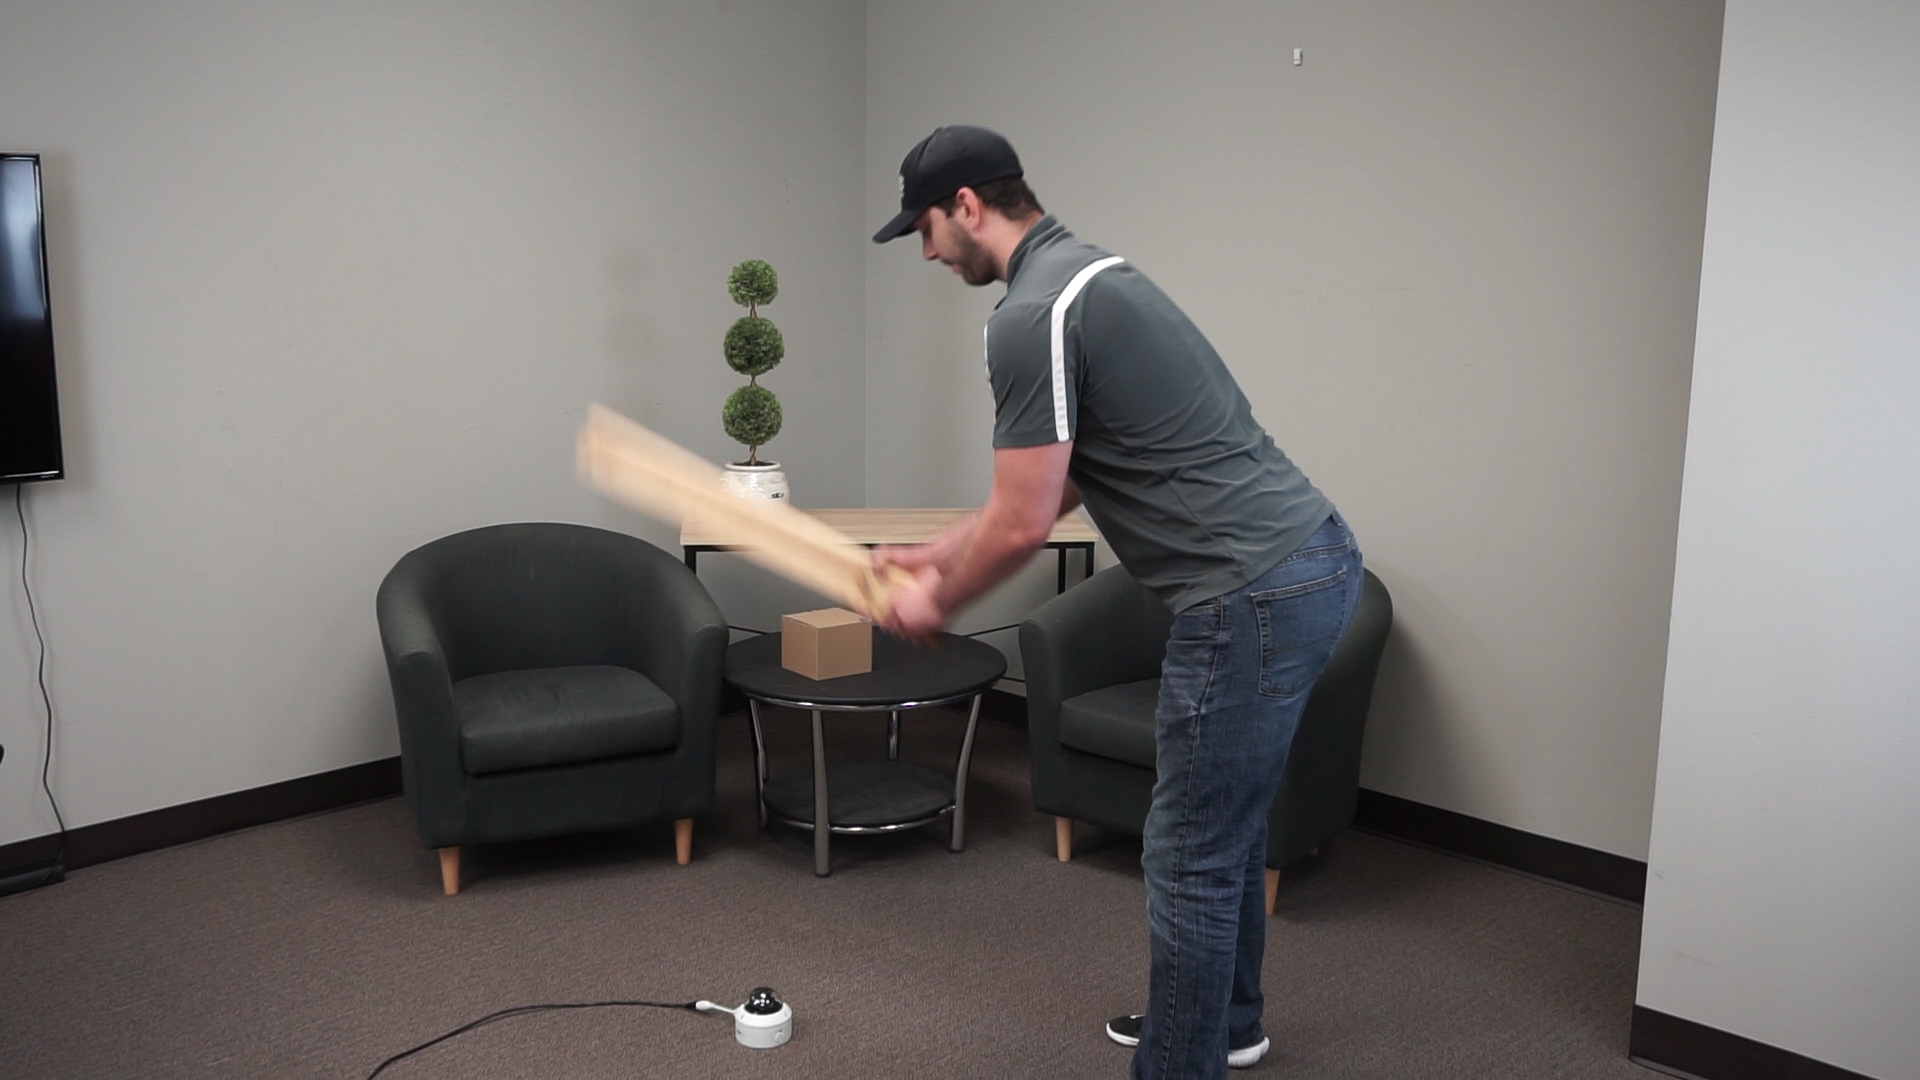
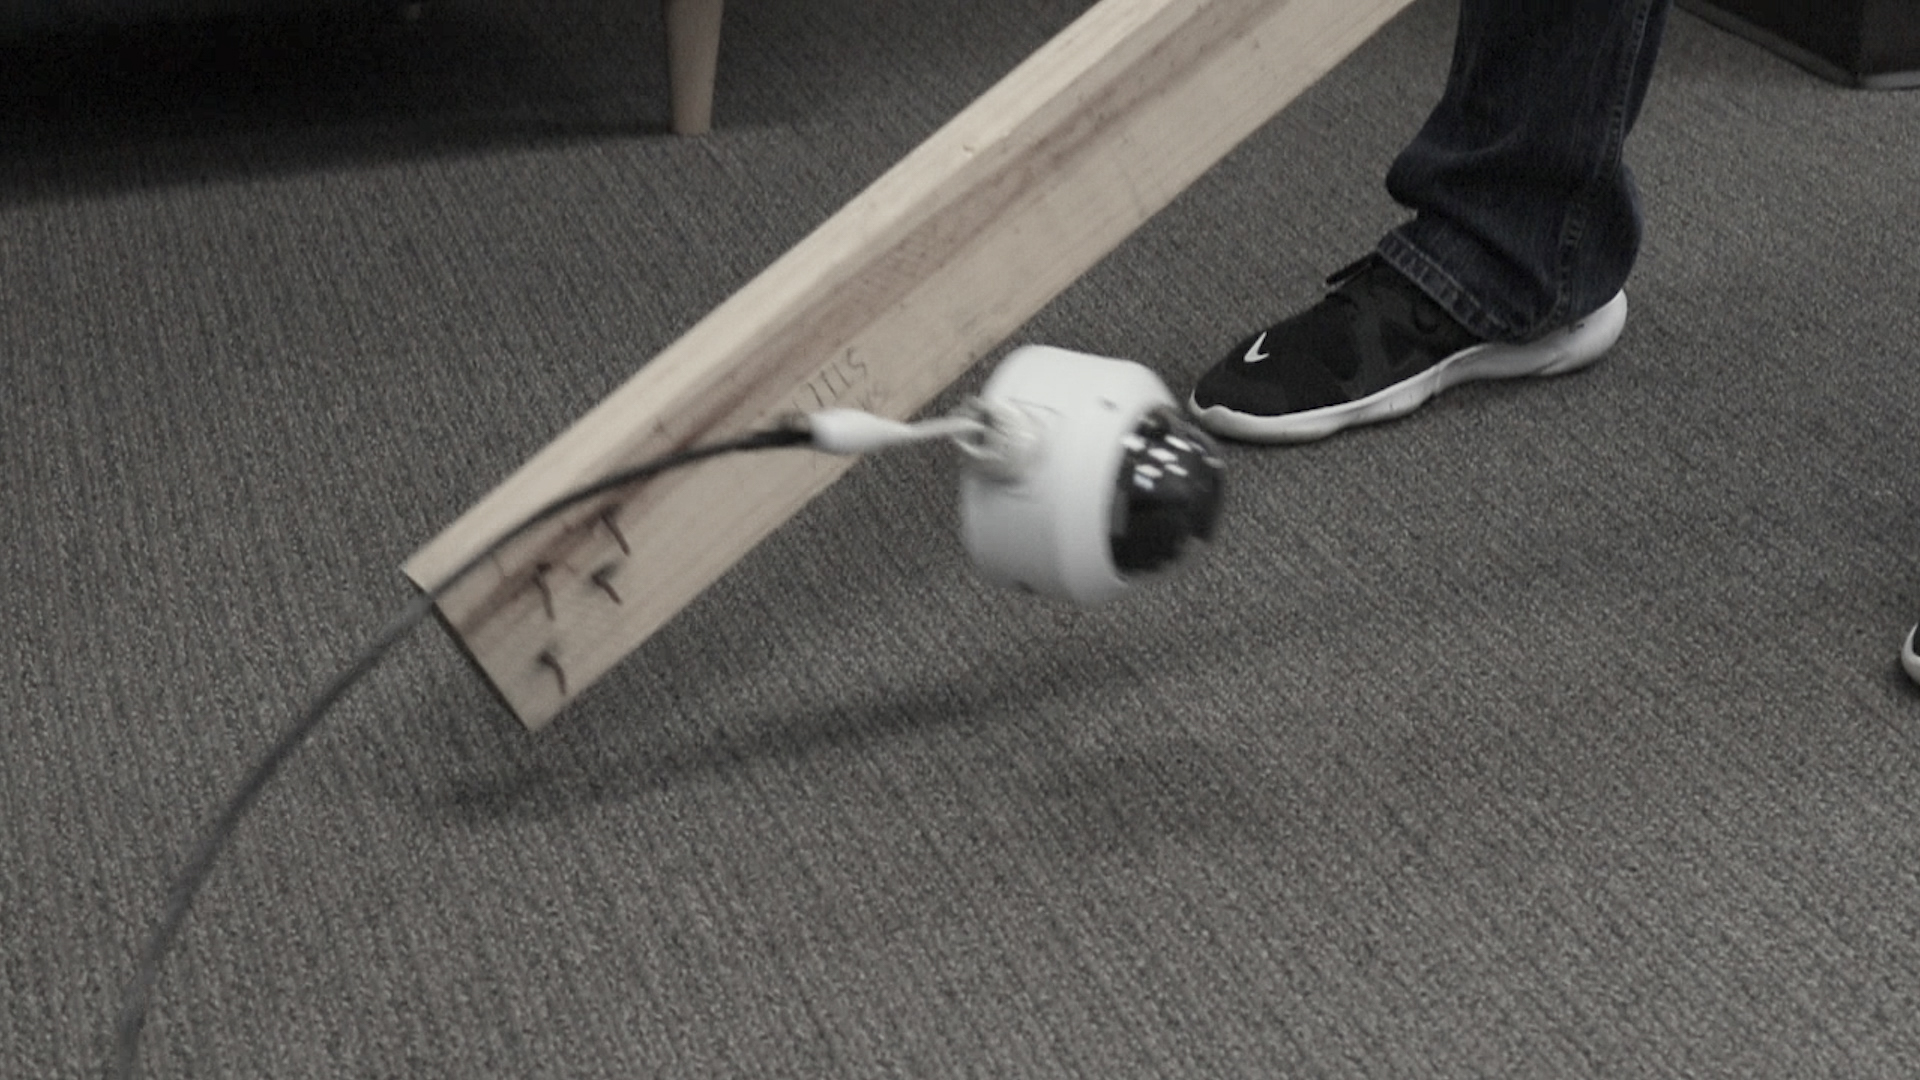
Durability Test
Our camera's now all set up. We've gone over the most important features. Now let's take a look at just how durable this camera is.
Vandal dome style cameras have a lot of advantages over other camera types. We have a whole blog post about this, which you can read here. One of the advantages is its compact and durable design. Vandal dome is short for vandal-proof dome. These cameras get their names from how difficult they are to destroy.
I wanted to make sure the R-Series vandal dome was tough enough to live up to its name. So I asked, one of our tech experts and our resident camera smasher, to bust open this camera with our "Nelly's Safety Stick." As you can see in the pics and video below, he did not succeed.

Final Thoughts
The R-Series 5MP Vandal Dome is sleek and attractive enough to blend into your home's interior. But it's also rugged enough for a durable and reliable commercial install. It's weatherproof and vandalproof enough to outlast the toughest of security cameras. So simple that even a first-time security camera user could figure it out in no time, yet so useful that even a surveillance pro is sure to get something out of it, too. So what are you waiting for? Purchase yours today and see just how quickly this becomes your new go-to camera.Video Samples