The Centrios Lineup: What Installers Need to Know About the Cylindrical Lock, Exit Trim, and Smart Padlock July 31, 2026
Is Motion Detection Good Enough? Here’s Why Security Installers Are Switching to AI Smart Detection February 24, 2026
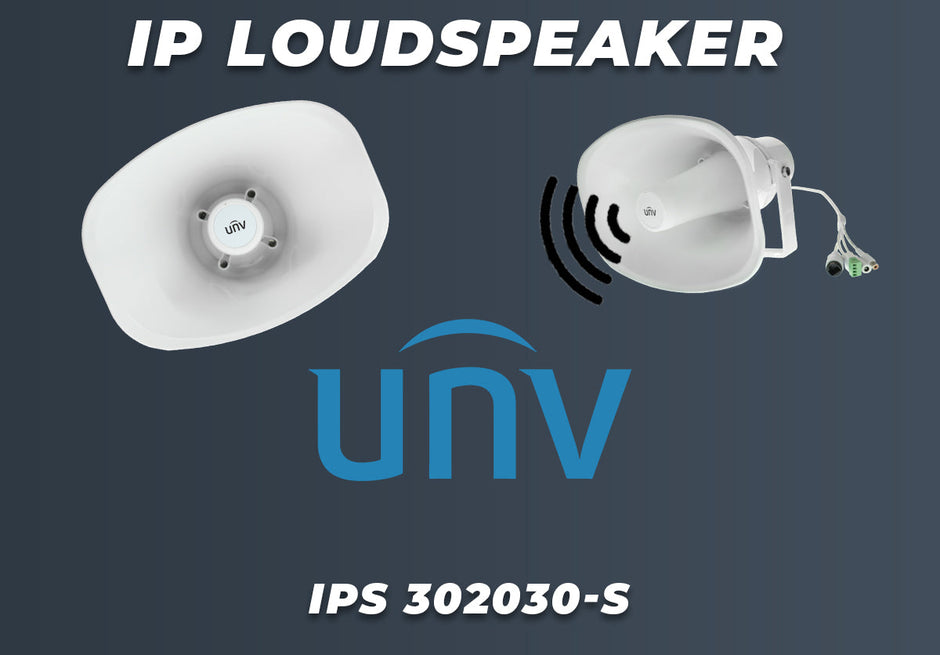
Alarms and Automation uniview Uniview Outdoor IP Loudspeaker Review: Volume, Features, and NVR Integration September 11, 2025
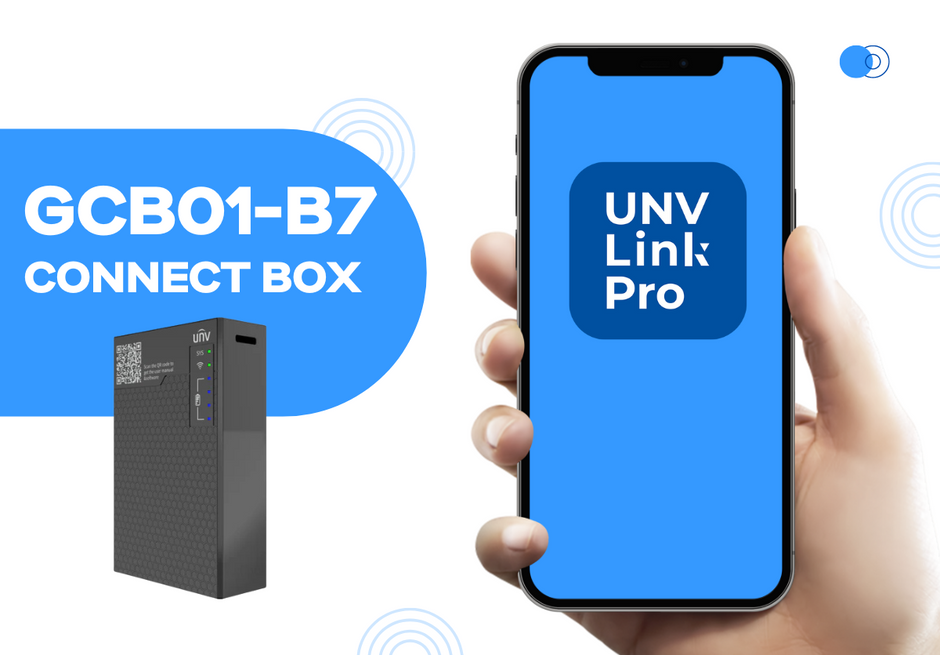
uniview Video Surveillance Practical Use Cases for the Uniview GCB01-B7 Connect Box in IP Camera Installations August 29, 2024
Video Surveillance 4MP vs 5MP! Which Security Camera Resolution Should You Actually Go With? May 20, 2024
Video Surveillance How to Pair AP and Client for TP-Link CPE510! Easy Point-to-Point & Point-to-Multipoint Radio Setup! April 09, 2024
Access Control Sell it Like a Pro: Unlock a New Revenue Stream with Akuvox Smart Intercoms February 02, 2024
Video Surveillance Experience Comprehensive Surveillance Coverage with the Uniview Dual Lens PTZ Camera January 18, 2024
Video Surveillance Sell It Like a Pro: Maximizing Profits with the Uniview All-in-One Security Camera System December 11, 2023
Video Surveillance How to Capture and Log License Plates with Uniview's LPR Security Camera (HC121@TS8CR-Z) November 25, 2023
Video Surveillance The Advantage of Uniview’s Protected Sales Channel for Security Dealers November 18, 2023
Video Surveillance Uniview's Ultra Wide Angle Bullet Camera With 160° Horizontal Field of View October 29, 2023
Video Surveillance Uniview's All-in-One Security Camera System: The Best Wired Security Camera System for SMB & Residential Shoppers October 25, 2023
Video Surveillance Uniarch Dual Light Bullet Camera: SO MANY FEATURES in One Lightweight & Affordable Security Camera July 15, 2023
Video Surveillance Tri-Guard Security Cameras: Deep Learning, Active Deterrence, and ColorHunter Illumination Technology Three-In-One CCTV Solution June 21, 2023