Uniview 360° Fisheye Lens IP Security Camera Full Review (IPC868ER-VF18-B & IPC815SR-DVPF14)
Uniview's 360° fisheye lens cameras are great for anyone looking to expand the scope of their surveillance without investing in several different cameras. With a built-in microphone, multiple display and dewarping options, heat map capabilities, and a ton of incredible specs and features, this 5MP fisheye security camera is a great option for full 360° coverage.
What is a Fisheye Lens Security Camera?
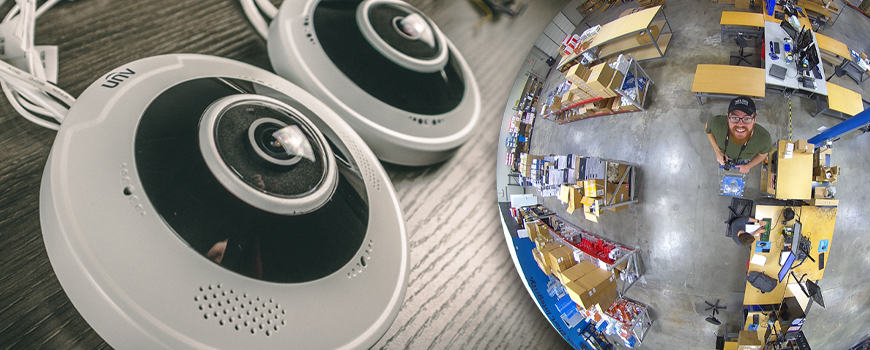
A fisheye lens security camera has an ultra-wide lens used for large viewing distances and wide surveillance areas. Since the viewing distance on these cameras is a full 360°, the result is a warped, circular image that shows everything happening around the camera. With robust dewarping features, you can also view your image in a flat panoramic view or multiple PTZ views, giving you the experience of having multiple cameras installed in a room pointing in different directions. The best part is, since the full 360° image is still captured when in PTZ mode, you can even move the PTZ controls around during playback, something that's obviously not possible with an actual motorized PTZ.
Product Unboxing
The Two Models
Uniview's fisheye lens security camera comes in two models: IPC868ER-VF18-B (12MP) and IPC815SR-DVPF14 (5MP). The two are mostly the same, but do have a few differences when it comes to specs and features.
Uniview 12MP Fisheye Lens IP Security Camera
12MP 4K resolution, two-way audio, full PTZ controls, and more. This camera is feature-packed and ideal for just about any scenario. Connect this to an NVR and take advantage of the integrated quad-PTZ controls. Take advantage of intelligent events like line crossing and intrusion detection.
Learn More
Uniview 5MP Fisheye Lens IP Security Camera
While this is a lighter model at a lower resolution, the 5MP fisheye is still a fantastic camera with a built-in omnidirectional microphone and the full range of display options. You won't get the same NVR functionality or intelligent events. But if you don't need those features, then this is a great option for you.
Learn MoreResolution
The major difference between the two cameras is the resolution.
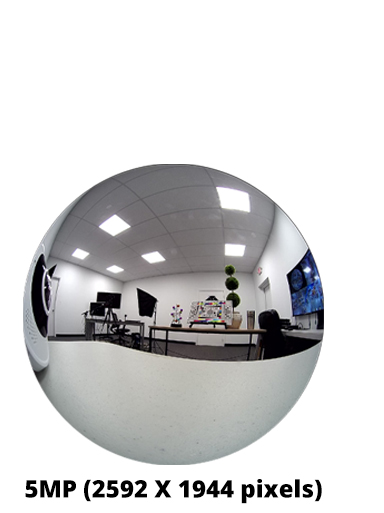
The lighter model, IPC815SR-DVPF14, has a 5MP resolution. This 2592 x 1944 resolution is still pretty high for a security camera. But keep in mind that it's the full 360° fisheye image that's 5MP. The PTZ viewing mode is essentially a digital zoom and will not give you the full 5MP image.
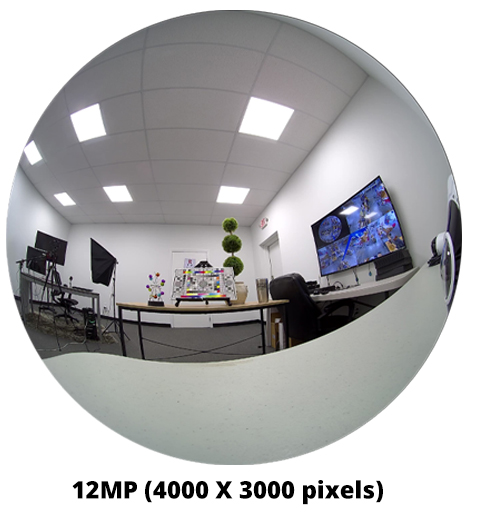
The full model, IPC868ER-VF18-B, has a 4K resolution of 12MP. This is a higher resolution than most of our other 4K cameras, which are 8MP. 8MP 4K cameras have a resolution of 3840 x 2160 pixels. This 12MP fisheye, on the other hand, has a resolution of 4000 x 3000 pixels. It's not a major difference, but the extra three-million pixels definitely matter during the dewarping and digital zoom features for viewing your surveillance feed.
The size difference between the two resolutions is also notable. While both cameras are small enough to fit in the palm of my hand, the 12MP is considerably larger with a 5.87" diameter vs. the 5MP camera's 4.25" diameter.

Audio Hardware
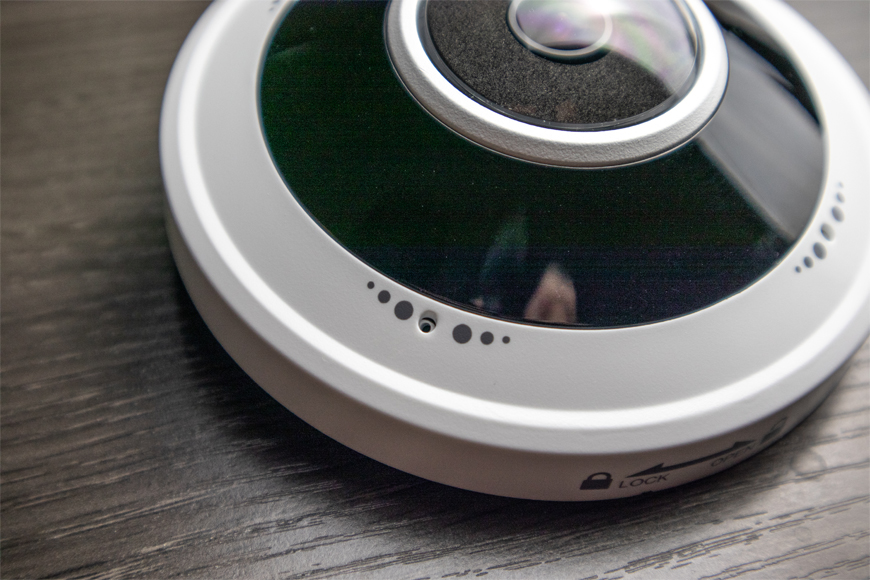
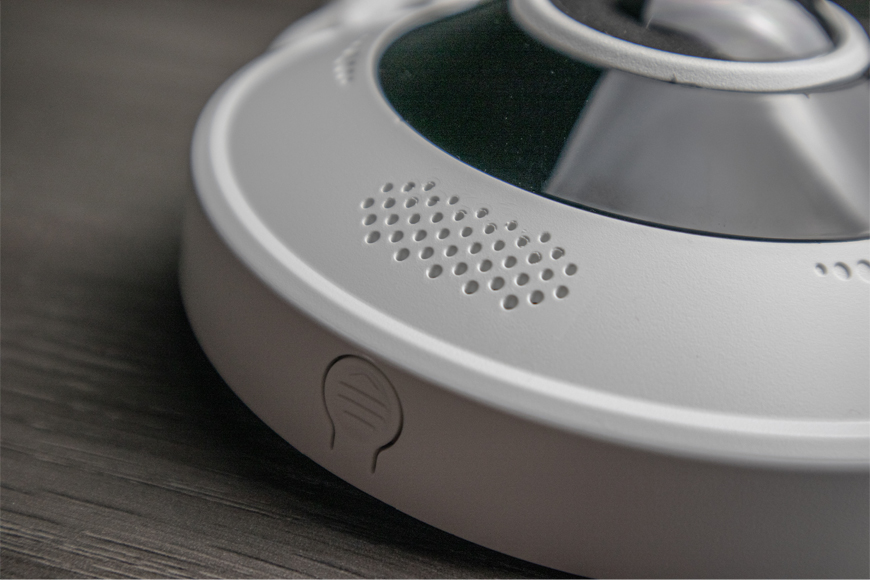
The next major difference between the two is found in the built-in audio hardware. Both cameras have a built-in omnidirectional microphone, although the quality of the microphone is higher on the 12MP version. The 12MP fisheye camera actually has three microphones on each side of the camera that work together to produce a high-quality omnidirectional field of sound. The 5MP camera, on the other hand, only has one microphone on one side of the camera. This is still an omnidirectional microphone, but it's not going to produce as high-quality audio as the triple microphone on its 12MP counterpart. The differences between the two microphones are noticeable, which you can see in the unboxing video above.
The second difference when it comes to audio hardware is that the 5MP version only has a microphone and, by default, only supports one-way audio. The 12MP version, on the other hand, also comes with a built-in speaker. This means the 12MP fisheye camera is optimized for two-way audio right out of the box.
All that said, both cameras do have audio in and out connections, so if you don't like the quality of sound you're getting from these mics or speakers, you can always wire in your own hardware. Which brings us to the next point of difference between these two cameras: the connections.
Connection Interfaces
For the most part, both cameras have similar connections. The 5MP camera has two connection pigtails, while the 12MP camera has everything contained in one pigtail. Both cameras have an RJ45 Ethernet connection, a 12V DC power supply connection, alarm in and out connections, audio in and out connections, and a BNC video out connection.
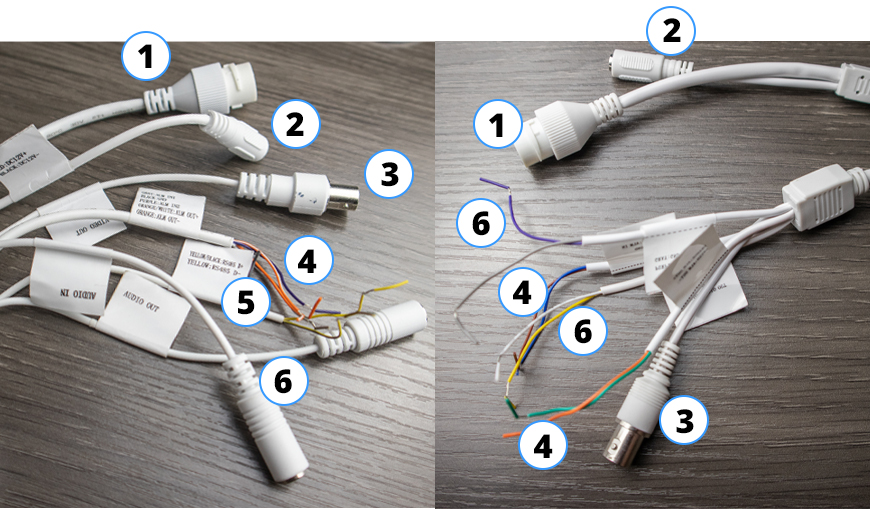
Uniview Fisheye Connections
- RJ45 Ethernet Port for connecting your camera to an Ethernet cable
- 12V DC Power Supply for powering your camera (if you don't have a PoE switch)
- BNC Video Out for connecting your camera to a spot monitor
- Alarm In/Out for installing an external alarm
- RS-485 for connecting your camera to a PTZ remote
- Audio In/Out for installing additional audio hardware
When it comes to the alarm connections, the 5MP camera has separate cables for the alarm in and out wires, whereas the 12MP model has all four wires in one cable. The more noticeable difference is in the audio connections. For the 5MP version, the audio connections are typical wires we are used to seeing in our IP security cameras. For this, you'll have to wire in your own microphone and speaker. However, the connections on the 12MP model actually have the female audio connector, so you can simply plug in your microphone and speaker without having to do any additional wiring.
One final connection that is present in the 12MP camera but not the 5Mp camera is an RS-485 connection. With this, you can wire your camera to a remote control for controlling the PTZ functions. This connection is not available on the 5MP version, because the way the two cameras handle and output the PTZ functions differs quite a bit. Which, again, is a nice segue into the next major point of difference.
Display Modes
These fisheye cameras have excellent display modes for viewing your fisheye surveillance. As we mentioned before, you can view your feeds as the full fisheye, as a panoramic view, and as multiple PTZ views. This can be accomplished with both cameras, but the way it works is a little bit different.
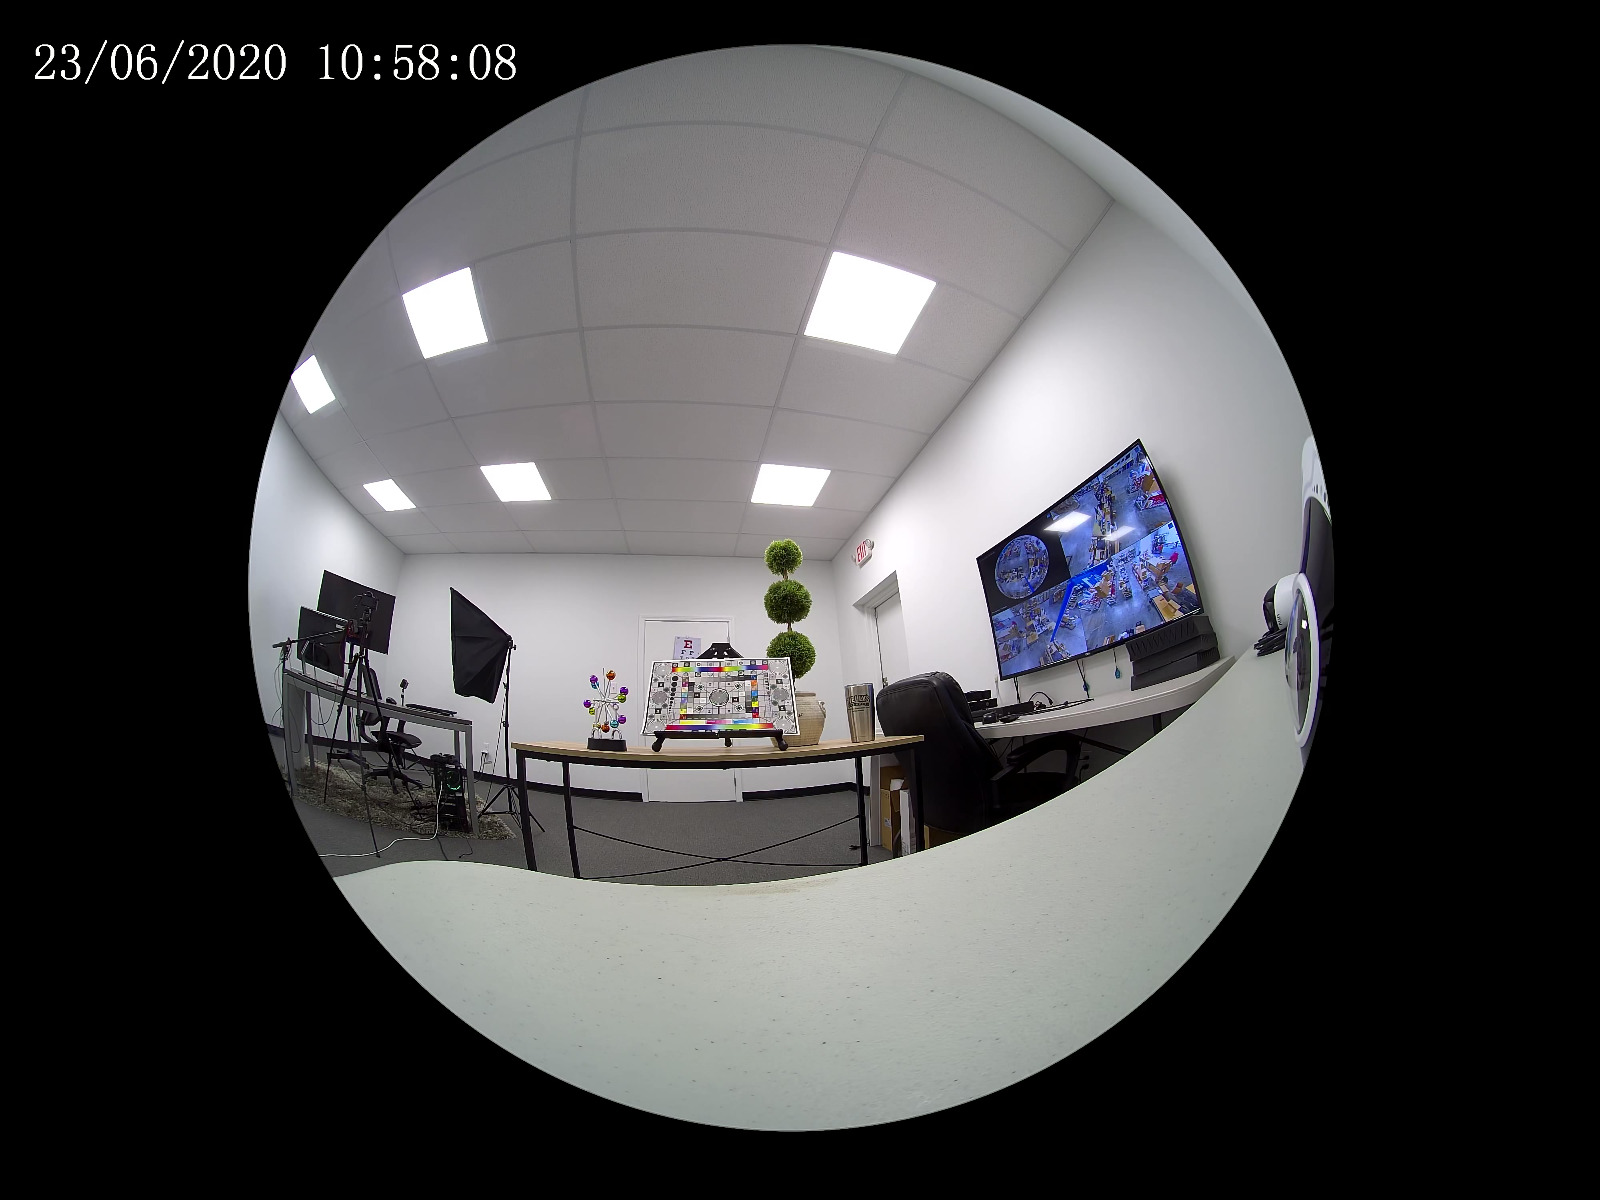
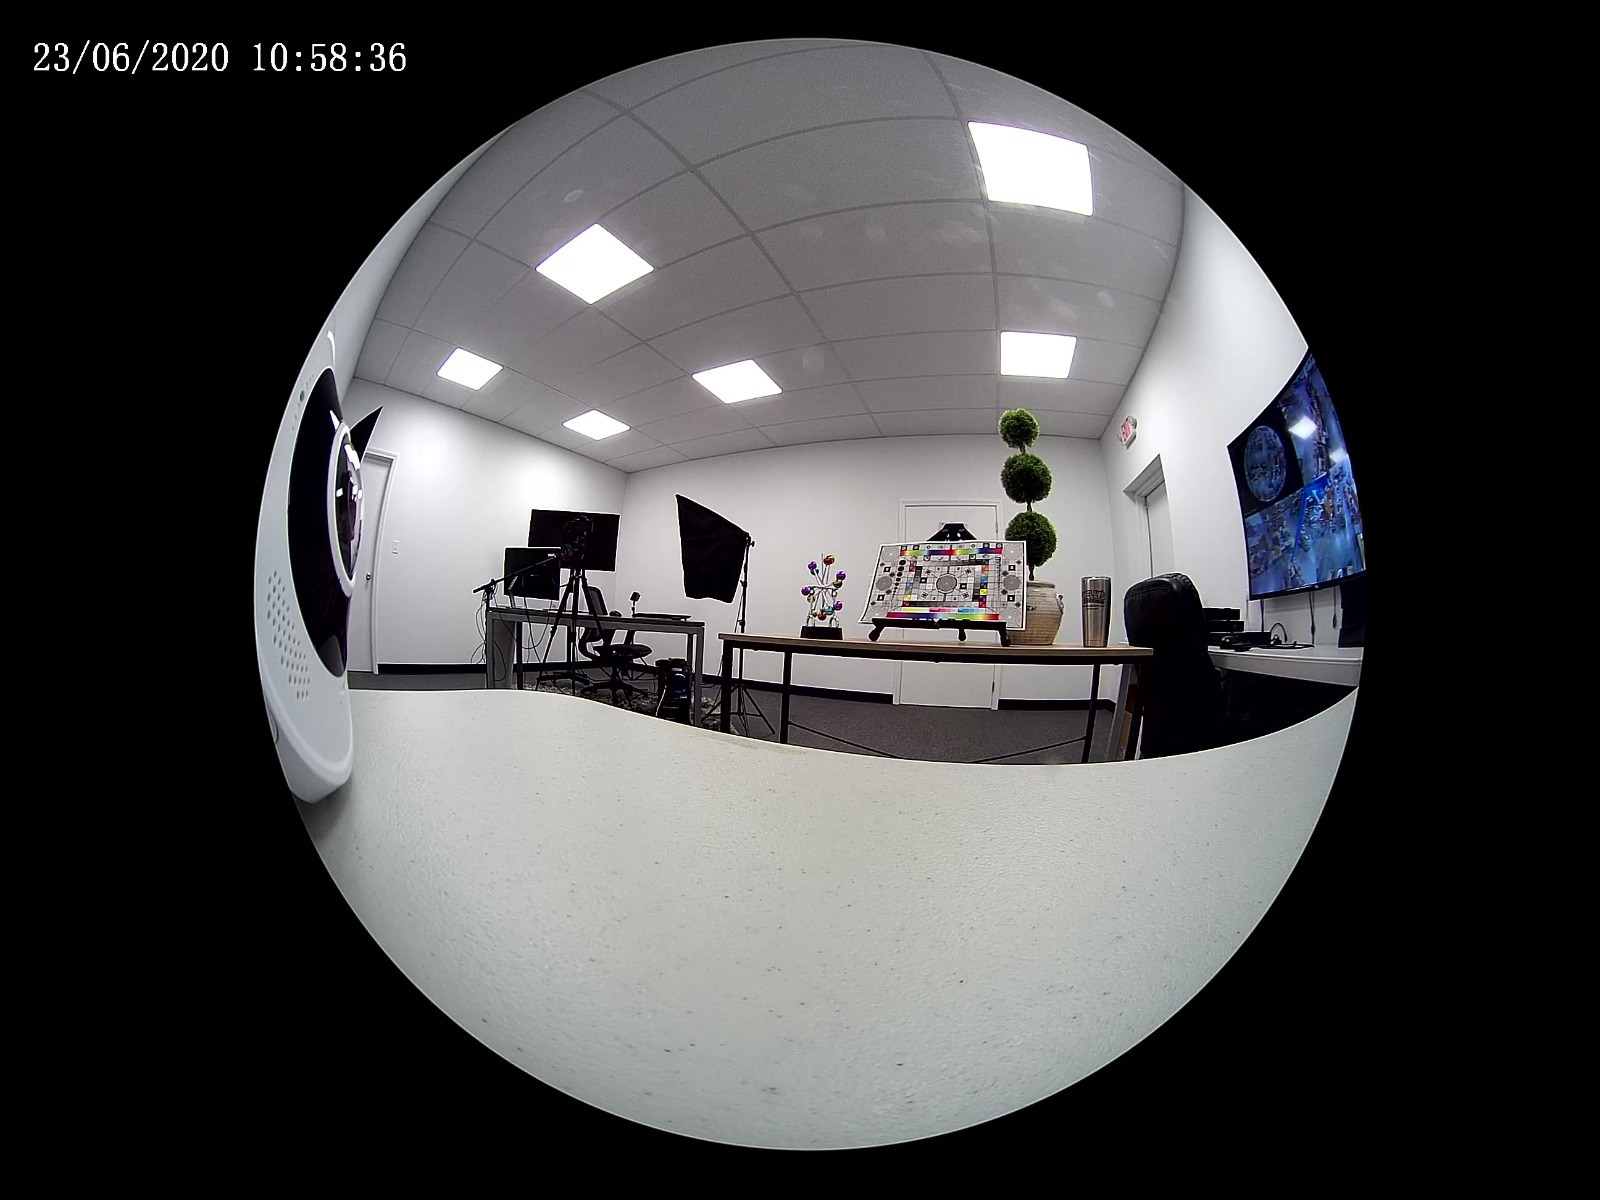
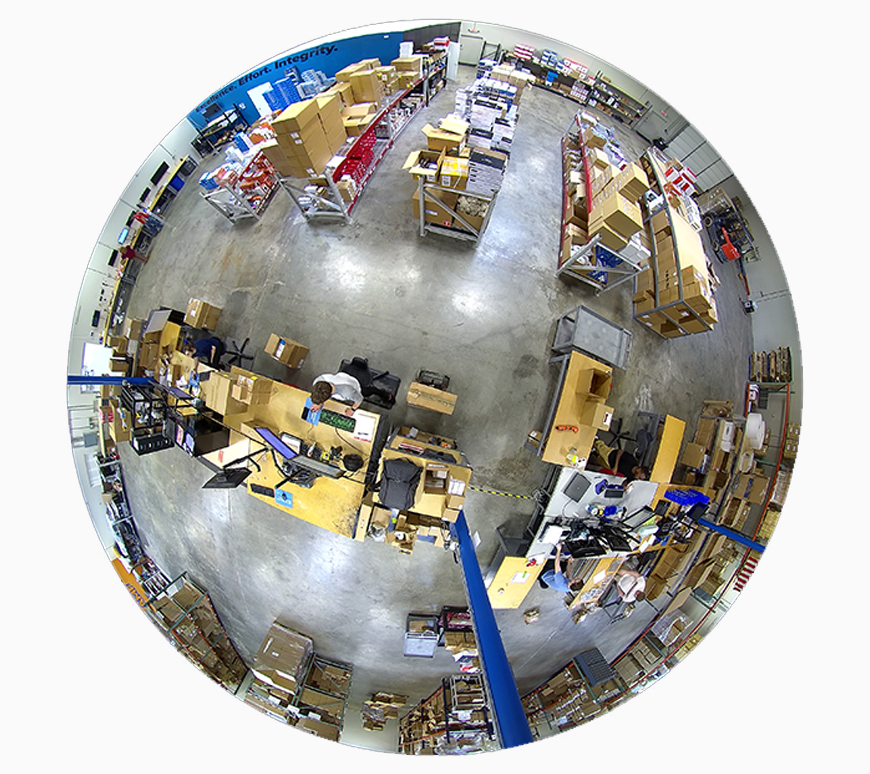
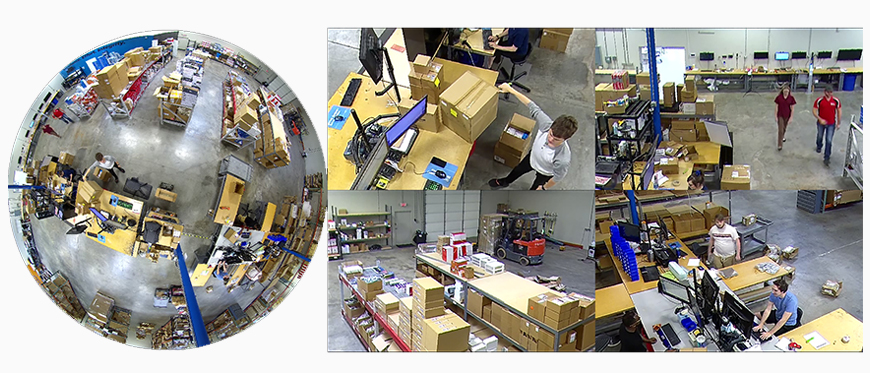
Fisheye Mode
This is the default viewing mode. It displays the full fisheye lens in its original 360° circular layout.
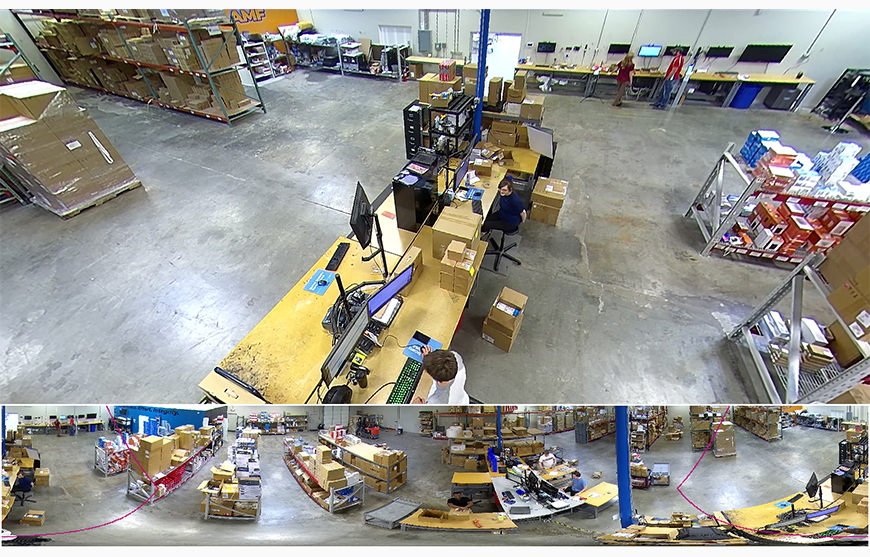
360° Panorama
This viewing mode displays the 360° field of view as a horizontal panoramic strip at the bottom of the screen. Above this panoramic view is a single dewarped image that can be dragged around the screen and repositioned at will.
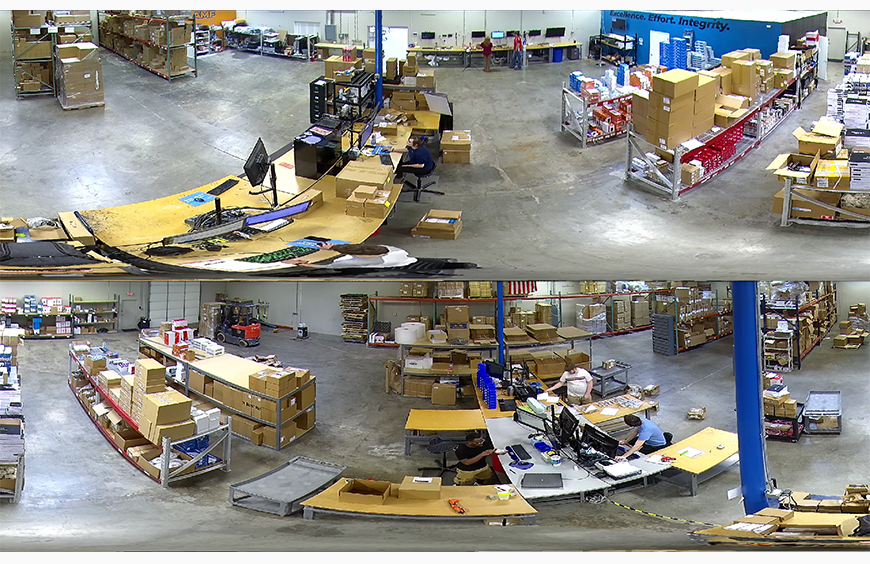
180° Panorama
This view takes the panoramic view from above and cuts it in half, displaying two 180° images. This view can be dragged left and right.
PTZ Split Views
The final view takes the fisheye or panoramic view and splits it up into various PTZ-like dewarped images. You can have between three and eight PTZ views, which can all be repositioned and zoomed in or out.
When you log into the web interface of the 5MP camera, you'll notice that you have a "Fisheye Controls" icon at the bottom of the page. When you click this button, you'll have access to the "Fisheye Mode." The buttons that you click on this screen will change your viewing experience on the live view, but it won't actually change how the camera operates. Everything that you click on this screen happens only to the current live view. Here you can change the mounting mode depending on whether your camera is installed on the ceiling, wall, or a table. You can also navigate between the different views, from fisheye, to panoramic, to PTZ.

When you log into the 12MP camera's interface, you'll notice things look a little bit different. You do have the "Fisheye Controls" button at the bottom of this screen, which opens the "Preview Mode" menu. This menu is identical to the "Fisheye Mode" menu of the 5MP version. Clicking these buttons will only affect your viewing experience and nothing else.
On the other side of the screen, you'll see an "Operation Mode" menu. At first glance, these menus look similar. In both places you can adjust the camera's mount position and switch between Fisheye, Panoramic, and PTZ. The difference is, the "Operation Mode" menu actually changes how the camera operates. When you click "PTZ" or "Panoramic" mode, the camera will actually switch to that mode. The benefit of changing the actual operation mode of the camera is that you will be able to see these changes take effect on an NVR. Now you'll be able to view and manipulate the PTZ mode on an NVR as if you had four 2MP 1080p PTZ cameras installed. Essentially, you can have up to six channels added to your NVR from this one camera: the standard fisheye channel, the panoramic channel, and the four PTZ channels. Your NVR will treat each of these channels almost as if it was a separate camera.
For most applications, the "Preview Menu" on the 5MP and 12MP fisheye lens cameras is enough. You'll be able to move the PTZ views around in real-time and during playback. You can also switch between different views anytime without affecting the actual operation of the camera. However, the 12MP camera's "Operation Menu" just gives you more flexibility and control when it comes to setting up your camera with a Uniview NVR.

Smart Events
A final difference between the two cameras is the number of events available. The 5MP does not have any intelligent events outside of the heat map. If you want to set up event-based recording, you'll have to use one of these basic events: pixel-based motion detection, audio detection, alarm events, and tampering detection.
While the 12MP camera does not have the full range of intelligent events available on other Uniview cameras, you can set up intrusion detection and line crossing detection with this camera, on top of heat map configuration.
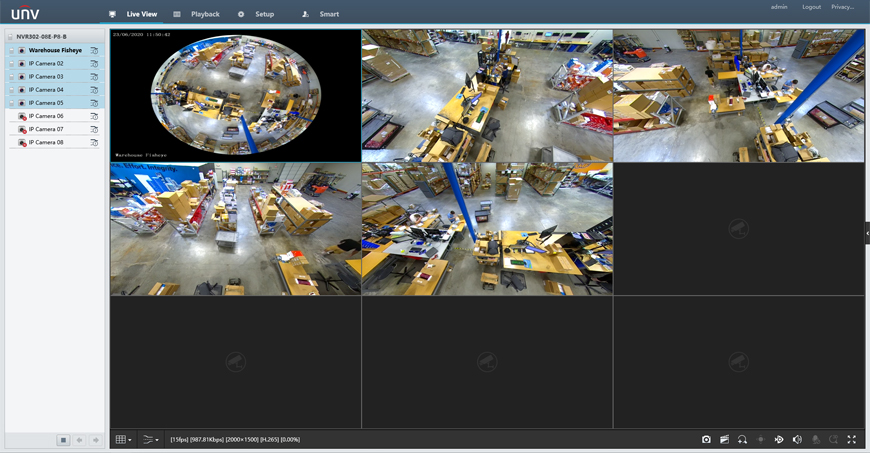
Adding Your Camera to an NVR
As we already mentioned, the way you will add your fisheye lens camera to your NVR will vary depending on which camera you have and what your purposes are. Your fisheye to NVR workflow will also look slightly different depending on which NVR you have. As of the time of this blog post, we have two styles of Uniview NVR. We have the fully operational 12MP NVRs, which range from 8 channel to 64 channel, but we also have a lighter 8MP NVR that ranges from 4 channel to 16 channel.
There are two things to consider when it comes to this fisheye camera and your NVR, one obvious and one not so obvious. The obvious consideration has to do with resolution. If you have the 12MP fisheye camera, you will want to use one of the higher-end 12MP NVRs in order to get the most out of your resolution. You can still use the 12MP camera with an 8MP NVR, but you just won't be able to record video in the highest possible resolution.
A less obvious difference is in the fisheye capabilities of these NVRs. The 12MP NVR has full fisheye functionality, meaning you will still have access to the fisheye controls and dewarped viewing options. You can also change the mount style and operation mode directly from the NVR. If you have an 8MP NVR, however, you will not be able to access your fisheye controls from the NVR directly. The dewarping options are still available on the 8MP NVR's web interface, but not the HDMI interface. So that's definitely something to keep in mind.
In the video below, we show you how to add this camera to your NVR in various operation modes. Keep in mind that in this example we are using the 12MP fisheye with the 12MP NVR.
Sample Video