

As some of you know, we have an exclusive Facebook page for our dealers. We do a lot of cool stuff on there and post exclusive deals all of the time, so if you’re part of our dealer program and aren’t already added, make sure you head over there! Lately we have been doing live streams of cameras around the office and you guys have been loving it! We’ve been getting a lot of questions on how we set that up, so we wanted to give an overview of a few different ways you could live stream with your cameras.
What You Need to Stream
To setup your live stream you’re going to need three things: a security camera (either IP or analog will work but that will matter later for the method you use), a computer with internet connection and relatively fast upload speeds (a minimum of 3-4Mbps depending on the platform you’re streaming to), and the app OBS downloaded. OBS stands for Open Broadcaster Software and this app is the standard for streaming. It’s really simple to use, it has tons of features, and it’s free to download! You can download it here. Depending on the method you’re using, you’ll also need an RTSP address (this is only for IP cameras), an Internet browser, or a video recorder and HDMI capture card. That’s going to be all you need to get started!
Three Ways to Stream
We’re going to be looking at three ways to stream. A direct stream using an RTSP address, screen recording through your browser, and recorder streaming with an HDMI capture card.
Direct streaming using an RTSP address is going to be the simplest method. RTSP stands for real time streaming protocol, and this address allows your camera feed to communicate with third party apps. This is going to be the easiest to set up, but there are a few drawbacks to this method. This method is only going to work if you are using an IP camera and RTSP isn’t as stable, so you may experience some lag. You’re also only going to be streaming the raw feed from the camera, so any smart event markers you have set aren’t going to translate to the feed.
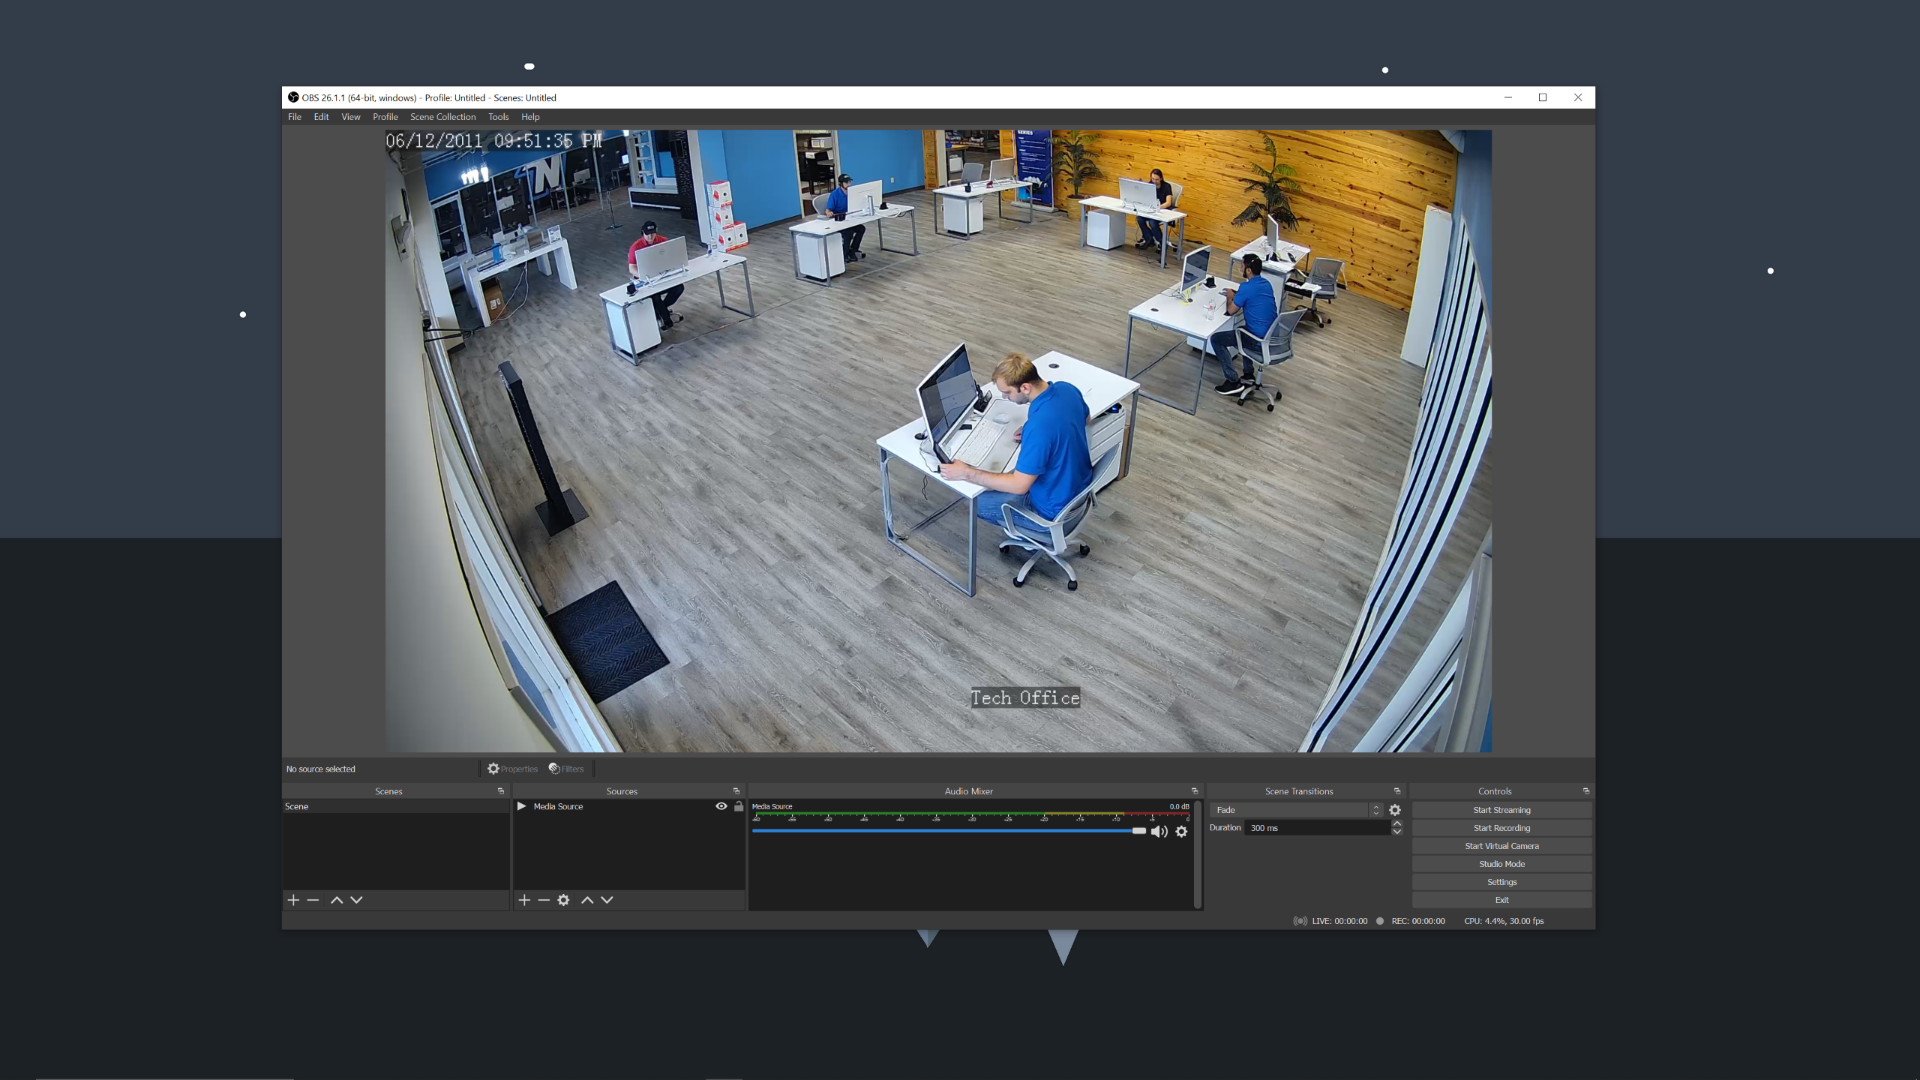
The next option is to pull up the live feed for your cameras and share your screen. This option is also super simple, and it’s going to be able to showcase any smart events you have set. However, this option is really only going to work if you have a spare computer that you can dedicate to the live stream. You won’t be able to do much with your computer since you’ll be sharing your entire screen, and it’ll interrupt the feed you’re sharing if you have to do anything else.
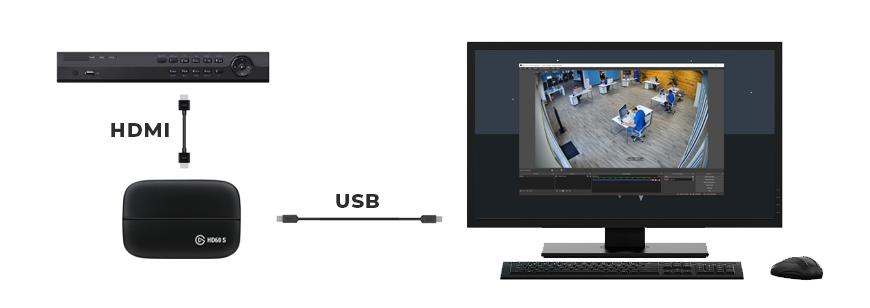
The last option is to use an HDMI capture card. The HDMI capture card is going to connect to your computer and allows you to run an HDMI input to OBS. For this method you can use an IP or analog camera if it’s connected to a DVR with an HDMI output. HDMI capture cards range in price anywhere between $20 and $200 plus. We use this Hauppauge version, but there are lots of options out there. This is a great streaming option because it’s going to give you a really stable connection with less lagging, and it’s going to be really easy to control. You’re also going to be able to see any smart features you have in place with this option. There are only a few drawbacks to this method. The biggest is that you’re going to need additional equipment to make it happen, and you’ll have to purchase the HDMI capture card if you don’t have one laying around. Another drawback is that you’re not going to be able to access your NVR from the HDMI interface without it showing up on the stream.
Setting Up OBS
Once you’ve downloaded OBS to your computer, go ahead and launch it and familiarize yourself with some of the settings. You can play with some of the resolution settings, but you want to make sure you’re going to be within the right range for your stream to have the best quality possible. This may sound crazy, but with live streaming the lower resolution is going to give you a higher quality stream with less lag. Most platforms are going to reduce the video quality to accommodate this anyway, so there might not be too much you need to do in settings.
Next you’re going to move to the Output tab. This is going to be the same for whichever method you’re using to stream. You’ll need to look at the bitrate requirements for the platform you’re using to stream and adjust accordingly. The higher the bitrate, the higher quality your live stream is going to be. Most platforms, like Facebook that we’re using, are going to cap out at 6000Kbps. Your video bitrate shouldn’t exceed your upload speed, so you may need to run a speed test before setting your bitrate.
Now that you’ve adjusted your settings and made sure your quality is going to be up to par, we’ll look at how to set up each source option in OBS.
Direct Streaming Via the RTSP Feed
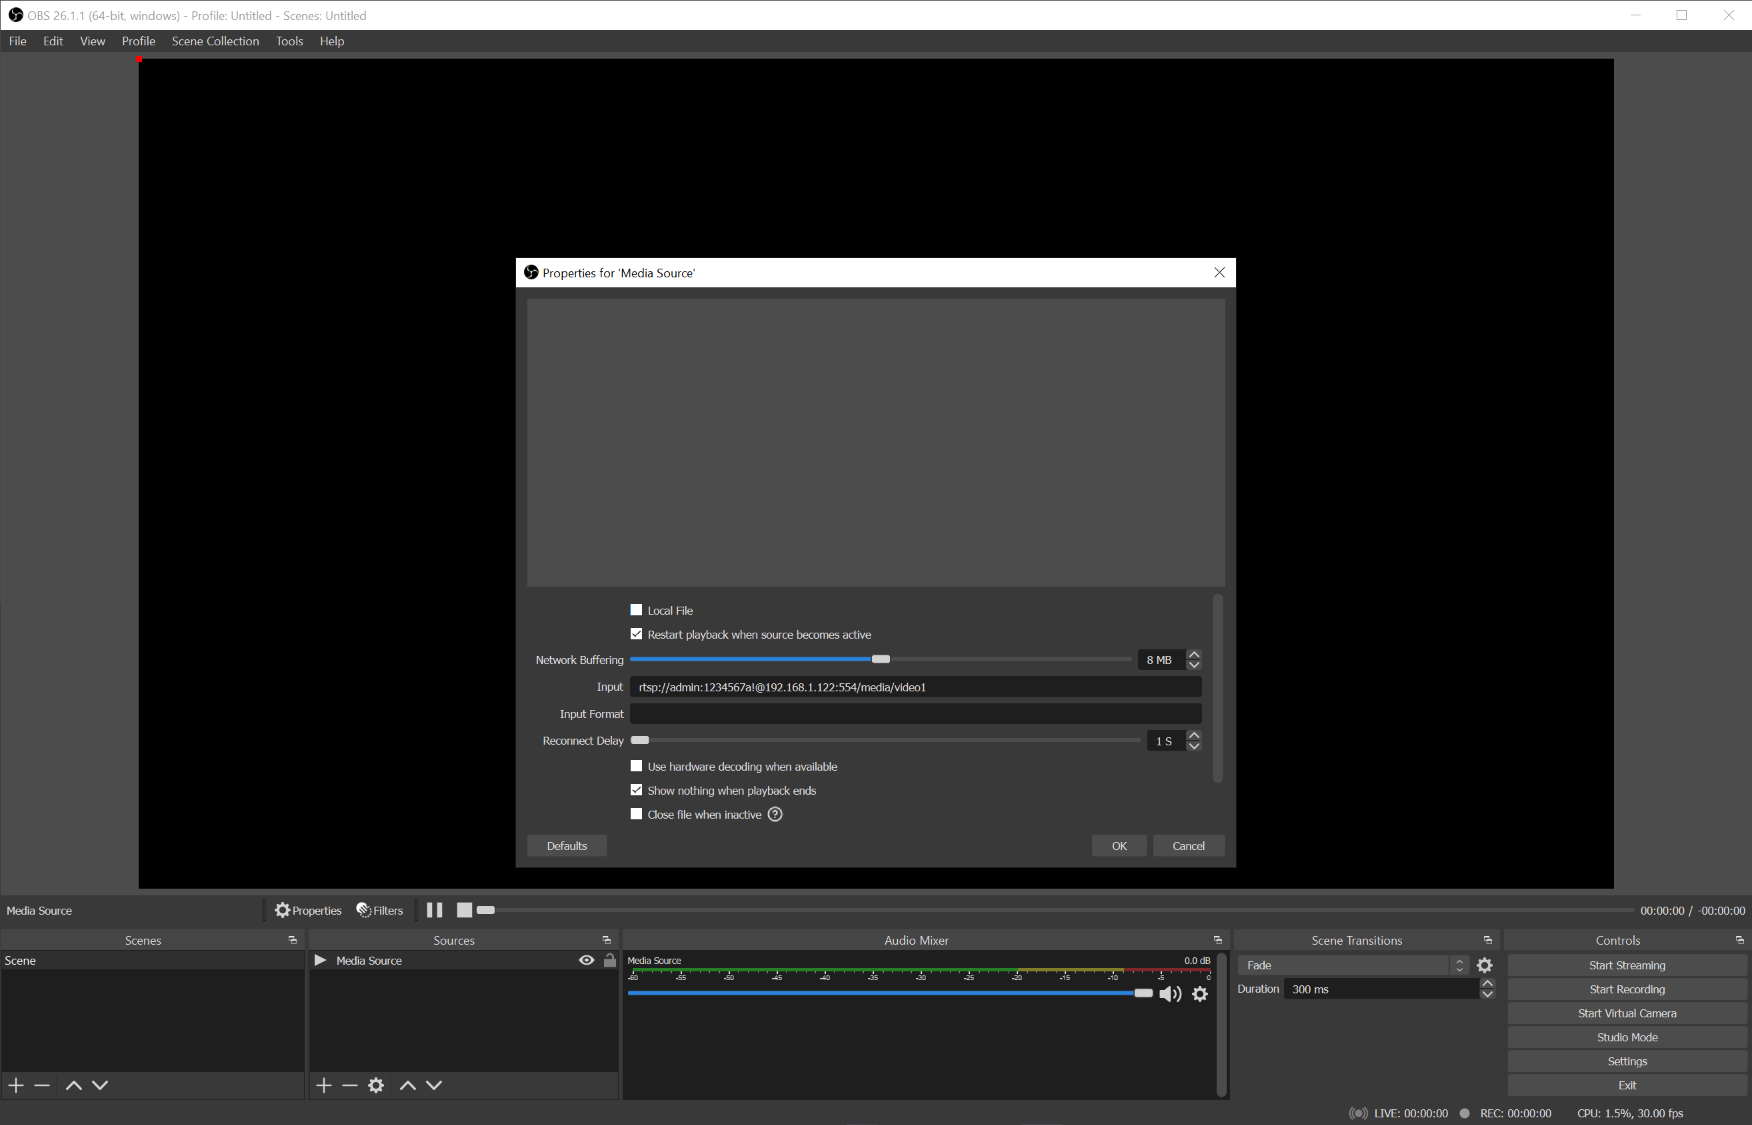
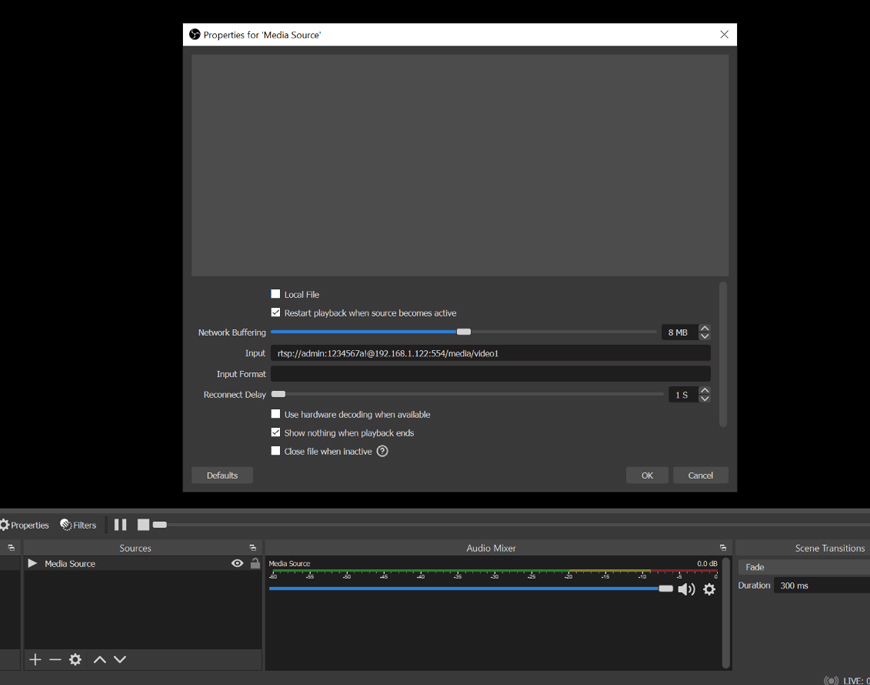
To add your source, you’re going to click the “+” under sources, and for the RTSP feed, you’re going to select “Media Source” from the dropdown. The default setting is going to be “Local File” so unselect this. Your input is going to be your RTSP address. This is going to look a little complicated, but it’s really not so bad. Every camera has a different RTSP address, so you’ll have to investigate your particular camera to find out this information. You can still try the ones we have listed to see if it’s compatible with your camera, but you may have to reach out to your distributor to figure out the specific address for your camera. If you’re using a camera from Nelly’s Security, we have a handy little guide here to walk you through finding your RTSP address. Once you have the address ready to go, pop it into the input.
Display Capture
To add your source, you’re going to click the “+” under sources, and for the Display Capture, you’re going to select “Display Capture” from the dropdown. This is going to be good to go, and you’ll just be sharing the stream from your computer.

HDMI Capture Card
For this method you’re going to have your capture card hooked up to your computer via USB as well as to your NVR via HDMI. Then you’re going to go back to your source, and you’re going to select “Video Capture Device” from the dropdown. You’ll set your device to whichever one you’re using and you’ll be good to go for streaming.

Ready to Stream
The last step is to get set up on whatever platform you’re going to be streaming on. You’re going to go back into settings and go to “Stream.” You can select whichever service you’re using from the dropdown, and then you’ll grab the “Stream Key” from there. Now you have your feed and you’re ready to go live!
If you’re a security installer, we’d love to have you become a part of our community of dealers. Drop by our live feeds to say hello! It’s free to be a part of our dealer program and not only do you get access to our exclusive Facebook group, but you also get discounts on all products, access to our one-of-a-kind free branding program, a network of referrals, with more benefits being added all the time!


