NSC-4A220-PTZir 2MP Mini PTZ Security Camera Unboxing and Video Overview

The 4A220 Mini PTZ cameras is an excellent choices for both residential and commercial installs. The small form factor gives the appearance of a normal-sized vari-focal dome, but fully featured enough to have the performance of a larger-sized PTZ camera. Click below to watch our unboxing video on YouTube, complete with video samples.
Key Features
The camera comes equipped with some very high performance features:
- 2MP Full HD 1080p Resolution
- Fully Weatherproof (Rated IP66)
- Amazing 20X optical zoom for such a small PTZ (4.7-94mm)
- Very Unique Hidden IR Placement (which I will describe later)
- IR range is 150' for viewing in complete pitch black scenario's
- Can be powered via 12V DC or by POE power. (Includes 12V DC adapter. Does not include POE injector.)
Unboxing the Camera
Now lets take a look at what comes included in the package:
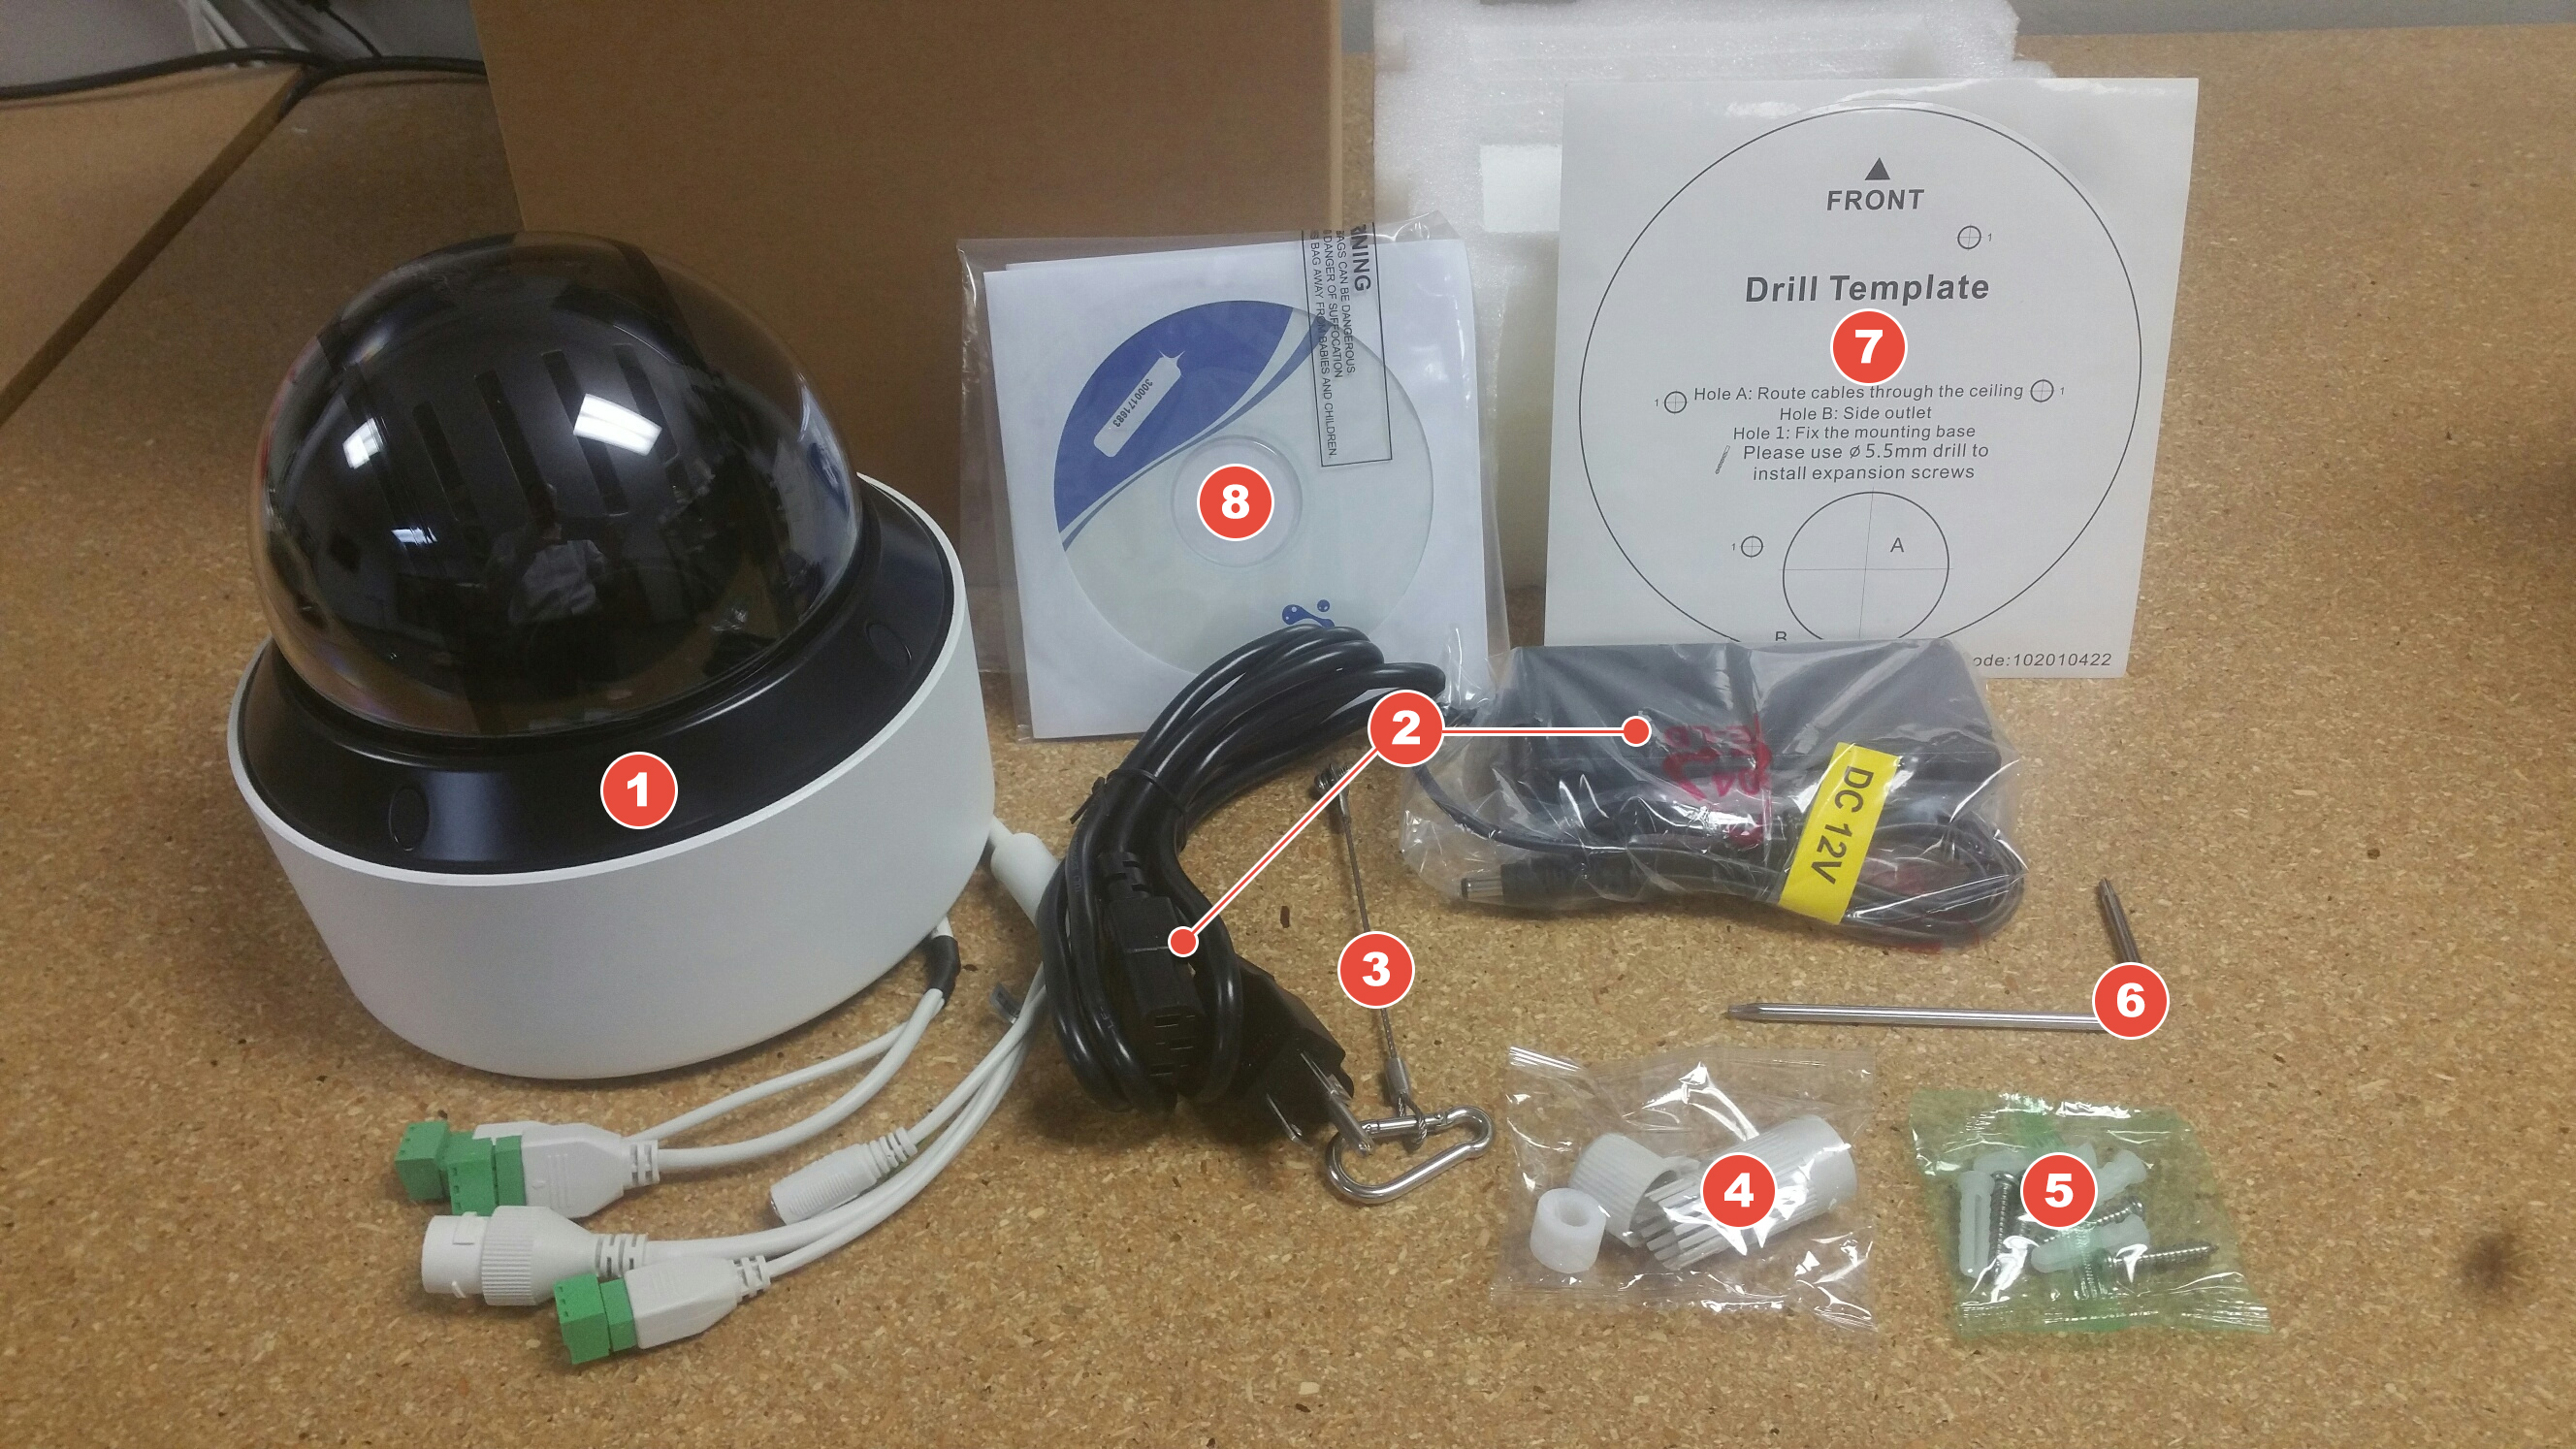
- Mini PTZ Security Camera
- 12V DC Power Adapter
- Safety Mounting Chain
- RJ45 Weatherproof Grommet
- Mounting Screws
- Allen Key Wrench
- Drill Mount Template
- Manual / Software CD
The camera has many connections in its pigtail for optimal installation options:
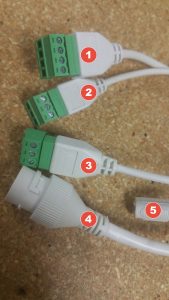
- 2 alarm in connections
- Audio in / out
- RJ45 jack
- 12V DC connection
- 2 alarm out connections
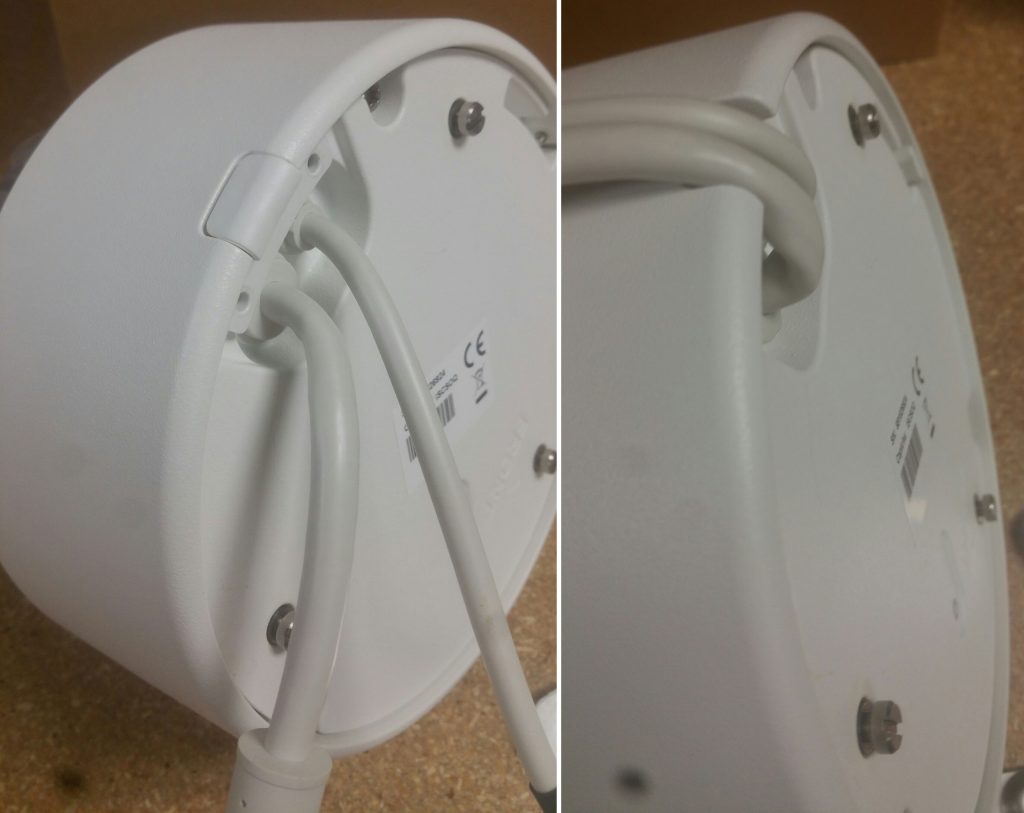
The Mounting System
The camera was also designed to be very easy to install with a simple mounting plate. Simply loosen the screw on the side and the metal mounting plate is removed from the camera.

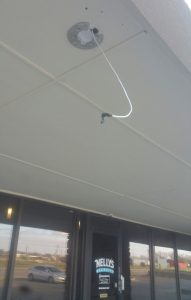
The cable pigtail can either be stuck up in a hole in the ceiling or routed out the side to a junction box:
IR Features
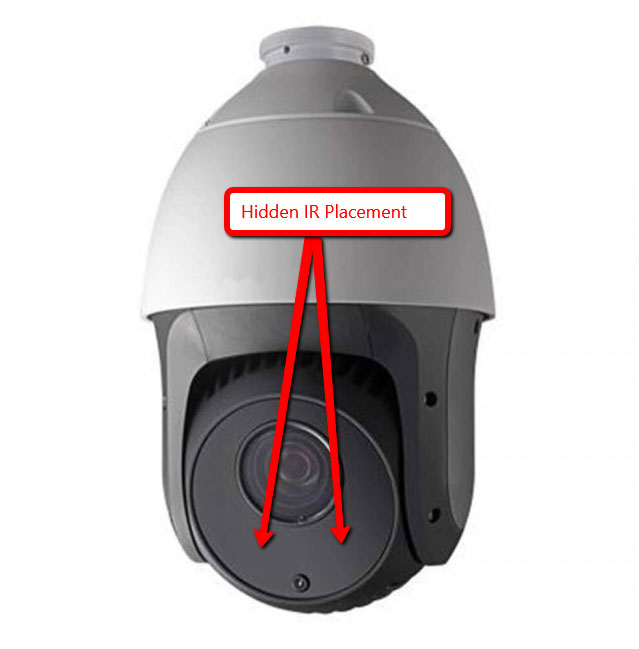
There is one feature that really sets these Infrared (IR) PTZ's apart from other IR PTZ's, and that is the unique hidden IR LED placement. Traditionally, with IR PTZ's, the IR LED's would need to be visibly shown on the exterior of the PTZ camera. The only downside to this is that the PTZ movements are very noticeable during the daytime due to its design. Here is an image of a traditional IR PTZ camera.
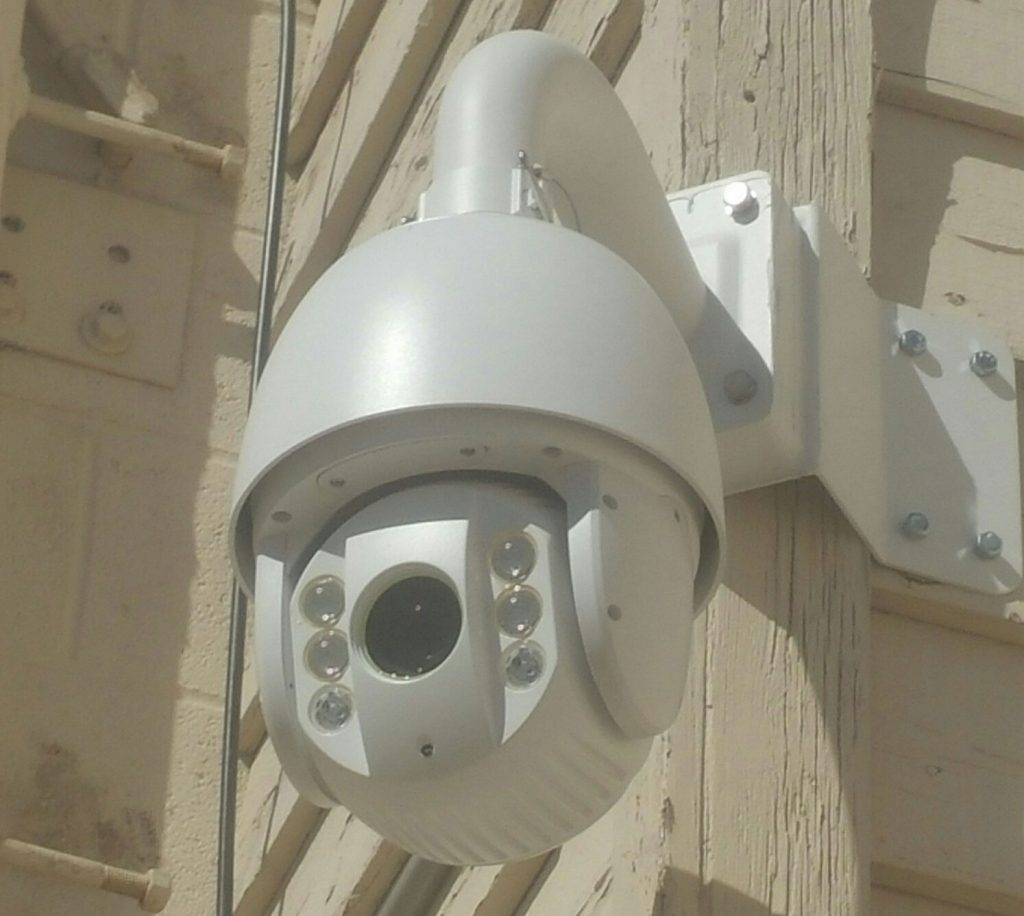
Another "more sleek" IR PTZ design are the ones that have the entire bottom part of the PTZ colored in black. Also, the IR's are hidden behind a flat black film. So while the IR's are hidden in this design, the PTZ movements during the daytime are still quite noticeable.
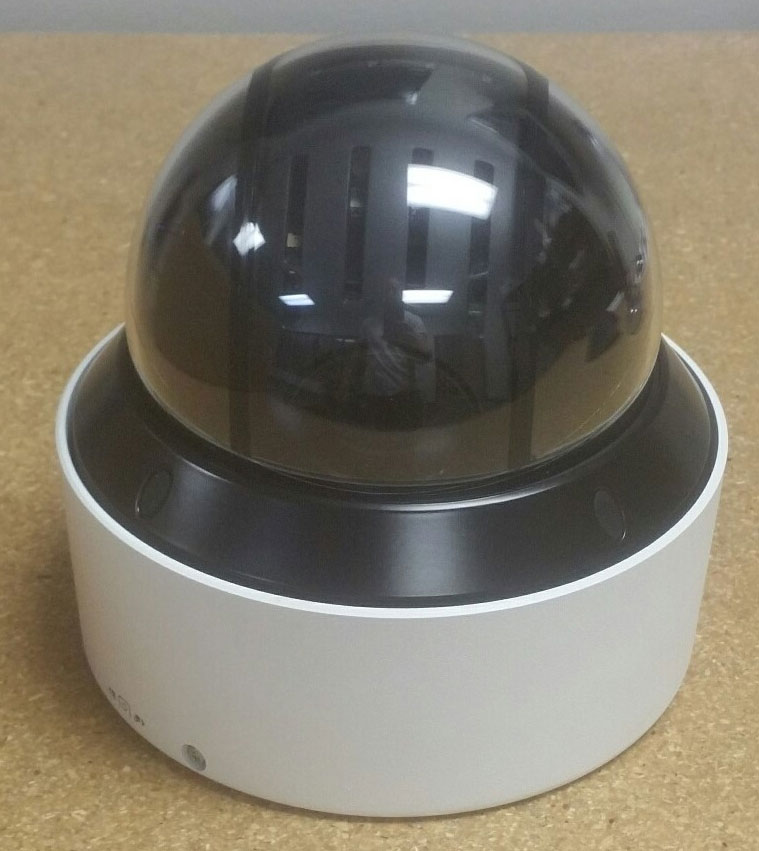
Allow me to take a step back and show you what a traditional Non-IR PTZ looks like. This is an image of one of our discontinued mini PTZ's. This "glass dome design" is typical with non-IR PTZ's. The upside to this design is since the zoom camera module sits behind the glass dome, it is nearly impossible to see the camera moving during daylight hours.
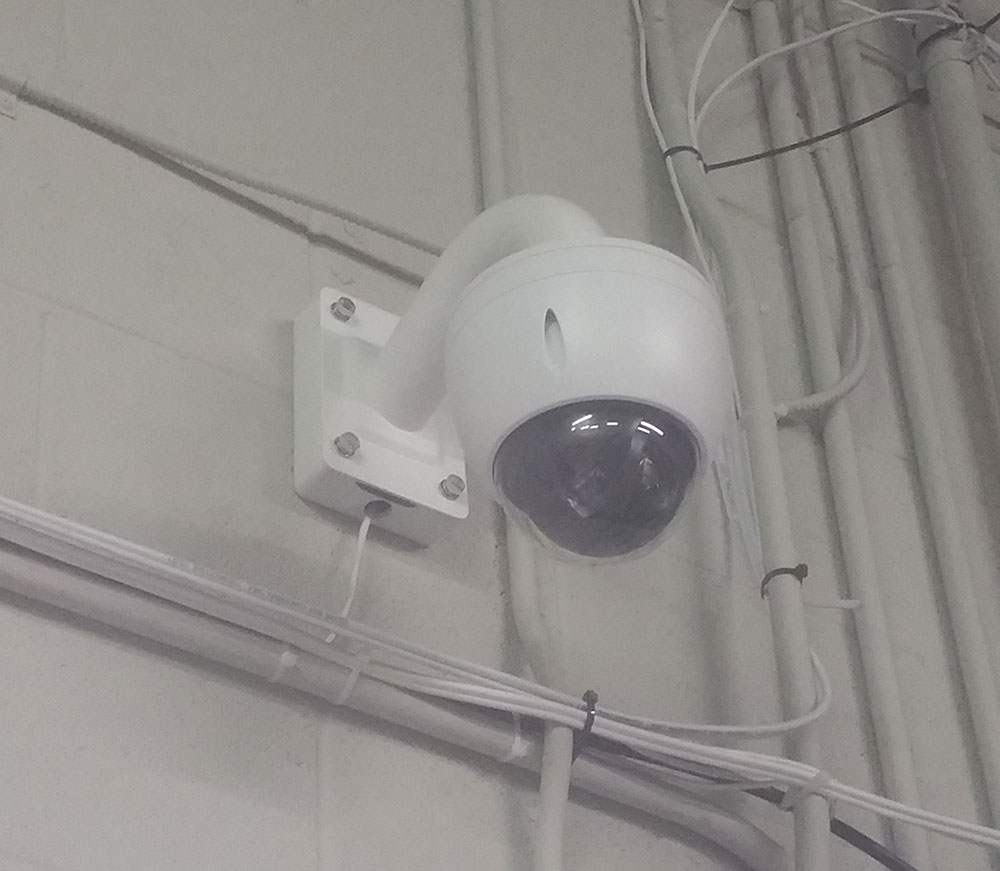
The obvious downside is that the camera has no IR LED's, so in pitchblack scenarios, you wont see anything but a black screen. One would ask "Why dont they just put some IR LED's inside the glass dome?" The answer would be because the IR light would shine and glare on the inside of the dome cover, reflecting back on the lens causing a very cloudy, unusable image at night.
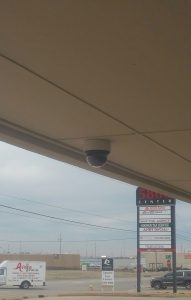
With the 4A220 PTZ, you get the best of both worlds with the design of a traditional glass-dome style non-IR PTZ, yet with the nighttime performance of an IR PTZ. Here is an image of the PTZ, as you can see if looks like a typical glass dome style camera.
Now take a look at it with the IR LED placements with the IR LED's on:
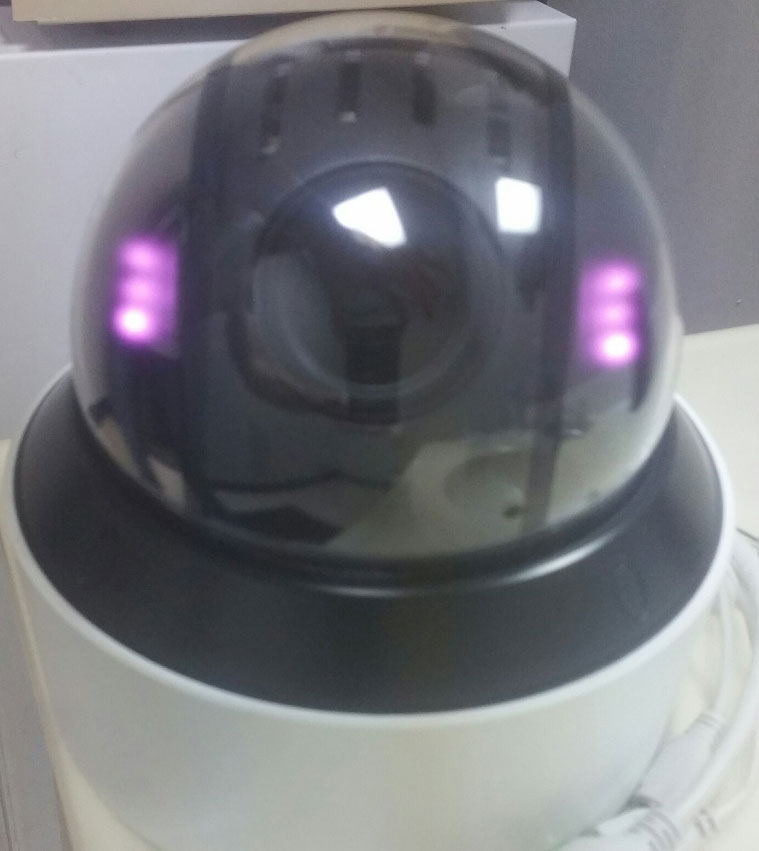
To take a closer look, the IR LED assemblies are seperated completely from the zoom lens assembly with the use of a seperator piece, effectively eliminating the "glare effect" that I mentioned earlier.
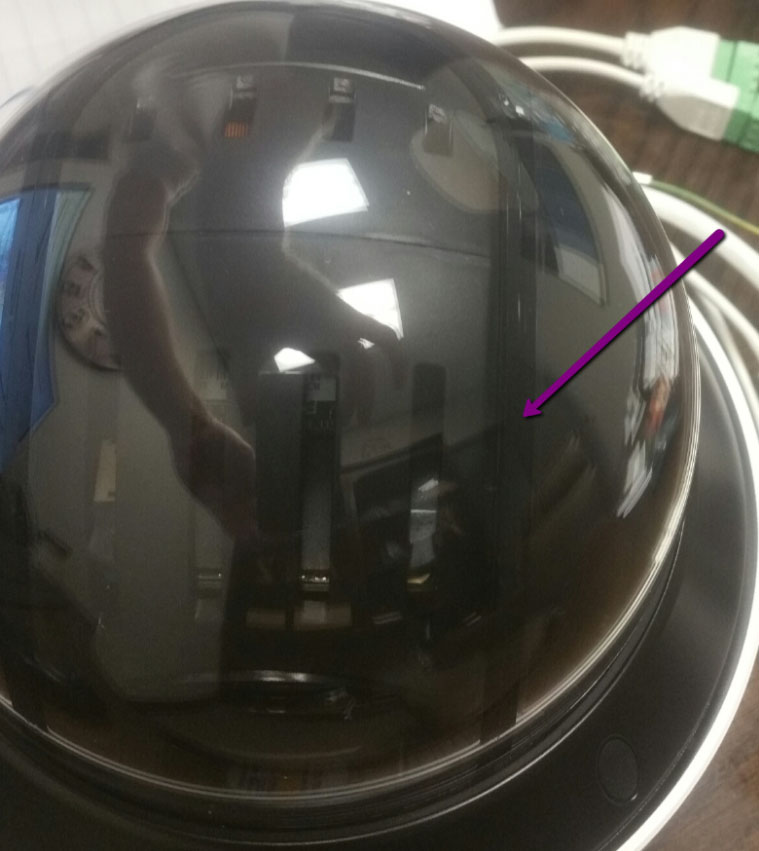
This unique design provides great nighttime image shots while still appearing inconspicuous during daytime movements.
Installation
The mounting procedure for the camera is fairly simple and straightforward. The camera comes equipped with a mounting plate that comes off by loosening one screw on the side.
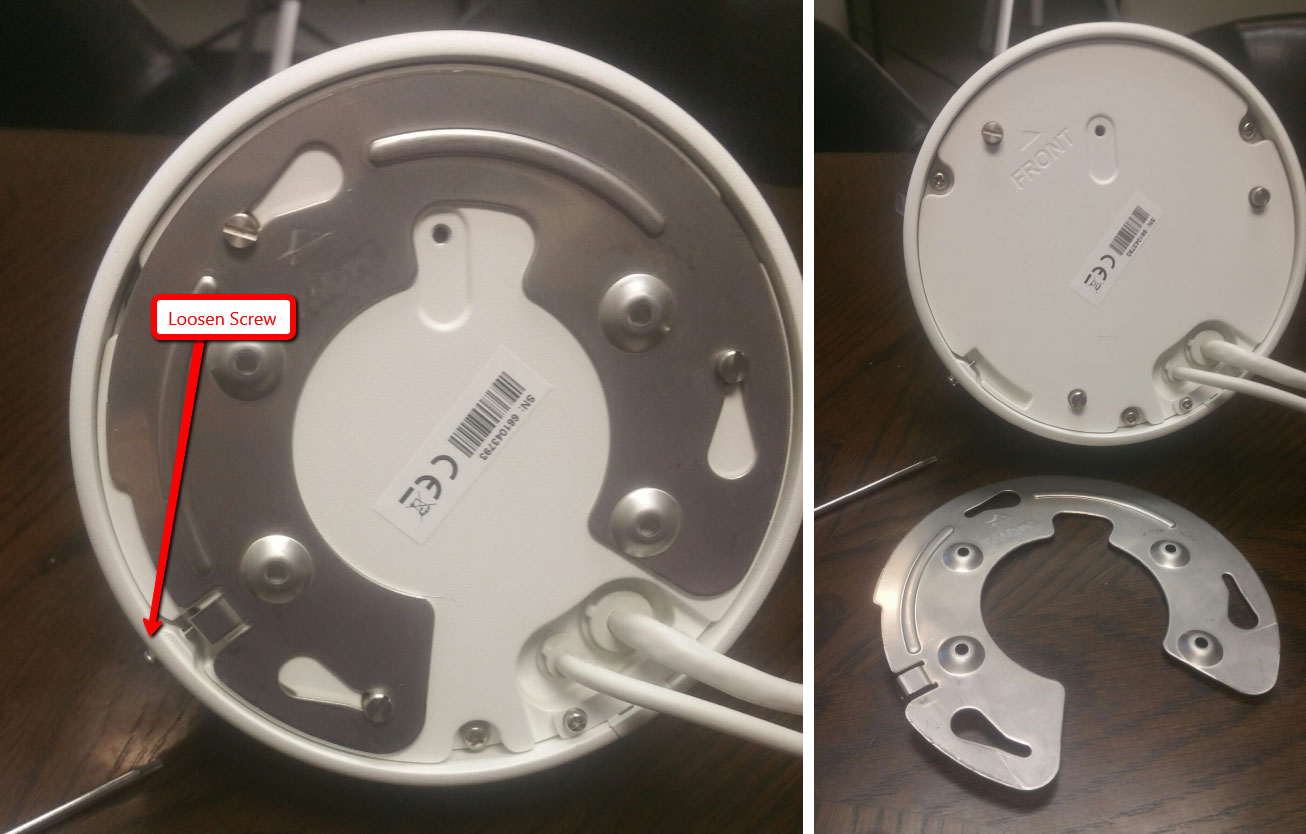
Once the plate is removed, you then mount the plate to your desired location. Then its as simple as sliding the camera on clockwise and locking the screw back in place.