How to Adjust Motion Detection on your R-Series Recorder

In this guide, we will show you how to edit the motion detection fields and sensitivity on your R-Series recorder.
By default, when you add your cameras to your R-Series recorder, the motion detection field will cover the entire screen. However, there are some instances when you might need to adjust this motion detection field. For instance, if there is a window or a busy street in your camera's field of view, you may need to ignore any motion happening on that part of the screen. Check out the guide below for a step-by-step tutorial on how to adjust the motion detection settings on your R-Series recorder.
Sections in this guide:
Adjusting Motion Detection from your Recorder's HDMI Interface
Launch your NVR and log into the menu using your device's password (admin789 by default).
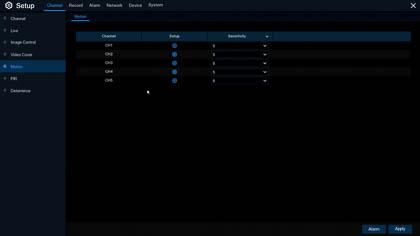
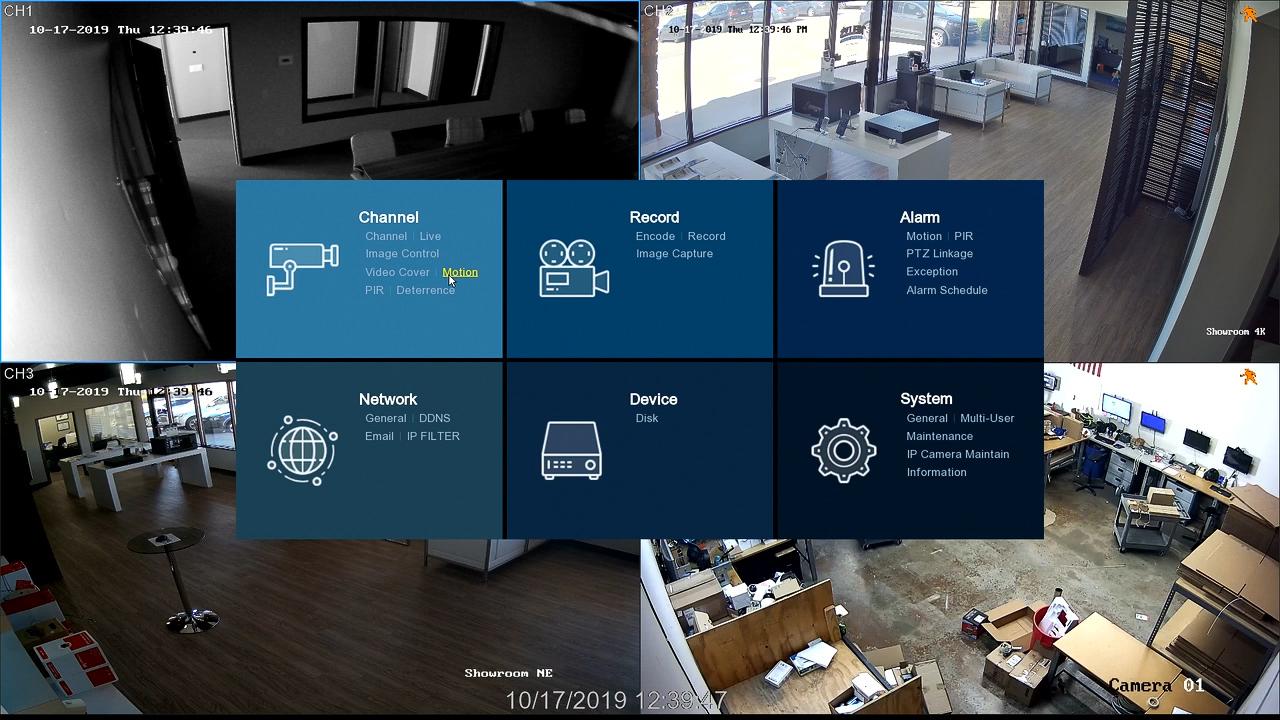
Step One: In the NVR menu, click "Motion."
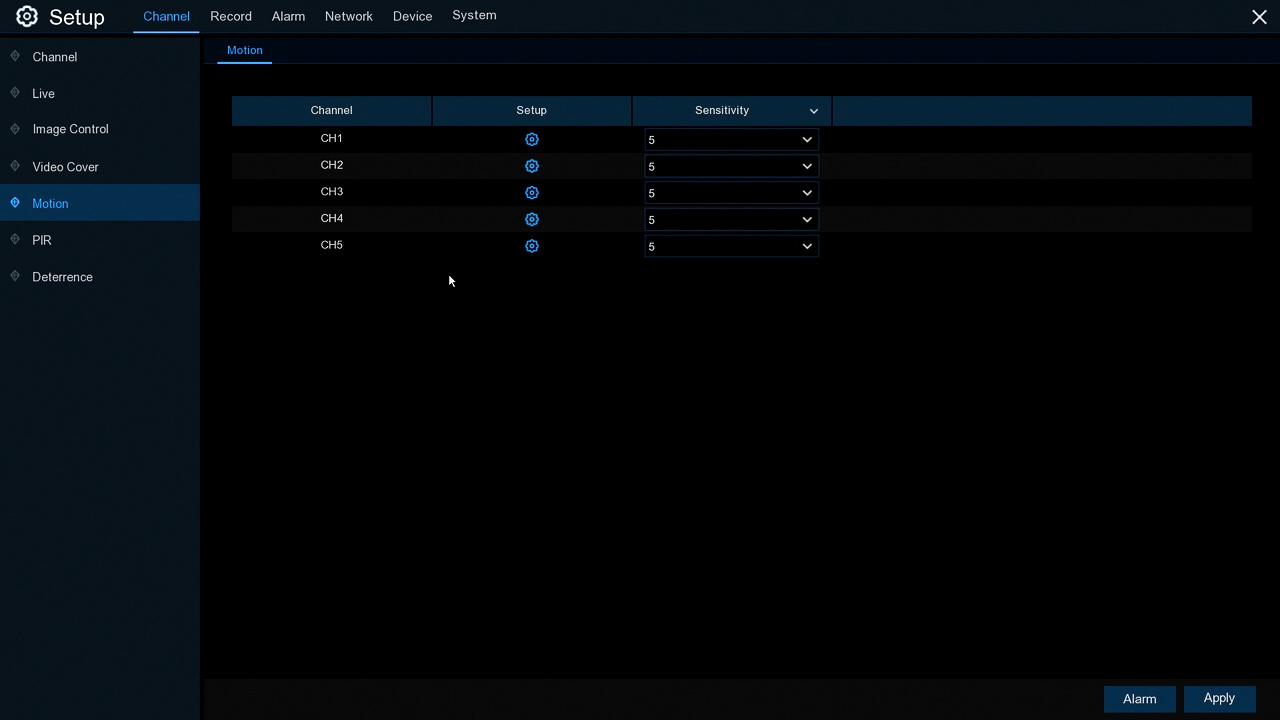
This will take you to the main motion detection screen. From here you can adjust the motion detection sensitivity of each channel, between 1 (least sensitive) and 8 (most sensitive).
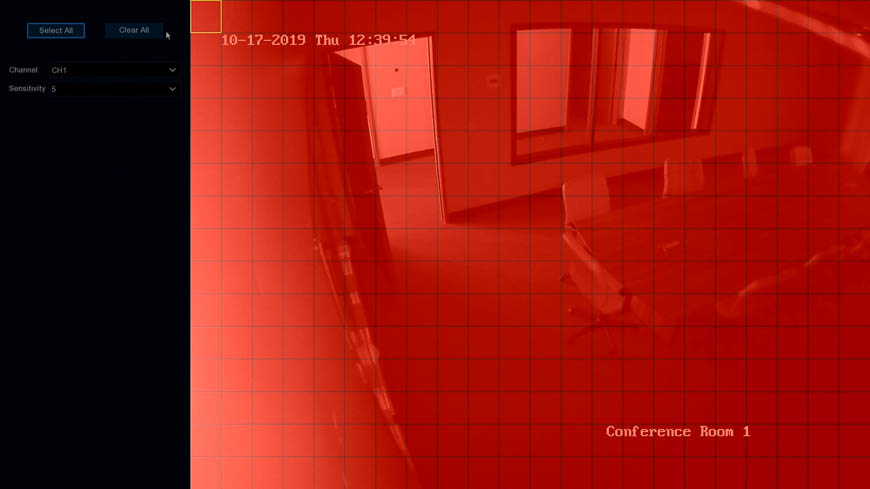
Step Two: To edit the motion detection field, click the gear "Setup" icon next to the channel you'd like to edit
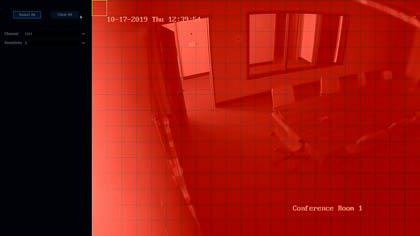
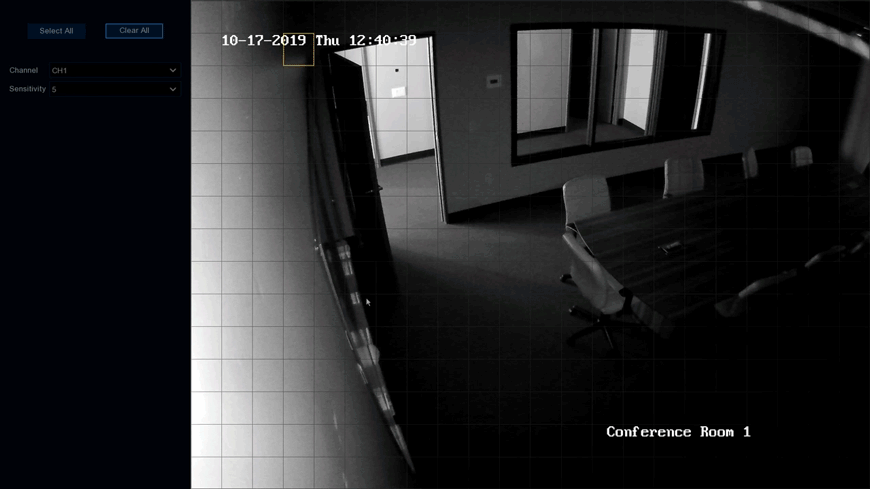
This will take you to a screen where you can click and drag in any direction to edit your motion detection field. Any part of the screen with the red overlay will be included in the motion detection.

- Select All: Clicking this button will cover the entire field of view in the red motion detection field.
- Clear All: Clicking this button will clear all red from the screen, removing the motion detection field completely.
- Channel: Once you're finished editing your channel, you can move directly to another channel without leaving this screen.
- Sensitivity: You can also adjust the sensitivity here, between 1 (least sensitive) and 8 (most sensitive).
To edit the motion detection field, simply click on any part of the screen and drag your cursor in any direction. As you drag your cursor, the screen will turn red to show where you're adding the motion detection field. If you drag your cursor over a part of the screen that is already red, it will clear the motion detection field.

Adjusting Motion Detection from your Desktop with the CamViewer Application
Step One: Log into your recorder on the Camviewer application
(click here to see the Remote Access: Desktop guide).
Step Two: Navigate to Remote Settings ► Channel ► Motion Detection
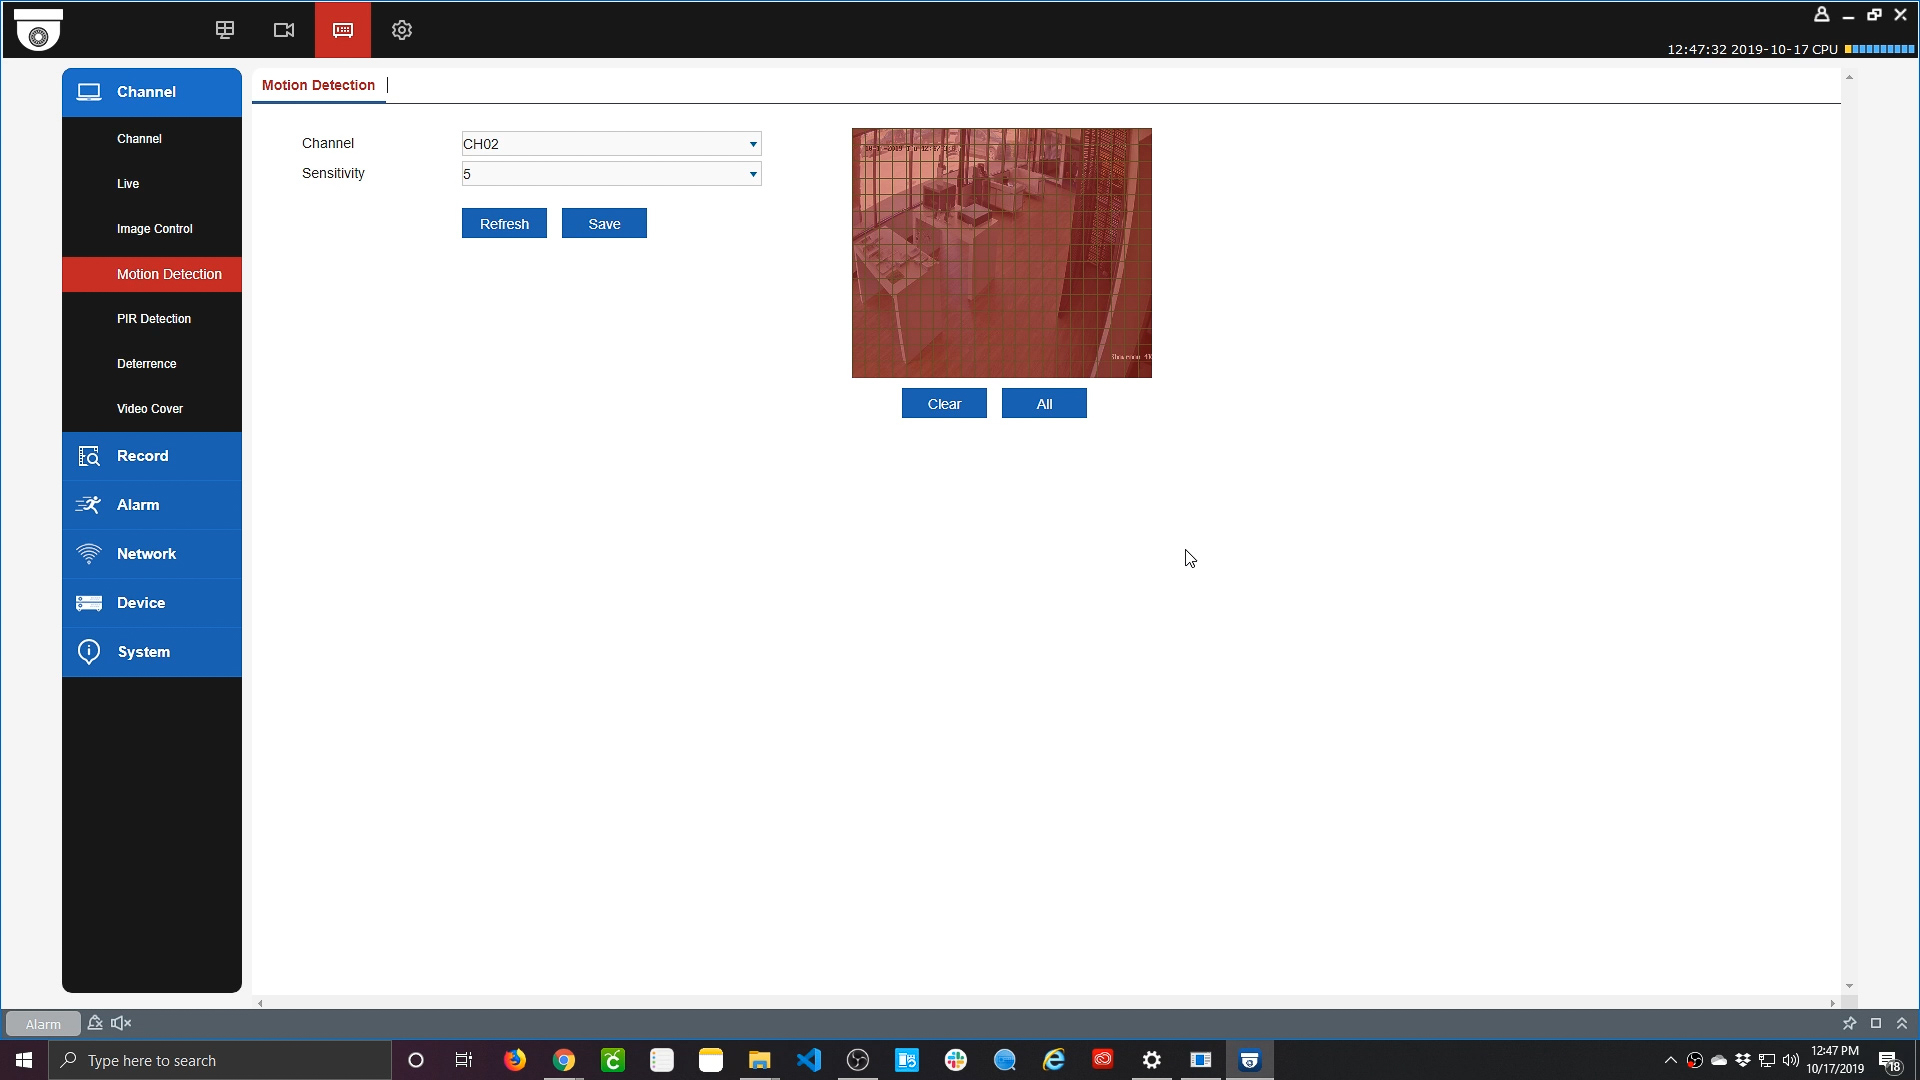
This will take you to the screen where you can edit the motion detection field and sensitivity for each of your channels.
- Channel: Select the channel you would like to edit.
- Sensitivity: You can adjust the sensitivity between 1 (least sensitive) and 8 (most sensitive).
- Clear: Clicking this button will clear all red from the screen, removing the motion detection field completely.
- All: Clicking this button will cover the entire field of view in the red motion detection field.
To edit the motion detection field, simply click on any part of the screen and drag your cursor. Note: you must drag your cursor from the bottom-right to the top-left, or from the top-left to the bottom-right. As you drag your cursor, the screen will turn red to show where you're adding the motion detection field. If you drag your cursor over a part of the screen that is already red, it will clear the motion detection field.
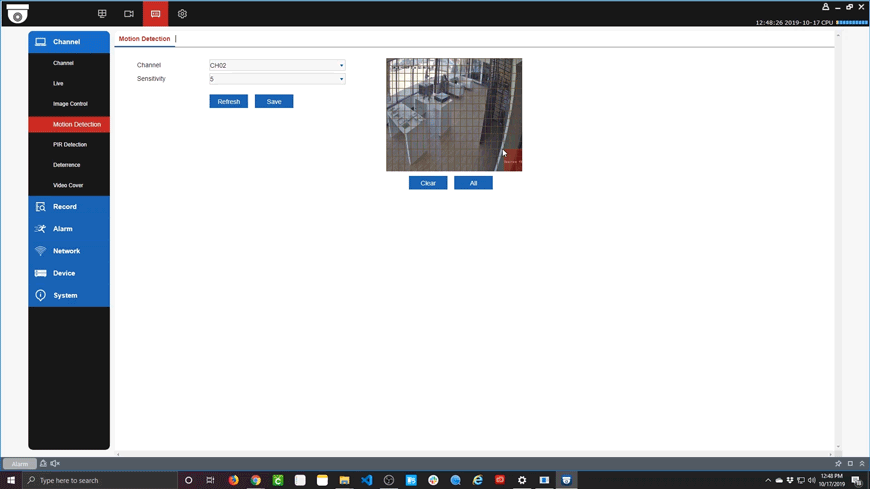
Once you have completed your edits, click "Save."