
There's a lot to love about our newest Uniview line of video surveillance products. There are some incredible cameras with crazy features that bring a lot of innovation to the table. But if you're just looking for a simple, standard fixed lens camera, Uniview has you covered there, too. In fact, this line just might become your go-to brand when looking for a new fixed lens security camera.
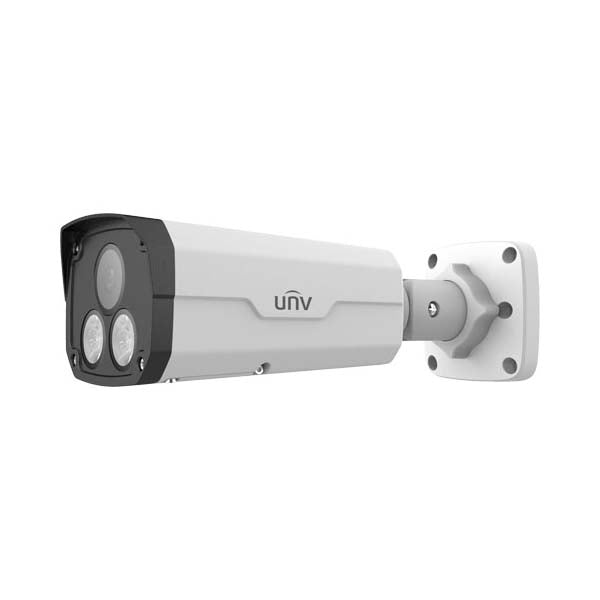
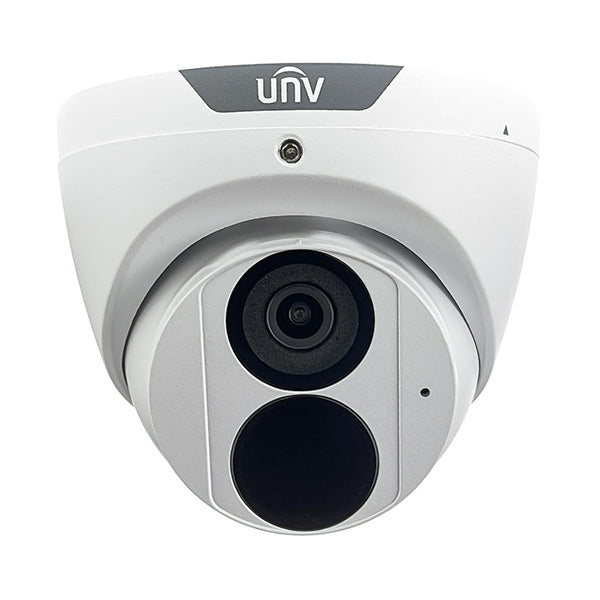
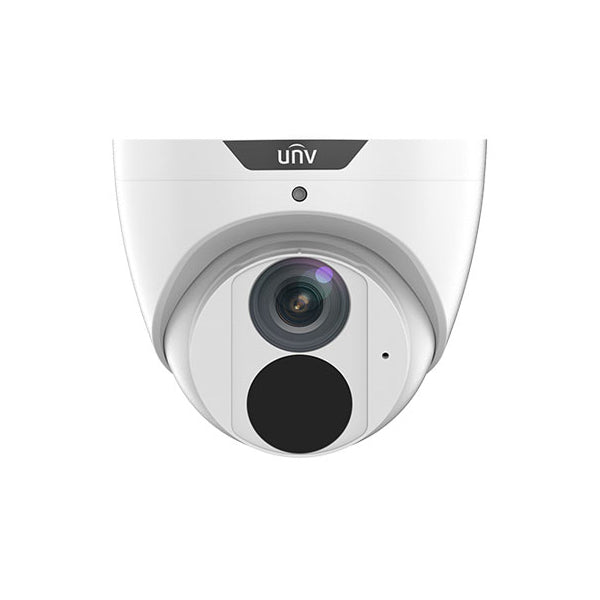
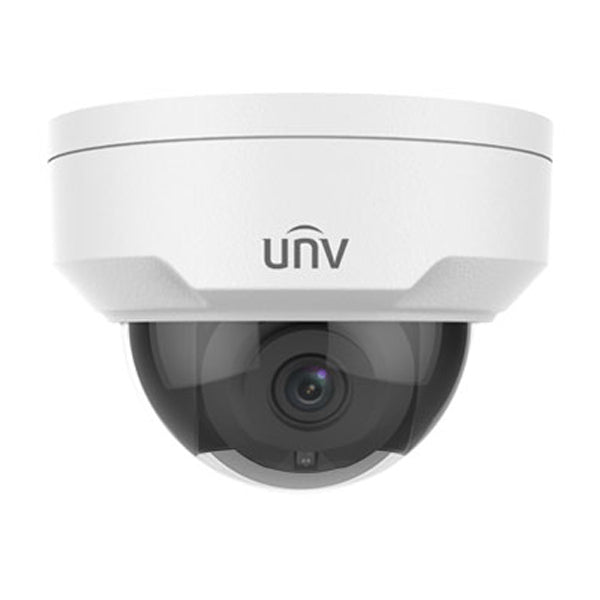
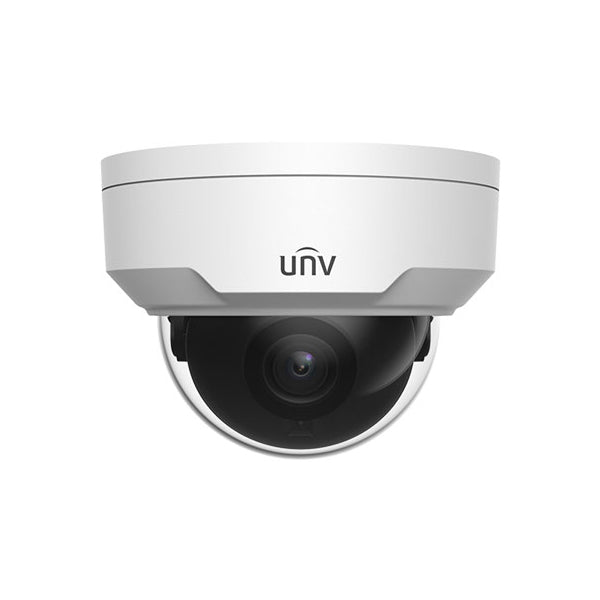
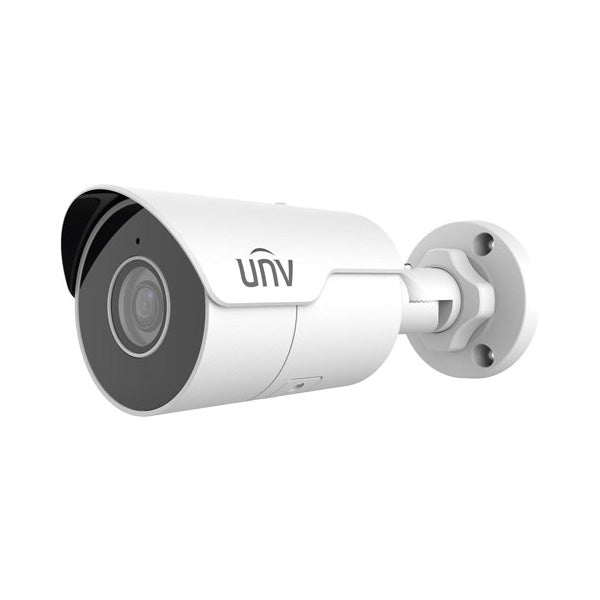
We've got three new IP security cameras to introduce you to today: a vandal dome, a bullet, and a turret. Each camera comes in 2MP (FullHD 1080p) and 4MP (1440p), while the bullet and turret both come in 8MP (4K UltraHD). In this post, we're going to introduce you to these Uniview fixed lens cameras and walk you through everything you need to know.


Uniview Fixed Lens IP Security Cameras: Product Highlight
For a quick overview of these products, check out the video below. We show you what the cameras look like, some sample footage, and walk you through some basic specifications for these cameras.
Video Resolution of the Uniview Fixed Lens Security Cameras
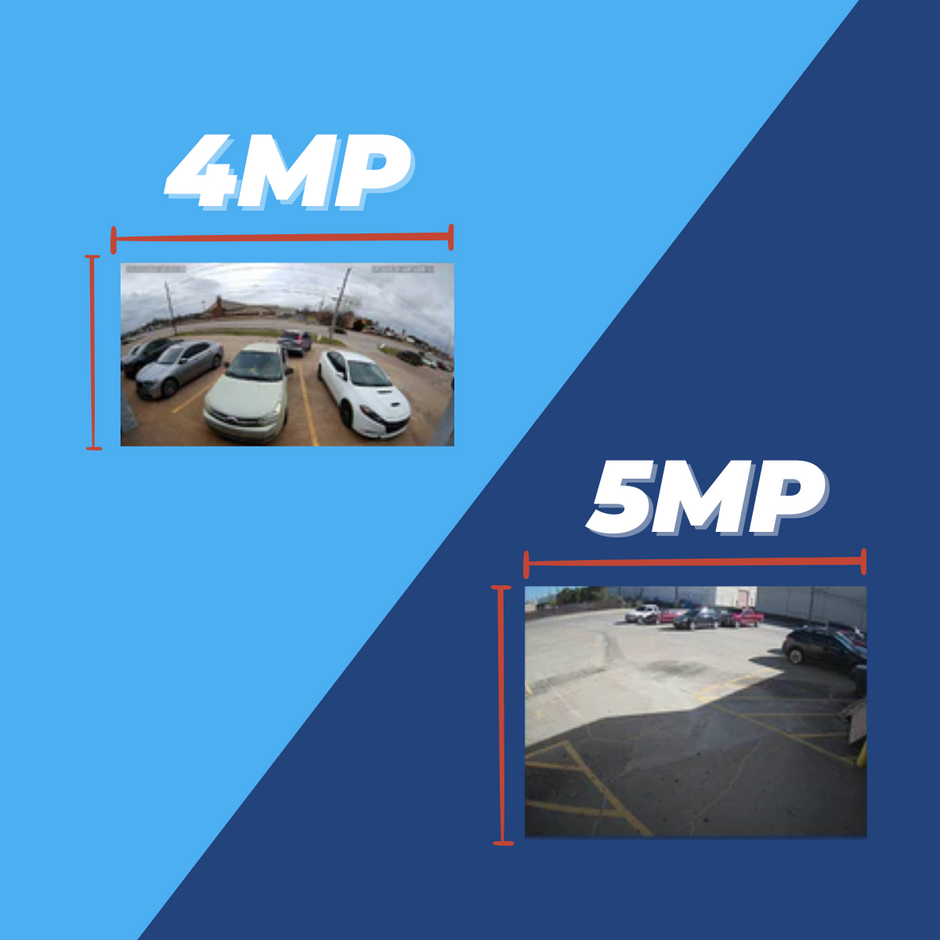
The resolution that you get is going to depend on the model of your camera as well as your own surveillance needs. As we mentioned before, all three cameras do come in 2MP (FullHD 1080p) and 4MP (1440p). Additionally, the bullet and turret cameras also come in 8MP, or 4K UltraHD. Check out the images below to see the differences between these three resolutions.

2MP (FullHD 1080p)

4MP (1440p)

8MP (4K UltraHD)
Fixed Lens Information
The three types of cameras featured in this blog post are called "fixed lens" cameras simply because their lense are fixed in place. They cannot optically zoom in or out. The length of each fixed lens, again, will depend on the model and resolution.
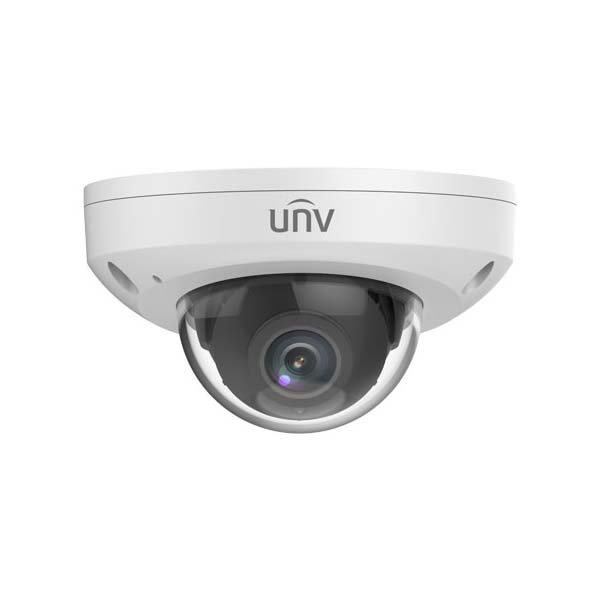
The turret and vandal dome cameras are the shortest when it comes to lens focal length and the widest in terms of viewing angle. All three models of the turret (2MP, 4MP, and 8MP) and both models of the vandal dome (2MP and 4MP) feature a 2.8mm lens.
The bullet cameras, on the other hand, are a bit more zoomed in with a narrower field of view. The focal length of the 2MP and 8MP bullet is 4mm, while the focal length of the 4MP bullet is 3.6mm.
Take another look at the two images below to compare the viewing angle of the bullet (left) and the turret (right).

2MP Bullet at 4mm Focal Length

8MP Turret at 2.8mm Focal Length
Additional Uniview Fixed Lens Security Camera Specifications
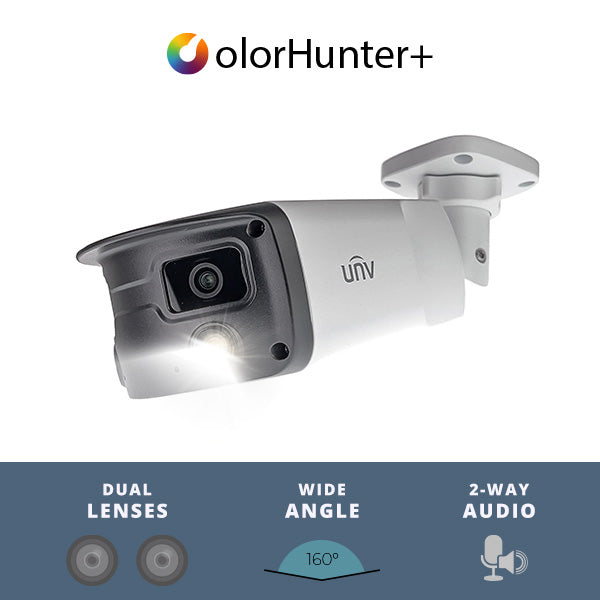
These cameras boast many other incredible features. Enjoy beautiful video in 24/7/365 in any condition thanks to the 98' IR distance, IP67 weatherproof rating, and true Wide Dynamic Range. Choose from a variety of smart events to take full advantage of your Uniview camera's abilities. From line crossing and intrusion detection to face detection and people counting, you'll be amazed by everything these cameras can do. But just because they have some powerful features doesn't mean they can't be simple to use. Instant plug-and-play video with all Uniview recorders, ONVIF compatibility for seamless third party integration, quick mobile setup with a simple QR code scan.
As you can tell from this overview, these are some of the most powerful and feature-packed fixed lens IP security cameras out there. They're everything you need for any large enterprise or corporate installation. But they're attractive, cost-effective, and user-friendly enough for residential and small business applications, too. So whether you're looking for a new camera for your next big security installation or just a camera to throw up on your back porch, these cameras are definitely worth your consideration.
Unboxing the Uniview Fixed Lens Cameras
With a few exceptions, you'll find that most products come with similar contents. They all come with quickstart guides, waterproofing grommets and guides, drill templates, and mounting hardware. The vandal dome also comes with a hex wrench, which you'll need to remove the glass dome. Now, let's take a look at the nuances of each individual camera. But first, you may want to check out our unboxing video below.
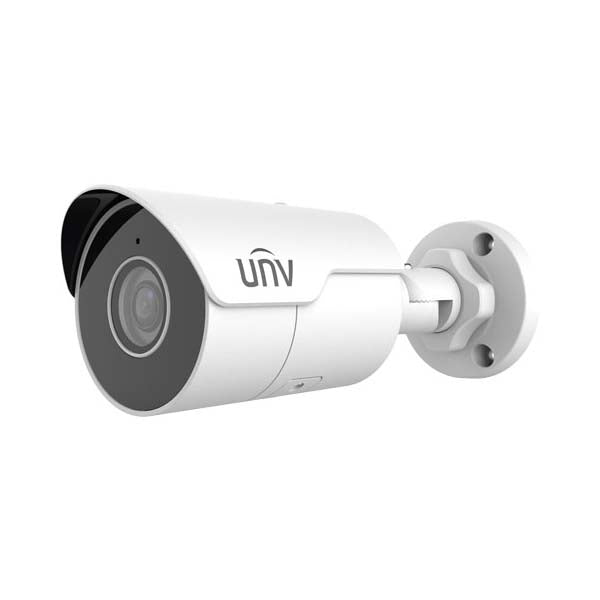
Unboxing The Uniview Fixed Lens Bullet
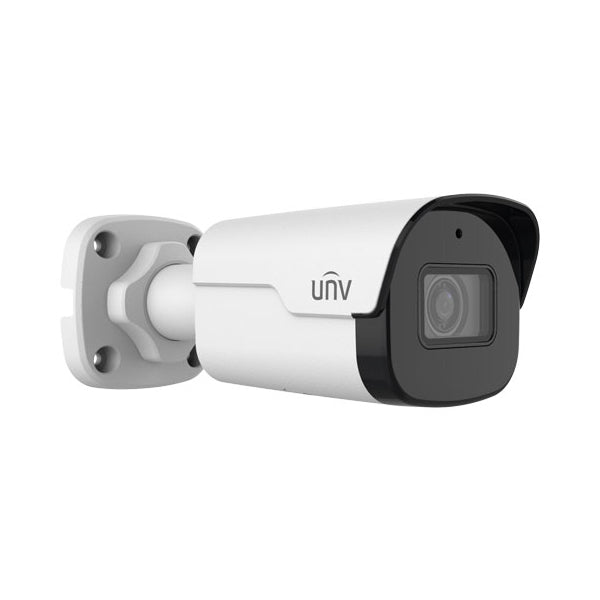
Keep in mind that this camera's housing is identical in the 2MP and 4MP models. However, it does look slightly different in the 4K version. Check out the images below to compare the two models.
The nice thing about the 2MP and 4MP bullets is the simple three-axis adjustments. Everything is controlled by loosening the one knob at the base of the bullet. Granted, this can be a pro or a con, depending on how accessible your camera is. You'll definitely want to install it somewhere out-of-reach.
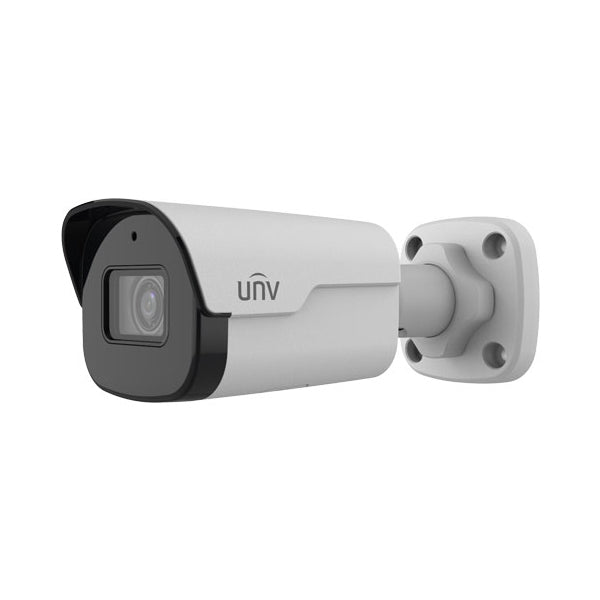
The 4K model is a little bit harder to adjust, as each axis is controlled by its own screw. The vertical and rotation axes use standard Phillips-head screws, while the horizontal axis uses the same knob from the 2MP and 4MP version.
This bullet camera is attractive, compact, and durable. Its all-metal construction and its powerful performance make this the perfect camera for any scenario.


Unboxing the Uniview Fixed Lens Vandal Dome
The vandal dome has the same housing for both the 2MP and 4MP models. The camera's glass vandal-proof dome is secured to the base using two hex screws. Once you loosen the screws and remove the dome, you can install and adjust your camera.
The camera's connection pigtail is unique among the other Uniview fixed lens cameras. It has the standard RJ45 Ethernet connection and the 12v DC power connection, but it also comes with audio in/out and alarm in/out connections. These additional connections are not found on the bullet or the turret. So if you know you're going to be using your camera with a microphone or an alarm, then this is the camera for you.
With a small form-factor and an IK10 vandal-proof rating, your vandal dome is ready to take any impact that comes its way.


Unboxing the Uniview Fixed Lens Turret
The fixed lens turret, like the vandal dome, uses the same housing across the board, whether it's the 2MP, 4MP, or 8MP camera. The camera itself is metal, but the ring that covers the base of the camera is made of plastic. To remove the cover and install your camera, simply turn the cover counter-clockwise. There is a tiny tension screw on the side of the camera that holds it in place. Once you loosen the screw, you'll be able to angle and rotate your turret camera at will.
Another compact and attractive camera, the turret is a great middle-ground camera if you're looking for the power of a bullet mixed with the durability of a vandal dome.


How to Install and Set Up Your Uniview Fixed Lens Security Cameras

Installing Your Uniview Camera
Once you figure out where you're going to install your camera, the first step is going to be to drill your holes. This step requires zero guesswork, as each camera comes with a mounting template. Simply place the sticker where you'll be installing your camera and drill your holes.
The next step is simply to secure your cameras into place with the included mounting hardware. If you have the dome or the turret, you'll need to remove the camera's cover in order to get access to the screw holes.
Depending on how you installed your camera, you may need to weatherproof your Ethernet connections. If you ran the cable through the ceiling and none of your wires are exposed, then you're good to go. However, if you ran your cables out the side of your camera leaving it exposed to the elements, you'll need to install your weatherproof grommet. This will provide a tight, weatherproof seal, allowing your cables to brave the toughest of storms.


Setting Up Your Uniview Camera on the Network
Since these are IP security cameras, our next step is going to be to set our cameras up on the Network. This is done by using a Cat5e Ethernet cable. It can be done in three ways: you can connect your cable to the PoE switch in the back of an NVR, to a separate PoE switch, or to a standard switch or router.
The fastest way to get your cameras set up is to plug them into the PoE switch in the back of a Uniview NVR. Once you do this, you'll get instant plug-and-play video, with no further setup or configuration. Since these cameras are ONVIF compatible, you can also set them up with a third party NVR. The process for accomplishing this task will differ depending on your NVR's brand. Be sure to check out our in-depth guides if you need help figuring this out on your NVR.
However, you don't have to have an NVR in order to use these cameras. You can set them up as a standalone camera by plugging it into a switch or a router. If you plug your camera into a standard switch or an internet router, you will need to run an additional power cable to the camera.
Our recommendation here is to use a PoE (Power over Ethernet) switch. With Power over Ethernet, your Ethernet cable will carry both network data and power to your camera. This way, you won't have to run any additional cables. Click here to view all of our PoE switches, ranging from one channel to 48 channels.


Using Your Uniview Fixed Lens Security Cameras
In the final part of this blog post, we're going to highlight some features of these fixed lens cameras to give you an idea of how you might implement these into your own video surveillance system. We're going to take you on a tour of the web interface, set up some smart events, and access our cameras remotely from a mobile device.
A Tour of the Camera's Interface
Our Uniview cameras are packed with features, which might lead one to believe it comes with a cluttered user interface. However, while there are many menus and settings to play around with, Uniview's interface is well-organized and easy to use. These cameras are very customizable, so if you're an advanced user or a tinkerer, there's going to be a lot for you to explore here. But the interface is also approachable, so if you're a newcomer to video surveillance, you'll be able to quickly get your bearings. For more info, check out the video below where we walk you through most of the menu items.
The Live View
This is the first thing you see when you log into the web interface. It's a simple screen that brings the user's focus right to the camera feed. There are a few tools that allow you interact with the feed, such as "digital zoom" and "full screen." You can save a screenshot or record video directly to your computer. You also have the ability to switch streams using the buttons across the top of the page.
The more you use Uniview's interface, the more you'll notice two principles, both of which are present here on the Live View. First, Uniview knows how to be useful and provide value to the user. But they also know when to get out of the way. For instance, a small overlay across the screen gives you some basic video info, such as frame rate, resolution, and codec. However, this overlay only appears while the mouse is moving. If you prefer to display this info continuously, you can click the "pin" button to keep the overlay on the screen.
The second Uniview principle at work here is that Uniview provides its users with the ability to accomplish many common tasks with as few clicks as posssible. Once you learn your way around the interface, you won't have to click through a dozen menus to find the one setting you're looking for. A good example of this right here on the live screen is the "Image" button in the top right-hand corner. This shortcut button gives you instant access to the image settings in the menu system. Since this is most likely a page that you'll want to visit often, it's nice to have a fast way of getting there without having to click through a few different menus.

The Live View tab on the Uniview Fixed Lens Security Camera Web Interface
The Setup Menu
Again, the Uniview cameras are full of advanced features and customization options to keep the security tech enthusiast busy for a while. We're not going to get into the nitty gritty details in this post. For in-depth tutorials, keep an eye on our help guides, which are always growing. For now, I'll introduce you to how those two principles are at work here, as they were in the live screen.
First, Uniview provides useful tools to the user while also staying out of the user's way. This is evident in the many customization options available. For instance, take a look at the On Screen Display (OSD) menu. Most cameras give you the option to choose how the date is displayed and to change the name of the camera. Some cameras give you the ability to move the different elements around on the screen. Uniview takes this one step further by allowing you to fully control the experience. You can add up to eight elements to your OSD, including the date and time, the date or time, a custom text field (up to 20 characters), a scrolling text field (up to 200 characters), an image overlay, and people counting statistics (see the People Counting feature in the "Smart Event" section below). You have full control over the appearance of these elements, including the placement on the screen and the font size, color, and characteristics.
Keep in mind, the first "custom field" area you define will become the camera's name. If you notice in the video above, we added "Nelly's Security" to the first custom field and "Back Parking Lot" to the second. Because of this, the NVR always referred to this camera as "Nelly's Security."
The second principle is obvious from the first page of the menu. Uniview wants to help you accomplish your tasks with as few clicks as possible. This is evident from the fact that there are two menus containing all the most common pages. One of these common menus is only available on the first page of the Setup menu. This gives you quick access to four common pages: Network, Time, OSD, and User. The second common menu is available at the top of the left sidebar. This menu, which is accessible from any page of the Setup tab, includes the same four pages, plus the Local Parameters and Server pages.
Of course, all of these pages are also accessible through the appropriate contextual tabs. It's just nice to have all of these common settings grouped together in one helpful menu.

The Basic Info screen is the first page in the Setup menu, where you will also find your Common Configurations menu.

The Uniview OSD is very cusomizable, giving you full control over your live view's appearance.
Intelligent Events & NVR Playback
One of the most practical features offered by these cameras is the Intelligent Events. Aside from basic motion detection, you can set up events with your Uniview IP security cameras to do a couple of things.
Intelligent Behavior Events
First, you can use these smart events to trigger notifications and recordings based on more intentional movement than general motion detection. For instance, if you only want to be notified when someone crosses a line, you can set up a line crossing event. If you want to start recording anytime someone enters a specific area, you can set up an intrusion detection event. Other behavior-based intelligent events include object removal, object left behind, defocus detection, and scene change detection.
Intelligent Statistic Events
Another type of intelligent event allows you to keep statistics based on movement in your camera's frame. For instance, your camera and NVR can store images and a running head count of all human faces captured by your cameras. You can also keep a running count of people who enter and exit your premises. All these statistics can be displayed on a helpful bar chart to easily take note of daily, weekly, monthly, and yearly visitors.
Keep in mind that when enabling this type of intelligent event, all other intelligent events will become inaccessible.

The Uniview Intelligent menu lists all the available smart events.
The Uniview NVR Playback & VCA Search Menus
Adding this camera to a Uniview NVR gives you the best experience with these smart events. Not only will you be able to record these events, but you'll also be able to intelligently search for and filter each specific event from the playback menu or from the VCA search menu.
Since these cameras do not have any edge storage, there's no way to save video and images directly to the camera. However, if you are setting this up as a standalone camera without an NVR, you can record motion detection footage to a separate NAS (network attached storage) and save image snapshots to an external server via FTP.
Without a Uniview NVR, you will also be limited in viewing your camera's people counting or face counting statistics. While you won't be able to see the full database of statistics and graphs, you will still be able to display the current counting statistics on the camera's OSD.

An example of a UNV Fixed Lens line crossing event

A UNV Fixed Lens line crossing event found through the NVR's VCA Search function

A graph generated by the UNV Fixed Lens people countint statistics database
Setting Your Camera Up on your Mobile Device
Another way to access your camera feeds is to create a cloud account with Uniview's P2P platform, EZCloud. You can do this through Uniview's remote access app, EZView, available on Android and Apple devices.


To get set up, all you need to do is launch the app on your phone and create a free P2P EZCloud account. On the home screen, click "Add" and "Scan." From your camera's interface, navigate to "Settings," "Network," and "EZCloud." Toggle the "EZCloud" setting to "On." Then simply scan the QR code on your screen and you're good to go. You now have access to your camera's live feeds, settings, and push notification alerts directly from your cell phone.


But Wait, There's More!
Uniview's Fixed Lens bullet, turret, and vandal dome are fantastic additions to our IP security camera listings. But there's still so much more to show you about this new line of surveillance products. Be sure you subscribe to our newsletter so you can stay up to date with our future posts, as we walk you through our Uniview motorized lens cameras, PTZs, fisheyes, panoramic cameras, and more.